Cracked iPad screens are more common than you think and sometimes it only takes a two-foot drop for disaster to strike. Even the tiniest crack can lead to surprising problems like unresponsive touch zones or display discoloration in over 40 percent of cases. You might assume it takes a brand new iPad to get everything working again but a careful repair at home can actually bring your tablet back to life for a fraction of the cost.
Table of Contents
- Step 1: Assess The Damage To Your Ipad Screen
- Step 2: Gather Necessary Tools And Replacement Parts
- Step 3: Power Off Your Ipad And Remove The Screws
- Step 4: Detach The Broken Screen From The Ipad
- Step 5: Install The New Screen And Reassemble The Ipad
- Step 6: Test The New Screen For Proper Functionality
Quick Summary
| Key Point | Explanation |
|---|---|
| 1. Assess screen damage thoroughly. | Inspect for visible cracks, touch responsiveness, or display quality issues to determine the repair strategy needed. |
| 2. Gather the right tools and parts. | Assemble specialized tools like a Pentalobe screwdriver and ensure you have high-quality, compatible replacement parts for your model. |
| 3. Power off the iPad before repair. | Ensure your device is completely turned off to prevent electrical shorts and safeguard internal components during disassembly. |
| 4. Handle screen separation carefully. | Use heat and suction cups to detach the screen, taking care to avoid damaging fragile internal cables during the removal process. |
| 5. Test functionality post-repair. | After reassembly, thoroughly check touch responsiveness, color accuracy, and all device features to confirm successful installation. |
Step 1: Assess the Damage to Your iPad Screen
Before diving into the iPad screen replacement process, understanding the extent of screen damage is crucial. Not all screen issues require a complete replacement, and identifying the precise nature of the damage will help you determine the most appropriate repair strategy. Learn more about iPad screen damage assessment to make an informed decision.
Start by performing a comprehensive visual and functional examination of your iPad screen. Look for specific indicators of damage such as visible cracks, spider web fractures, or areas where the glass appears separated from the display. Some damage might seem superficial but could indicate deeper structural problems. Run your fingertip gently across the screen to feel for any irregularities or sharp edges that might suggest internal damage.
Carefully assess the screen’s touch responsiveness and display quality. Check for signs like discoloration, screen flickering, unresponsive touch zones, or areas where the display appears distorted. These symptoms often indicate more significant issues that might require professional intervention. If your iPad exhibits multiple problem areas or the damage extends beyond a simple cosmetic crack, you may need a more comprehensive repair.
To accurately evaluate the damage, place your iPad under bright, direct light and rotate it to catch different angles. This technique helps reveal subtle cracks or structural issues that might be invisible under normal lighting. Photograph the screen damage from multiple perspectives if possible, as this can help our iPad repair specialists provide a more accurate assessment and repair quote.
Remember, not every screen imperfection necessitates a complete replacement. Minor scratches or small cracks might be manageable without full screen replacement. However, extensive damage compromising screen functionality or structural integrity will likely require a professional repair approach. By carefully examining your iPad screen, you’ll be better prepared to make an informed decision about the next steps in your repair process.
Step 2: Gather Necessary Tools and Replacement Parts
Preparing for an iPad screen replacement requires careful selection of specialized tools and high-quality replacement components. Professional repair guides recommend assembling a comprehensive toolkit before beginning the delicate repair process. Gathering the right equipment ensures a smoother, more efficient repair experience and minimizes the risk of additional device damage.
Your toolkit should include several precision instruments designed specifically for electronics repair. Essential tools include a Pentalobe screwdriver (the unique Apple-specific screwdriver), plastic prying tools, a suction cup, fine-tipped tweezers, and an anti-static wrist strap to protect sensitive electronic components. Additionally, consider acquiring a heat gun or iOpener tool to safely separate the screen from the iPad’s frame without causing structural damage.
When selecting replacement parts, precision matters. Ensure you purchase a screen replacement that exactly matches your specific iPad model and generation. Generic or low-quality replacement screens can lead to poor touch responsiveness, color inaccuracies, or incomplete functionality. Verify the replacement part includes both the digitizer (glass layer) and LCD if necessary, as some damage requires complete component replacement. Our iPad repair specialists recommend purchasing replacement parts from reputable suppliers to guarantee compatibility and performance.
Organize your workspace before beginning the repair. Prepare a clean, well-lit area with a soft, static-free surface. Lay out your tools in the order you will use them, creating a systematic approach to the repair process. Having a small magnetic parts tray can help prevent losing tiny screws during disassembly. Consider wearing clean, lint-free gloves to prevent oils and dirt from transferring to delicate electronic surfaces.
The following table outlines the essential tools and replacement parts you should organize before starting your iPad screen replacement.
| Tool/Part | Purpose/Specification | Notes |
|---|---|---|
| Pentalobe Screwdriver | Remove proprietary Apple screws | Must match your iPad model |
| Plastic Prying Tools | Separate screen and case without scratching | Non-metallic, prevents frame damage |
| Suction Cup | Create a seal for lifting screen | Use near home button or bottom edge |
| Fine-Tipped Tweezers | Detach fragile internal ribbon cables | Handle with care to avoid connector damage |
| Anti-Static Wrist Strap | Protect device from static electricity | Helps safeguard sensitive electronics |
| Heat Gun/iOpener Tool | Soften adhesive for easier screen removal | Apply gentle, even heat |
| Replacement Screen | New glass digitizer and/or LCD, matched to iPad generation | Purchase from reputable suppliers |
| Magnetic Parts Tray | Hold screws and small parts during the process | Prevents losing tiny components |
Before starting the repair, double-check that you have all required tools and the correct replacement parts. Take a moment to review repair tutorials specific to your iPad model, as slight variations exist between different generations.
 Patience and careful preparation are key to a successful screen replacement, transforming a potentially frustrating task into a manageable DIY repair project.
Step 3: Power Off Your iPad and Remove the Screws
Preparation for safe device disassembly begins with a critical safety step: completely powering off your iPad. Power down your device by pressing and holding the power button until the shutdown slider appears, then drag the slider to turn off the device completely. This crucial action prevents potential electrical shorts and protects both you and the device’s internal components during the repair process.
Locate the proprietary screws near the charging port, which are typically small Pentalobe screws unique to Apple devices. These screws require a specialized screwdriver that differs from standard Phillips or flathead tools. Carefully position your Pentalobe screwdriver, applying gentle and consistent pressure to prevent stripping the delicate screw heads. Maintain a steady hand and ensure the screwdriver fits perfectly to avoid damaging the screw or surrounding device components.
As you remove each screw, create a systematic organization method. A magnetic parts tray works exceptionally well for keeping track of tiny screws and preventing them from rolling away or getting lost. Place the screws in a pattern that mirrors their original placement on the device, which will help you reassemble the iPad correctly later. Some technicians recommend taking a close-up photograph of the screw layout before removal as an additional reference point.
Pay close attention to the screw removal process, noting any signs of previous repairs or unusual wear.
Some iPads might have slight variations in screw placement or additional securing mechanisms depending on the model and generation. If you encounter unexpected resistance or notice any damage around the screw areas, pause and reassess before continuing. Applying excessive force can lead to unnecessary device damage and complicate the repair process.
Verification is key in this step. After removing the screws, double-check that you have extracted all necessary fasteners and that no screws remain hidden or partially embedded. Gently rotate the device, listening for any loose metal sounds that might indicate a missed screw. Your careful, methodical approach now sets the foundation for a successful screen replacement, transforming a potentially complex repair into a manageable task.
Step 4: Detach the Broken Screen from the iPad
Screen removal techniques require precision and patience. The process of separating the damaged screen involves carefully breaking the strong adhesive bond connecting the display to the iPad’s frame. Begin by applying gentle, consistent heat along the device’s edges using a heat gun or iOpener tool. This softens the adhesive and makes the screen removal process significantly smoother.
Position a professional-grade suction cup near the home button or bottom edge of the iPad. Press the suction cup firmly to create a strong seal, then slowly and steadily pull upward to create an initial separation. Use plastic prying tools to gradually lift the screen, working around the edges with minimal force. Caution is critical – applying too much pressure can damage the delicate internal ribbon cables that connect the screen to the device’s main logic board.
As you separate the screen, you’ll encounter several ribbon cables connecting the display to the iPad’s internal components. These cables are extremely fragile and require extraordinarily gentle handling. Use tweezers to carefully disconnect each cable, paying close attention to their precise attachment points. Learn more about iPad repair techniques to understand the nuanced approach required for this delicate step.
Work methodically around the entire perimeter of the iPad, gradually creating more space between the screen and the device frame. If you encounter significant resistance, reapply heat and continue using the suction cup to create controlled, even pressure. Some areas might require multiple gentle attempts to separate completely. Watch for any signs of additional adhesive or hidden fasteners that might be holding the screen in place.
Once the screen is fully detached, place it aside on a clean, static-free surface. Take a moment to inspect the iPad’s internal frame for any signs of damage or additional adhesive residue. Your careful approach during this step prevents potential additional damage and sets the stage for a successful screen replacement. Verify that all ribbon cables are fully disconnected and the internal components remain undisturbed, preparing for the next phase of your repair process.
Step 5: Install the New Screen and Reassemble the iPad
Precise screen installation marks the most critical phase of your iPad repair journey. Begin by carefully cleaning the iPad’s internal frame, removing any residual adhesive or dust using specialized electronics cleaning tools. Ensure the surface is completely smooth and free of debris that could interfere with the new screen’s installation.
Connector alignment is paramount. Gently position the new screen’s ribbon cables, matching them exactly to the original connection points on the device’s logic board. Use fine-tipped tweezers to guide the delicate cables, applying minimal pressure to prevent damage. Learn more about professional repair techniques to understand the nuanced approach required for successful reassembly.
Apply a thin, even layer of manufacturer-recommended adhesive around the iPad’s frame. This step requires extraordinary precision – too much adhesive can create uneven pressure, while too little will compromise the screen’s structural integrity. Work slowly and methodically, ensuring complete coverage without excess material that might interfere with the screen’s fit or functionality. If your replacement screen includes pre-applied adhesive, carefully align and press the screen, using consistent pressure to create a perfect seal.
Carefully reinsert and tighten the proprietary Pentalobe screws in their original locations. Important tip: follow the same pattern you used during disassembly, referring to any photographs or notes you created earlier. Apply gentle, consistent pressure to avoid stripping the delicate screws or damaging the iPad’s frame. Each screw should be snug but not overtightened, as excessive force can crack the new screen or damage internal components.
Before fully sealing the device, perform a preliminary functionality test. Connect the battery, power on the iPad, and check the screen’s touch responsiveness, color accuracy, and overall performance. Verify that all areas of the screen respond correctly to touch and that no dead zones or display irregularities are present. Your meticulous approach during this final reassembly stage transforms a potentially complex repair into a successful device restoration, bringing your iPad back to its optimal functioning state.

Step 6: Test the New Screen for Proper Functionality
Comprehensive functionality testing represents the final and most crucial stage of your iPad screen replacement process. Begin by fully charging the device and powering it on, carefully observing the startup sequence for any unusual behaviors or unexpected display issues. Immediate visual inspection is critical, looking for uniform color distribution, consistent brightness, and absence of dead pixels or strange color artifacts.
Thoroughly test every aspect of the screen’s touch responsiveness. Move your fingers across different areas of the display, checking for smooth, consistent touch recognition. Open multiple applications, use gestures like pinching, swiping, and scrolling to verify that the entire screen responds accurately. Pay special attention to edge areas and corners, which are often problematic in screen replacements. Explore professional repair validation techniques to understand comprehensive testing methods.
Verify the functionality of critical device features directly tied to the screen. Test the ambient light sensor by moving the iPad between bright and dark environments to confirm automatic brightness adjustment. Check the screen rotation lock, ensuring the display responds correctly to device orientation changes. If your iPad model includes a home button, test its responsiveness and confirm it triggers the expected system actions without lag or inconsistency.
Conduct a comprehensive diagnostic test by running graphics-intensive applications and games. These apps will reveal any underlying issues with color reproduction, touch sensitivity, or display performance that might not be immediately apparent during basic interactions. Open video streaming platforms, play high-resolution videos, and zoom in and out to evaluate the screen’s color accuracy and touch precision under demanding conditions.
Finally, perform a battery of system checks. Verify that all sensors function correctly, including touch ID (if applicable), proximity sensors, and display calibration. If you notice any irregularities—such as unresponsive areas, color inconsistencies, or unusual system behavior—it may indicate a need for professional reassessment.
Below is a summary checklist table to help you verify your iPad is functioning properly after a screen replacement and before full reassembly.
| Item to Test | How to Check | Expected Result |
|---|---|---|
| Visual Inspection | Observe screen under direct light | No discoloration or dead pixels |
| Touch Responsiveness | Tap and swipe across all areas of display | Touch registers smoothly everywhere |
| App Performance | Open, use, and switch between multiple apps | No screen lag or input delay |
| Sensor Functionality | Move iPad in light/dark environments | Auto-brightness and rotation respond |
| Home Button Response | Press home button if present | Normal function without lag |
| Video Playback | Play a high-res video, zoom in/out | Clear image, responsive controls |
| System Health Check | Check sensors, Touch ID, and display calibration | All features operational |
Ready for a Flawless iPad Screen? Let the Experts Help
DIY screen replacement might feel rewarding, but it also brings risk and stress—especially when facing delicate connectors, stubborn adhesives, or the fear of accidentally making the problem worse. After following each step of your iPad screen replacement guide, you might still worry about proper cable alignment, touch responsiveness issues, or the chance of new damage. It is frustrating to invest hours into a repair only to find the screen does not function as expected. That sense of uncertainty can quickly turn your motivation into anxiety.

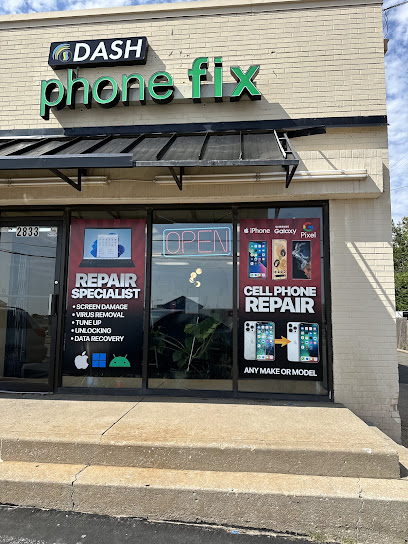
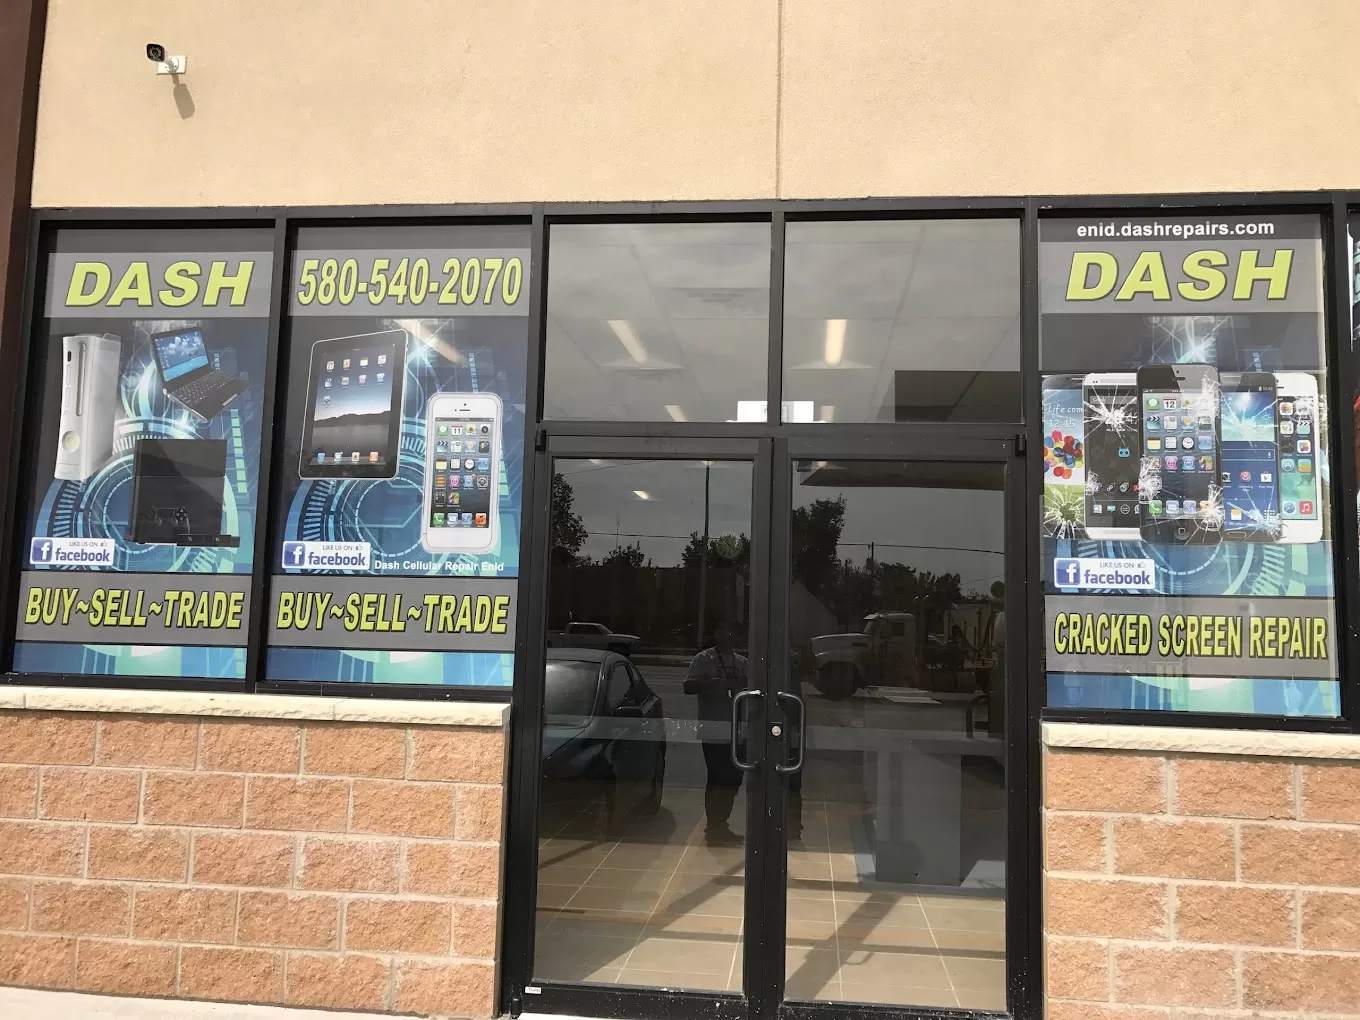
Remove all hesitation by turning to the professionals at Dash Repairs. Our team specializes in fast and affordable iPad repairs with quality parts and workmanship you can trust. If you are in Oklahoma and want guaranteed results, we offer a local, friendly solution that eliminates guesswork and risk. Visit our specialized iPad repair service page and check customer reviews and service details. Take the simple step towards a stress-free fix—contact us today for a free quote and let your iPad screen look and work like new.
Frequently Asked Questions
How do I assess the damage on my iPad screen before replacement?
Before replacing your iPad screen, visually examine it for cracks, discoloration, or unresponsive areas. Check for touch responsiveness and display quality. If the damage is extensive, it might require a professional assessment.
What tools do I need to replace my iPad screen?
You’ll need a Pentalobe screwdriver, plastic prying tools, a suction cup, fine-tipped tweezers, and an anti-static wrist strap. A heat gun or iOpener can help in separating the screen without damage.
How do I safely detach the broken screen from my iPad?
Apply gentle heat to soften the adhesive, then use a suction cup near the home button to create separation. Carefully use plastic prying tools to lift the screen, making sure to handle any fragile ribbon cables with extreme caution.
How can I ensure proper functionality after installing a new iPad screen?
After installation, power on your iPad and check for uniform colors and touch responsiveness. Test all functions including the ambient light sensor, screen rotation, and any essential features tied to the display. Run various applications to ensure good performance.
Recommended
- When to Repair your iPad Screen | Dash Cellular Repair | Cell Phone, iPhone, Laptop Repair in Oklahoma
- Need iPad Repair in Oklahoma City | Dash Cellular Repair
- iPad Repairs | tablet screen repair | Dash Tablet Repair
- Broken Laptop Screen, What do I do? | Dash Cellular Repair | Cell Phone, iPhone, Laptop Repair in Oklahoma