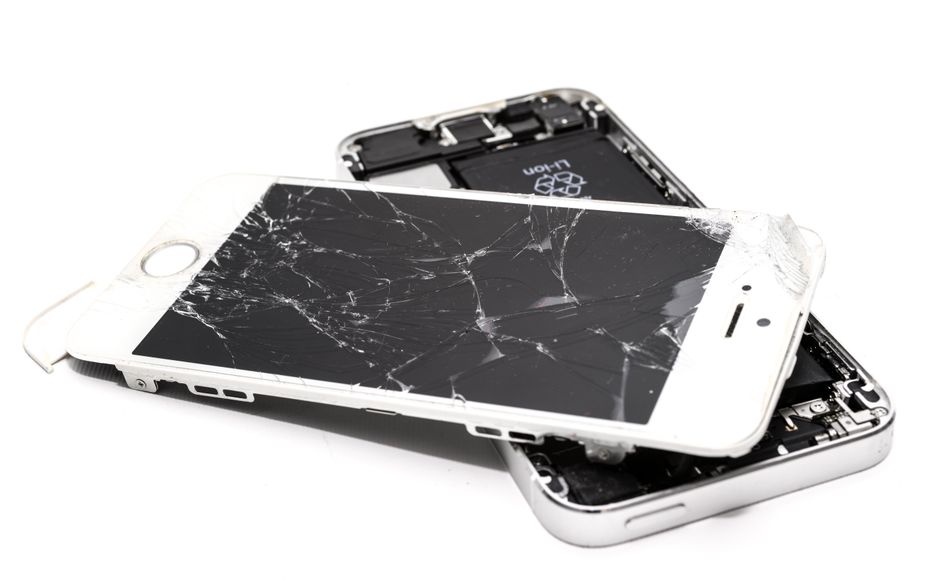
More than 80 percent of iPhone users experience at least one hardware issue during their device’s lifespan, leaving many to weigh costly repairs against do-it-yourself solutions. The idea of opening up your own phone can be daunting, but a careful step-by-step approach can turn a risky task into a manageable project. With the right tools and precautions, you can handle repairs confidently and potentially save both time and money.
Table of Contents
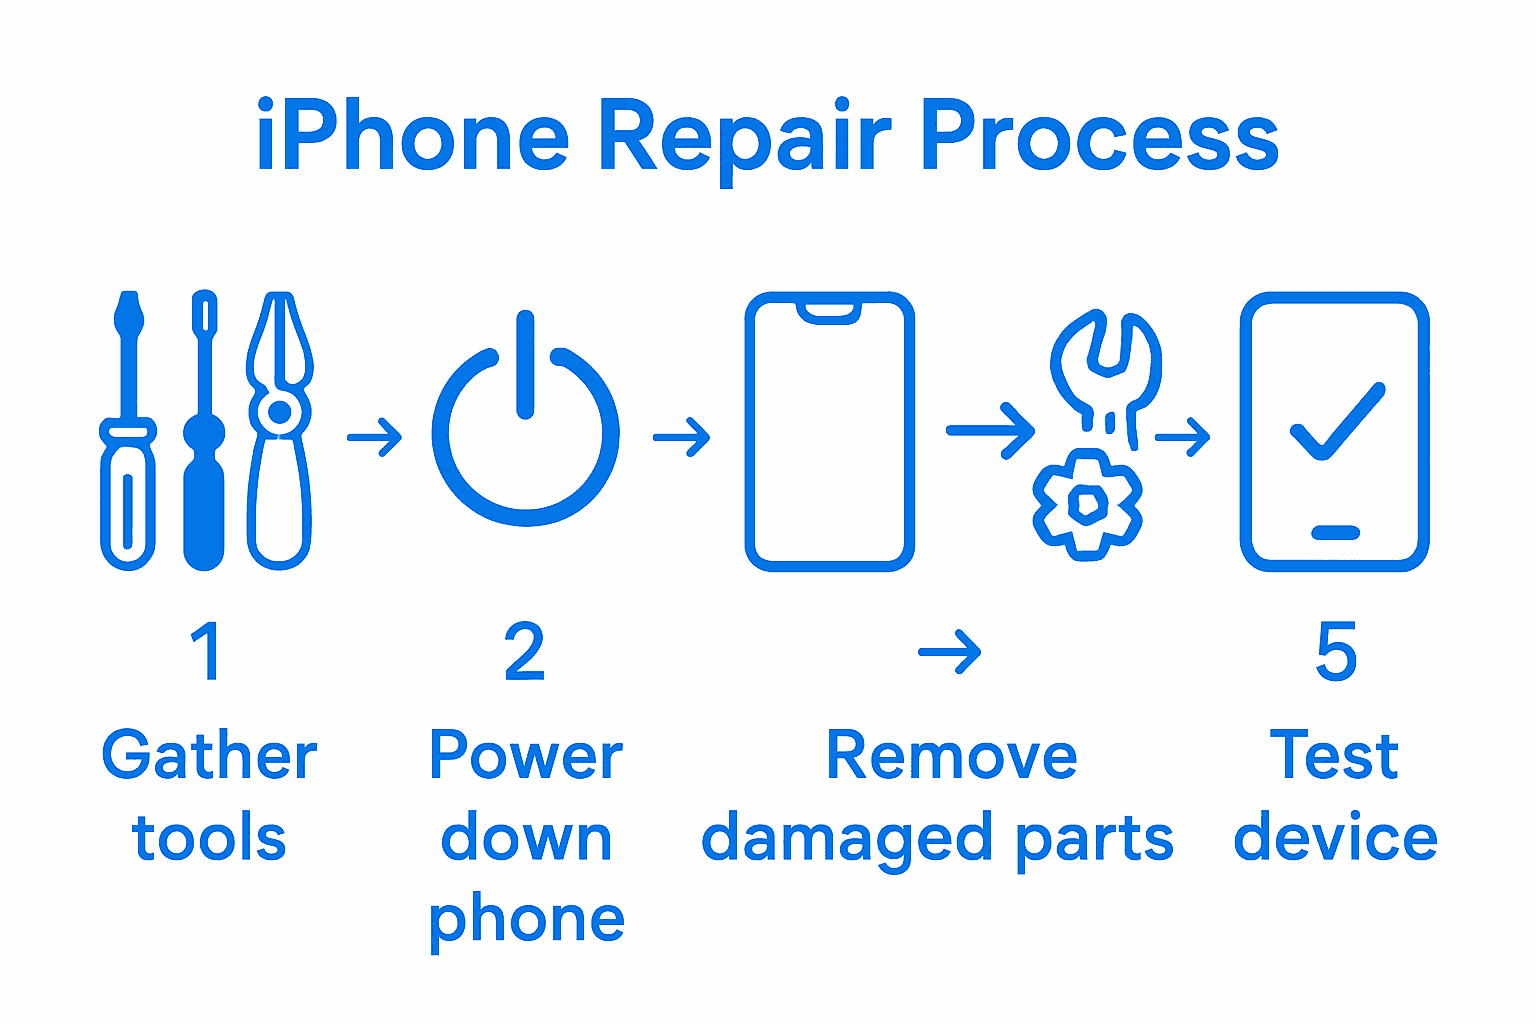
- Step 1: Gather Essential Tools And Materials
- Step 2: Power Down And Secure Your iPhone
- Step 3: Remove Damaged Components Carefully
- Step 4: Install New Parts With Precision
- Step 5: Test And Verify Successful Repairs
Quick Summary
| Key Point | Explanation |
|---|---|
| 1. Assemble a professional repair kit | Gather essential tools like screwdrivers, spudgers, and isopropyl alcohol for safe repairs. |
| 2. Power down and secure the device | Always turn off your iPhone completely to prevent electrical damage during repairs. |
| 3. Remove damaged components with care | Use gentle heat and precise tools to detach damaged parts without causing further harm. |
| 4. Install new parts meticulously | Align and secure new components carefully to maintain functionality and integrity. |
| 5. Conduct thorough testing after repairs | Test all features post-repair to ensure everything works correctly and address issues immediately. |
 |
|
Step 1: Gather Essential Tools and Materials
Before diving into your iPhone repair, you’ll need to assemble a professional repair kit that ensures precision and safety. According to nsdcindia.org, a comprehensive mobile phone repair toolkit includes several critical components that will help you navigate the intricate process of fixing your device.
Your repair kit should include specialized tools like precision screwdrivers (including Pentalobe and Torx types), plastic separation tools, spudgers, and a small suction cup. From Elon University’s Maker Hub, we know that a 54-bit driver kit can be incredibly useful for handling different screw types. Additionally, gather some supporting materials such as isopropyl alcohol, microfiber cleaning cloths, transparent tape, and a magnetic screw mat to keep track of tiny components.
Before starting your repair, wear an anti-static wrist strap to protect sensitive electronic components from static discharge. Pro tip: work in a clean, well-lit area with a soft surface to prevent accidental drops or scratches. Having all your tools organized and within reach will make the repair process smoother and more efficient.
Step 2: Power Down and Secure Your iPhone
Before beginning any iPhone repair, you must safely power down and secure your device to prevent potential electrical damage or data loss. According to essc-india.org, it is crucial to follow proper shutdown procedures to mitigate risks during the repair process.
To power down your iPhone, press and hold the power button located on the side or top of the device. Wait for the sliding power off prompt to appear, then carefully slide the power off slider to completely shut down the device. As recommended by web.ece.ucsb.edu, remove any connected accessories like charging cables, wireless earbuds, or external cases to ensure a clean and safe workspace for repairs.
Warning: Never attempt to repair your iPhone while it is powered on or connected to a power source. This can lead to short circuits, electrical damage, or personal injury. Take your time to carefully disconnect and power down your device before proceeding with any repair work. Once your iPhone is powered off and accessories are removed, you are ready to move on to the next step of the repair process.
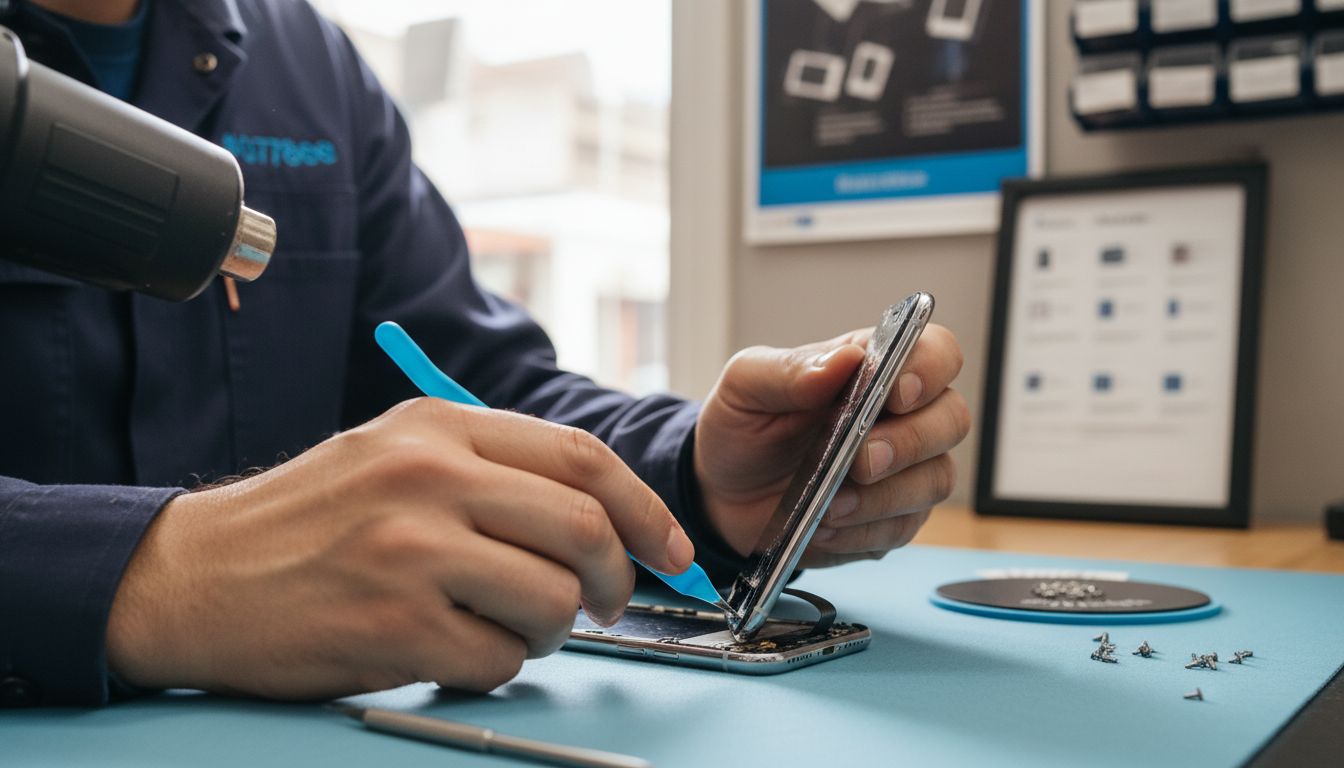
Step 3: Remove Damaged Components Carefully
Removing damaged iPhone components requires precision and patience to prevent further damage to your device. According to ithat.org, the process begins with carefully softening the adhesive that holds the screen in place.
Start by gently heating the edges of the damaged screen using a heat gun or hair dryer on low setting. This will help loosen the adhesive and make removal easier. Use plastic prying tools to slowly lift the display assembly, being careful not to apply too much pressure that could crack the remaining screen or damage internal components. Disconnect the display cables with extreme care. Each movement should be deliberate and slow to avoid accidentally tearing delicate connectors or causing additional harm to your iPhone.
Warning: One wrong move can turn a simple repair into an expensive disaster. Work in a well-lit area with good visibility and keep your hands steady. If you feel unsure at any point stop and seek professional assistance. Your next step will involve preparing the new component for installation once you have successfully and safely removed the damaged part.
Step 4: Install New Parts with Precision
Installing new iPhone components requires meticulous attention to detail to ensure your device functions correctly after repair. As noted by ithat.org, precise installation involves aligning components perfectly and securing connections with careful precision.
Begin by carefully positioning the new component exactly where the old one was removed. According to web.ece.ucsb.edu, using genuine parts is crucial for maintaining your device’s performance and integrity. Reconnect display cables slowly and deliberately, ensuring each connector is firmly seated without excessive force. Gently press the new screen or component into place using even pressure around the edges to create a proper seal with the adhesive.
Warning: Rushing through installation can compromise your entire repair. Take your time to align each component precisely and double check all connections before fully securing the device. A moment of patience can save you from potential costly mistakes.
Once you have carefully installed the new part, you will be ready to test and verify the repair’s success.
Step 5: Test and Verify Successful Repairs
After completing your iPhone repair, a comprehensive testing process will help ensure everything functions correctly. According to ithat.org, thorough post repair testing is essential to confirm the success of your repair work.
Start by powering on your device and systematically checking each component and feature. As recommended by web.ece.ucsb.edu, run a full diagnostic by testing touch sensitivity across the entire screen, verifying button responsiveness, checking camera functionality, and ensuring all display colors and brightness levels appear normal. Pay close attention to screen responsiveness and look for any unusual glitches or performance issues that might indicate an incomplete repair.
Warning: If you notice any persistent problems or abnormal behavior during testing, do not continue using the device. Consider consulting a professional repair technician who can provide a more detailed assessment. A successful repair means your iPhone should function exactly as it did before the damage occurred. Your careful testing now can prevent potential complications or additional damage down the line.
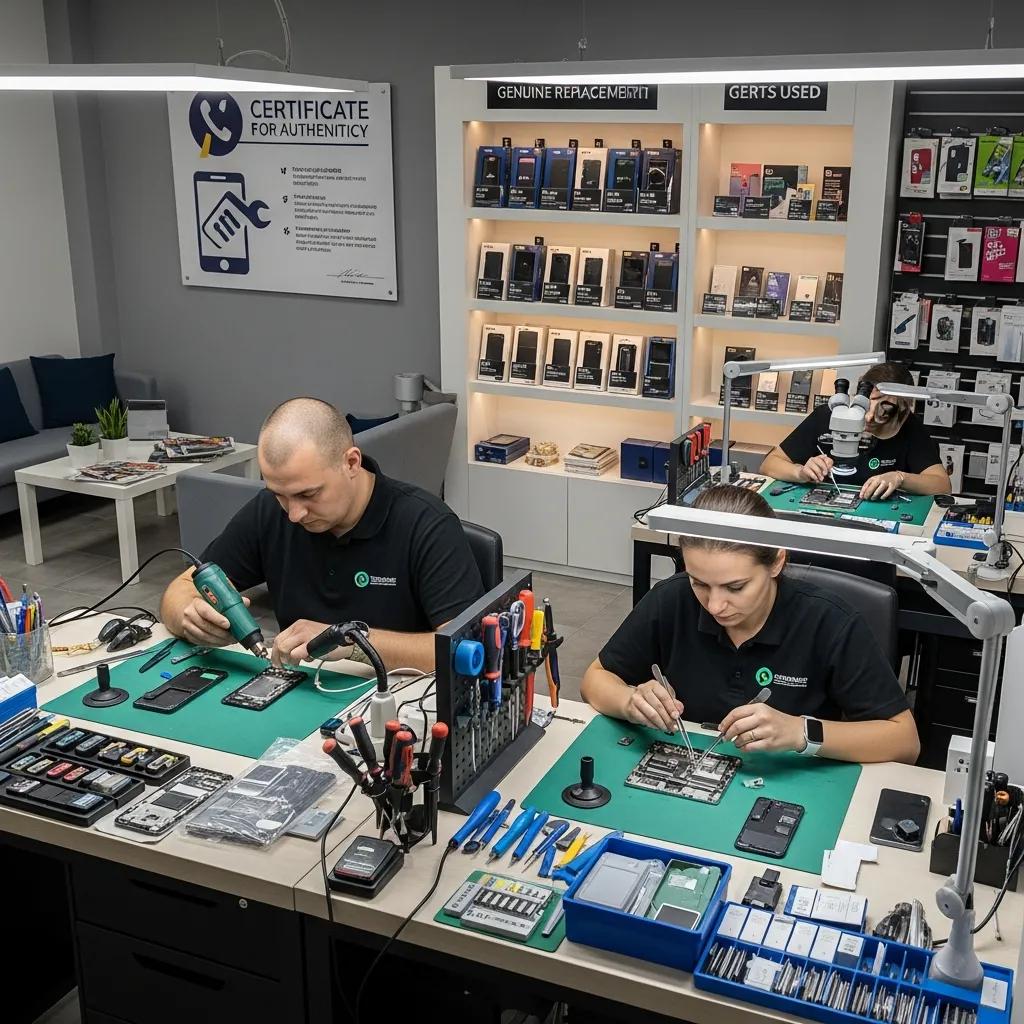
Expert iPhone Repairs Made Easy Near You
Attempting an iPhone repair yourself can be challenging when dealing with delicate components, precise installations, and the need for the right tools. This step-by-step guide highlights the fine balance between careful removal of damaged parts and flawless installation that many local users struggle with. If you want to avoid the stress of risky repairs or potential damage, you do not have to face it alone.

Trust the pros at Dash Repairs who specialize in expert iPhone repair services to restore your device quickly and reliably. From cracked screen fixes to battery replacements we handle every detail so you can skip the guesswork and worry. Need a professional hand with your device? Explore our focused iPhone repair solutions and discover convenient cell phone repair services tailored to your needs. Act now to protect your device and enjoy peace of mind by visiting us today.
Frequently Asked Questions
What tools do I need to start my iPhone repair?
Before starting your iPhone repair, assemble a repair kit that includes precision screwdrivers, plastic separation tools, spudgers, and a suction cup. Gather supporting materials like isopropyl alcohol, microfiber cloths, and tape to ensure a smooth process.
How do I properly power down my iPhone before repair?
To power down your iPhone, press and hold the power button until the power off slider appears, then slide it to turn off the device fully. Make sure to disconnect any accessories to maintain a clean workspace before beginning repairs.
What precautions should I take when removing damaged components?
Take your time and gently heat the edges of the damaged screen to soften the adhesive before removal. Use plastic prying tools carefully to avoid cracking the screen or damaging internal parts during this process.
How can I ensure accurate installation of new iPhone parts?
Align the new component precisely in place and reconnect cables slowly, ensuring each is securely seated. Apply even pressure around the edges to create a proper seal, which is crucial for the functionality of your device.
What steps should I take to test my iPhone after repairs?
After reassembling your iPhone, power it on and systematically check features like touch sensitivity, button responsiveness, and camera functionality. This thorough testing will help confirm the success of your repair before you start using the device again.
What should I do if my iPhone shows problems after repair?
If you notice any abnormal behavior or persistent issues, stop using the device and consider seeking professional help. Addressing these problems early can prevent further complications and potentially save on repair costs.