Cracked your iPhone screen and thinking about fixing it yourself? More people are repairing their own phones now than ever before and DIY phone repair attempts have increased by over 60 percent in just the last two years. Most think swapping out a shattered display is just about buying a new screen and grabbing a screwdriver. That belief costs a lot of people their phones and even puts their personal data at risk.
Table of Contents
- Step 1: Gather Your Repair Tools And Materials
- Step 2: Power Off Your iPhone Safely
- Step 3: Remove The Cracked Screen Carefully
- Step 4: Install The New Screen Correctly
- Step 5: Test Your iPhone For Functionality
- Step 6: Seal And Complete The Repair Process
Quick Summary
| Key Point | Explanation |
|---|---|
| 1. Assemble Essential Repair Tools | Gather a precision screwdriver set, prying tools, tweezers, suction cup, and adhesive strips to ensure a smooth screen replacement process. |
| 2. Power Off Your iPhone Before Repair | Always switch off your iPhone to prevent electrical damage and data loss during the repair procedure. |
| 3. Remove the Cracked Screen Carefully | Use a suction cup and prying tools gently to avoid damaging internal components while detaching the screen. |
| 4. Install the New Screen With Precision | Align and securely connect the new screen’s flex cable to prevent malfunction and ensure proper functionality. |
| 5. Test Functionality After Installation | Check all functions, including touch response and cameras, to confirm the repair was successful and the device operates correctly. |
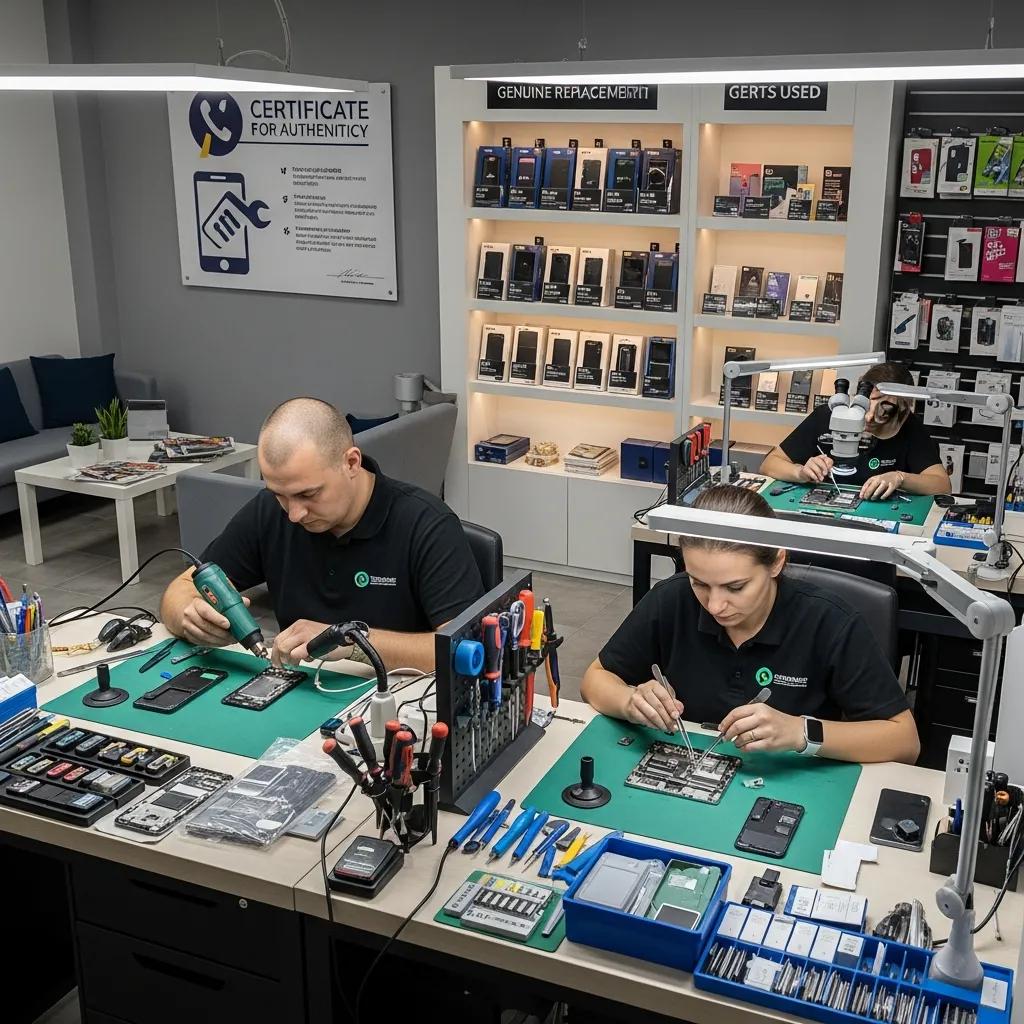
Step 1: Gather Your Repair Tools and Materials
Repairing an iPhone screen requires precision, patience, and the right equipment. Before diving into the repair process, assembling a comprehensive toolkit is crucial for a successful screen replacement. Professional repair technicians understand that having every necessary component ready prevents frustrating interruptions and potential device damage during the repair.
Your essential repair toolkit should include several specialized instruments designed specifically for smartphone screen repairs. Key tools you’ll need include:
- Precision screwdriver set with multiple bit sizes
- Plastic prying tools and metal spudgers
- Tweezers with fine tips
- Suction cup for screen lifting
- Anti-static wrist strap
- Clean microfiber cloth
- Magnifying glass or strong lighting
- Replacement screen (compatible with your specific iPhone model)
- Adhesive strips or repair tape
Before beginning, you’ll want to select a clean, well-lit workspace with a flat surface and minimal distractions. According to research from the University of California, Santa Barbara, assessing your device’s damage thoroughly is critical. Examine the screen carefully to understand the extent of the crack or damage, which will help determine whether a DIY repair is feasible.
Professional repair experts recommend working in a static-free environment and using an anti-static wrist strap to prevent potential electronic component damage. Protect your workspace by covering it with a soft, clean cloth and ensuring you have excellent lighting. A magnifying glass can help you see intricate details during the repair process.
Thoroughly organize your tools before starting. Lay out each instrument in the order you’ll likely use them, and create a clean, organized workspace. Having everything within arm’s reach will make the repair process smoother and reduce the risk of losing small components.
Below is a table summarizing the essential tools and materials required for a successful iPhone screen repair, along with their specific purpose during the process.
| Tool/Material | Purpose |
|---|---|
| Precision screwdriver set | Remove and secure internal screws |
| Plastic prying tools/metal spudger | Safely separate screen from device frame |
| Tweezers (fine tip) | Handle small components and connectors |
| Suction cup | Lift screen gently without damage |
| Anti-static wrist strap | Prevent static electricity damage |
| Microfiber cloth | Clean screen and device surfaces |
| Magnifying glass/strong lighting | Improve visibility of intricate parts |
| Replacement screen | Install as the new display |
| Adhesive strips/repair tape | Seal and secure the screen to frame |
Step 2: Power Off Your iPhone Safely
Before attempting any screen repair, powering off your iPhone is a critical safety step that protects both the device’s internal components and prevents potential electrical accidents. Proper device shutdown minimizes risks of short circuits, unexpected power surges, and potential data loss during the repair process.
Powering off an iPhone requires different approaches depending on your specific model. For iPhone models with physical home buttons, press and hold the power button located on the right or top side of the device. A sliding power off prompt will appear on the screen. Slide the power off control from left to right to completely shut down the device. For newer iPhone models without a home button, the process involves pressing and holding the side button and either volume button simultaneously until the power off slider appears.
According to Apple’s official support documentation, it’s crucial to wait approximately 30 seconds after powering off to ensure all system processes have completely stopped. This brief waiting period allows internal capacitors to discharge and provides an additional layer of safety before you begin disassembling the device.
If your iPhone becomes unresponsive and cannot be powered off through standard methods, you might need to perform a force restart. For most recent iPhone models, this involves quickly pressing and releasing the volume up button, then the volume down button, and finally pressing and holding the side button until the Apple logo appears. This process does not erase data but can help reset an unresponsive device.
Verification steps to confirm safe shutdown:
- Screen is completely dark
- No sounds or vibrations when touching the device
- Power slider has been activated and device is non-responsive
Remember that completely powering down your iPhone is non-negotiable before beginning any repair work. Skipping this step could result in electrical damage, data corruption, or personal injury. Take your time, follow the steps carefully, and ensure your device is completely powered off before proceeding to the next stage of screen repair.
Step 3: Remove the Cracked Screen Carefully
Removing a cracked iPhone screen requires meticulous precision and a steady hand. This critical stage of the repair process demands careful attention to prevent additional damage to your device’s internal components. Professional technicians understand that screen removal is more than just prying off the broken glass it involves understanding the delicate connection between the screen and the phone’s internal electronics.
Begin by using a small suction cup positioned near the home button or bottom edge of the screen. Apply gentle, consistent pressure to create a slight lifting point. Slowly and carefully work the plastic prying tool underneath the screen’s edge, using smooth and controlled movements. Warning: Excessive force can damage the underlying connectors or ribbon cables that link the screen to the phone’s main logic board.
According to research from the University of California, Santa Barbara, assessing the extent of screen damage is crucial before beginning the removal process. Examine the screen carefully to understand how the glass has fractured and identify any areas where additional caution might be required.
Key precautions during screen removal:
- Move slowly and deliberately
- Use minimal force
- Keep your workspace clean and organized
- Have tweezers and magnetic screw trays ready
- Work under bright, direct lighting
As you lift the screen, you’ll encounter several fragile connectors linking the display to the phone’s internal components. Use your precision tweezers to carefully disconnect these ribbons. Some iPhone models require specific techniques for disconnecting these delicate connections, so proceed with extreme caution.
Once you’ve fully separated the screen, place the broken display and the iPhone body on a clean, static-free surface. Inspect the internal components for any additional damage caused by the initial screen crack. Verification is key: Ensure no internal components appear bent, broken, or displaced during the removal process. Take a moment to breathe and assess your progress before moving to the next repair step.
Step 4: Install the New Screen Correctly
Installing a new iPhone screen is a delicate process that requires precision, patience, and a methodical approach. This critical step determines the success of your entire repair, transforming your damaged device back into a fully functional smartphone. The key to a successful screen installation lies in understanding the intricate connection between the new screen and your iPhone’s internal components.
Begin by carefully aligning the new screen’s flex cable with the device’s connection point. Use your precision tweezers to guide the cable into place, ensuring it sits perfectly straight without any twisting or bending. Gentle but firm pressure is crucial – you want to create a secure connection without damaging the delicate electronic pathways.
According to research from the University of California, Santa Barbara, proper alignment of the screen’s connector is paramount. Misalignment can result in touch sensitivity issues, display malfunctions, or complete screen failure. Take your time to position the connector precisely, using a magnifying glass if necessary to ensure absolute accuracy.
Critical installation checkpoints:
- Verify flex cable is completely seated
- Ensure no dust or debris around connection points
- Check screen sits flush with device frame
- Confirm no visible gaps or misalignments
- Test connector stability before final attachment
Once the screen is initially positioned, begin securing it using the original screws. Use your precision screwdriver and work systematically, applying consistent but gentle pressure. Start with corner screws to establish proper alignment, then progress to the remaining fasteners. Avoid over-tightening, which can crack the screen or damage the device’s internal frame.
After mechanical installation, carefully inspect the screen’s edges. Run your finger gently around the perimeter to ensure a seamless fit with no raised edges or gaps. Any irregularities could indicate improper installation and may require readjustment.
![]() Your goal is a screen that looks and feels like it came directly from the factory, with perfect integration into the iPhone’s body.
Your goal is a screen that looks and feels like it came directly from the factory, with perfect integration into the iPhone’s body.
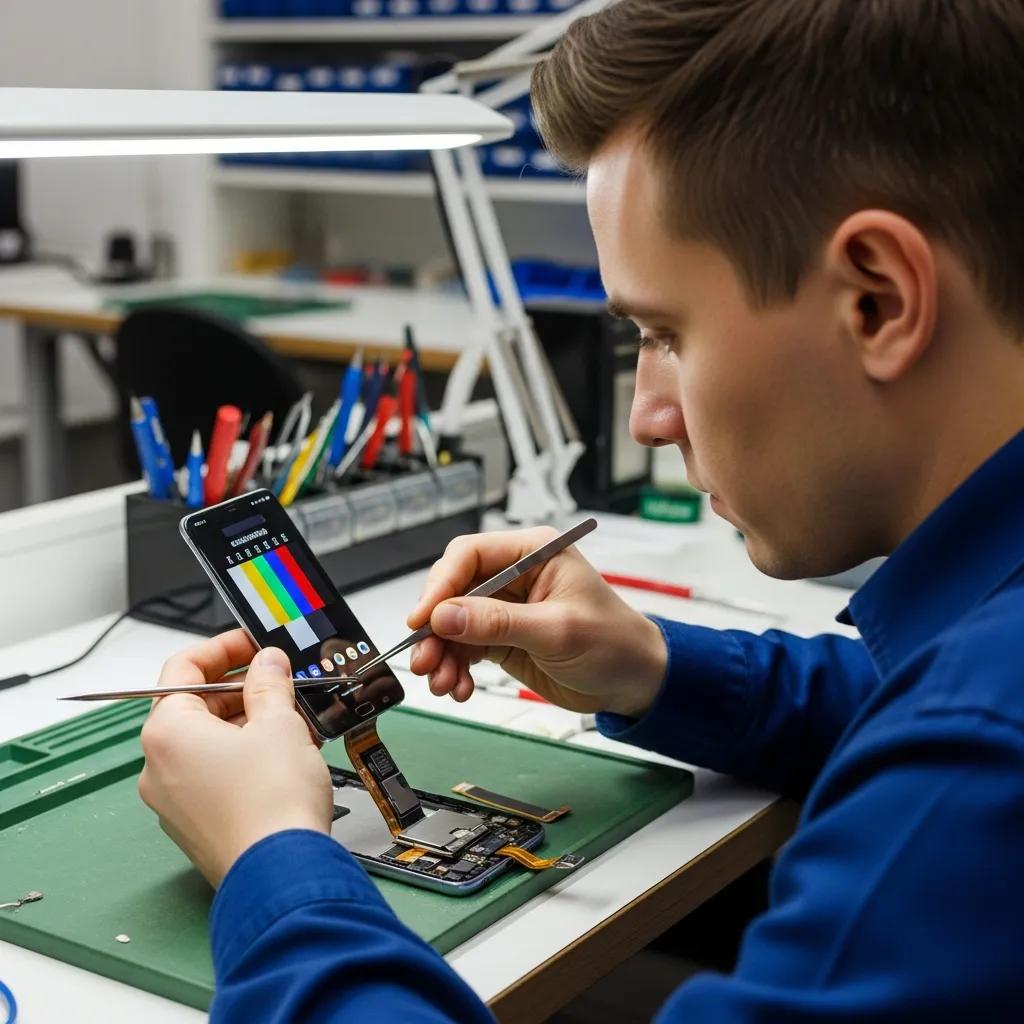
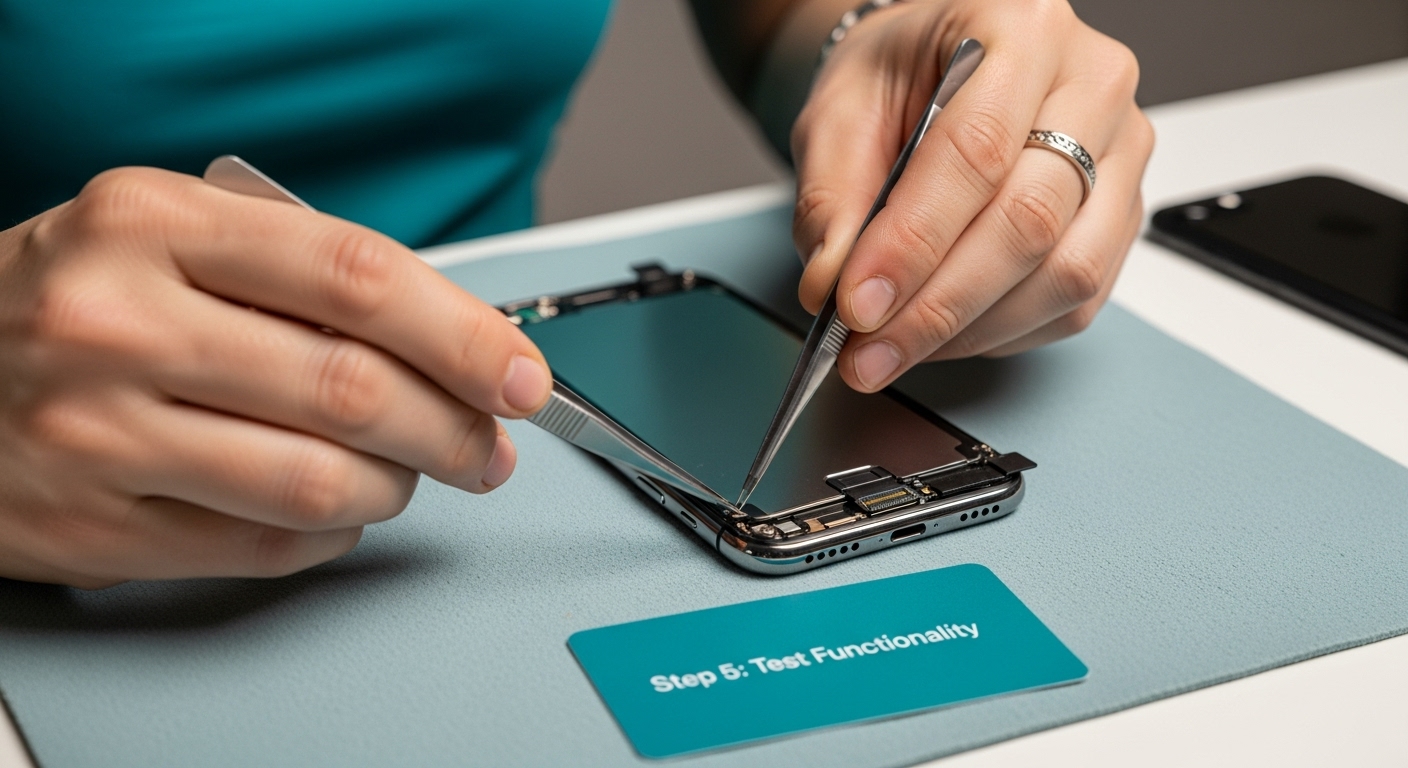
Step 5: Test Your iPhone for Functionality
After installing the new screen, comprehensive functionality testing becomes the most critical phase of your iPhone repair. This step determines whether your repair was successful and ensures that every component of your device operates correctly. A systematic approach to testing will help you identify any potential issues that may have occurred during the screen replacement process.
Begin by charging your iPhone and powering it on completely. Observe the startup sequence carefully, watching for any unusual delays, flickering, or unexpected behavior. The first boot after a screen replacement can reveal immediate signs of potential problems. Pay close attention to the initial screen display, checking for uniform color, consistent brightness, and smooth touch responsiveness.
Test each core function meticulously. Start with basic touch interactions by navigating through different apps, swiping between screens, and checking the responsiveness of various areas of the display. Open multiple applications to ensure smooth transitions and verify that the touch sensitivity remains consistent across the entire screen surface. Check both light and dark areas of the screen to confirm uniform performance.
Critical functionality test points:
- Verify touch screen responsiveness
- Test all device buttons
- Check camera functionality
- Examine sound quality
- Validate Wi-Fi and cellular connections
- Test battery performance
Specifically examine features that could be impacted by screen replacement. Test the front and rear cameras, ensuring they capture images and videos without distortion. Verify speaker and microphone functionality by making a test call and playing music. Check wireless connections by opening browser apps and testing Wi-Fi and cellular data performance.
If any functionality appears compromised, do not panic. Some minor issues can be resolved by performing a soft reset or recalibrating the device. However, persistent problems might indicate a need for professional intervention. Your careful testing now can prevent potential long-term complications and ensure your iPhone operates at its optimal performance level after the screen repair.
Step 6: Seal and Complete the Repair Process
Sealing your iPhone after a screen repair is the final critical step that ensures the longevity and structural integrity of your device. This process involves more than simply closing the phone it requires careful attention to detail and precision to protect your newly installed screen and internal components. The goal is to create a seamless finish that looks and feels like a professional repair.
Begin by carefully inspecting the device’s edges and frame. Use a clean microfiber cloth to remove any dust, fingerprints, or residual adhesive that might have accumulated during the repair process. Gentle, consistent pressure is key when aligning the screen and ensuring a perfect fit. Examine the screen’s perimeter closely, checking for any slight gaps or misalignments that could compromise the device’s water resistance or structural integrity.
According to research from the University of California, Santa Barbara, proper sealing is crucial to prevent dust, moisture, and debris from entering the device. If your repair kit included adhesive strips or sealant, apply these with extreme care, ensuring an even and complete seal around the screen’s edges.
Final repair verification checklist:
- Confirm screen sits flush with device frame
- Check for any visible gaps or misalignments
- Verify all buttons function smoothly
- Ensure no loose components or rattling
- Test screen responsiveness across entire surface
- Validate device remains water-resistant
Once you’ve completed the physical sealing, perform a final comprehensive functionality test. Power on the device and navigate through various applications, checking touch sensitivity, display quality, and overall performance. Pay special attention to the screen’s edges and corners, ensuring the repair has not compromised the device’s structural integrity.
This checklist table outlines the key verification steps recommended after sealing your device, helping you confirm the quality and completeness of your iPhone screen repair.
| Final Verification Step | What to Check For |
|---|---|
| Screen flush with device frame | No raised edges or uneven gaps |
| No visible gaps or misalignments | No openings along screen perimeter |
| All buttons function smoothly | Volume, power, and home buttons respond properly |
| No loose components or rattling inside | Device feels solid without internal noise |
| Touch screen responsive across surface | Uniform performance on all parts of display |
| Device remains water-resistant | Proper seal maintained post-repair |
Congratulations on completing your iPhone screen repair. The final step is maintaining your device by using a high-quality screen protector and protective case to prevent future damage. Your careful attention to detail and methodical approach have successfully restored your iPhone to its optimal condition.
Want a Faster, Safer Solution for Your iPhone Screen Repair?
Trying to follow every step in a DIY screen repair can feel overwhelming, especially when you worry about damaging connectors or ending up with an unresponsive device. Missing tools, tiny screws, and the risk of voiding your warranty can quickly turn a simple crack into a stressful experience. If you want peace of mind and guaranteed results, our local experts are ready to help. Explore our professional iPhone repair services for a hassle-free solution that protects your device and your time.

Skip the frustration and restore your iPhone’s look and performance with certified technicians on your side. Thousands in your community have trusted Dash Repairs for fast turnarounds, affordable pricing, and real warranties. Book your repair today and experience convenience and quality all in one place. Looking for more device support? Browse our full cell phone repair options now.
Frequently Asked Questions
How do I safely power off my iPhone before a screen repair?
To power off your iPhone, press and hold the power button until the slide to power off prompt appears on the screen. For newer models without a home button, press and hold the side button and either volume button until the power off slider appears. Slide it to turn off the device completely.
What tools do I need for an iPhone screen repair?
You will need a precision screwdriver set, plastic prying tools, tweezers, a suction cup, an anti-static wrist strap, a microfiber cloth, a magnifying glass, a compatible replacement screen, and adhesive strips or repair tape.
How do I ensure the new iPhone screen is installed correctly?
To install the new screen correctly, align the flex cable with the device’s connection point, ensuring it is straight. Secure the screen by replacing the screws in a systematic manner, starting with the corners to maintain alignment, and avoid over-tightening.
What should I do if my iPhone screen is unresponsive after repair?
If your iPhone screen is unresponsive after the repair, first ensure that all connections are secure. You can try performing a soft reset by pressing and holding the side button until the Apple logo appears. If issues persist, further diagnosis may be needed to check for any misaligned components or connections.