Over 50 million American smartphones experience screen damage every year, making cracked displays an all-too-common frustration. Fixing your own device may sound daunting, but knowing the right steps can save you time and expensive repair bills. With a little patience and careful preparation, you can confidently handle a phone screen replacement using tools and easy-to-follow instructions designed for American consumers.
Table of Contents
- Step 1: Gather Necessary Tools And Materials
- Step 2: Power Off And Secure The Phone
- Step 3: Remove The Damaged Screen Safely
- Step 4: Install The New Screen Carefully
- Step 5: Test And Verify Proper Screen Functionality
Quick Summary
| Key Takeaway | Explanation |
|---|---|
| 1. Gather Essential Tools | Assemble precision screwdrivers, pry tools, a magnetic mat, and adhesive for effective screen repair. |
| 2. Power Off the Device | Ensure complete shutdown of your phone to prevent electrical damage during repairs. |
| 3. Remove the Damaged Screen Carefully | Use a suction cup and prying tools to detach the broken screen without risking further damage to internal components. |
| 4. Install the New Screen with Precision | Align connector cables carefully and secure with screws, avoiding pressure that could harm fragile parts. |
| 5. Test Screen Functionality After Installation | Power on the device and check for display issues; reseat cables if any problems arise. |
Step 1: Gather Necessary Tools and Materials
To successfully repair a broken phone screen at home, you’ll need a carefully curated set of tools and materials. Preparing your workspace and assembling the right equipment is crucial for a smooth, effective repair process.
A comprehensive mobile phone repair kit should include several key items. You’ll want precision screwdrivers with multiple bit sizes, plastic pry tools for safely separating phone components, and a magnetic mat to organize small parts. A heat gun or hairdryer helps weaken adhesives during screen removal, making the disassembly process easier. Additional essential tools include tweezers, an anti static wrist strap, replacement screen adhesive, isopropyl alcohol for cleaning, and protective gloves to prevent static discharge or finger oils from damaging delicate phone components.
Before starting, double check that you have all materials within reach and create a clean, well-lit workspace. A small parts container or magnetic mat will help keep tiny screws and components organized and prevent accidental loss. Pro tip: work on a flat surface with good lighting and minimal distractions to maintain focus during this precision task.
Step 2: Power Off and Secure the Phone
Before diving into your phone screen repair, you must completely power down your device to prevent potential electrical damage and ensure personal safety. This critical first step protects both you and your smartphone during the repair process.
Completely powering off the cell phone requires more than just tapping the power button. Hold down the power button for several seconds until the shutdown menu appears, then select power off. For some devices, you might need to slide or tap a confirmation button. If your phone has a removable battery, take an extra precaution by physically removing it after powering down. This eliminates any residual electrical current and prevents potential electrical hazards during the repair.
Work in a well-organized area with good lighting and a clean, flat surface. Keep your phone away from moisture, static electricity, and potential bumps or falls. Have a small container nearby to store screws and components, and consider using an anti static wrist strap if you have one. With your device securely powered off, you are now ready to begin the careful process of screen removal.
Step 3: Remove the Damaged Screen Safely
Removing a damaged phone screen requires precision, patience, and the right tools. Your goal is to carefully separate the broken screen from the phone’s internal components without causing additional damage during the extraction process.
Carefully prying the screen away begins with specialized tools like a pentalobe screwdriver and a suction cup. Start by removing the two screws located at the bottom of the device. Gently apply the suction cup to lift the screen slightly, creating a small gap between the screen and phone body. Use a plastic prying tool to slowly and methodically separate the screen, working your way around the edges. Move slowly and maintain consistent, gentle pressure to prevent accidentally tearing ribbon cables or damaging internal connectors.

Warning: Some phones have strong adhesive holding the screen in place, so proceed with extreme caution. If you feel significant resistance, stop and reassess your approach. Work in a well lit area, use tweezers for delicate connections, and keep your workspace organized to avoid losing tiny screws or components. With careful maneuvering, you can successfully remove the damaged screen and prepare for the replacement process.
Step 4: Install the New Screen Carefully
Now comes the most critical part of your phone screen repair: carefully installing the new screen. This delicate process requires precision and patience to ensure your phone functions perfectly after the replacement.
Aligning the new screen’s cables is a crucial step that demands careful attention. Begin by positioning the new screen’s connector cables directly over the corresponding ports on the phone’s motherboard. Gently press the cables down until you hear a soft click, indicating they are securely seated. Be extremely careful not to bend or damage the fragile ribbon cables during this process. After connecting the cables, replace the metal protective shield and carefully reinsert the original screws, ensuring everything is properly aligned and tightened.
Warning: Take your time during this step and double check all connections. Avoid applying excessive pressure that could damage the delicate internal components. After installation, perform a quick functionality test by powering on the device and checking both the display and touchscreen responsiveness. If anything seems off, carefully disassemble and recheck your cable connections. With steady hands and careful attention to detail, you can successfully complete your phone screen replacement.
Step 5: Test and Verify Proper Screen Functionality
With the new screen installed, it is time to confirm that everything works correctly. This critical final step ensures your repair was successful and your phone will function as expected.
Thoroughly testing the screen functionality involves checking multiple aspects of your device’s performance. Power on the phone and carefully examine the display for any abnormalities such as dead pixels, color distortions, or unresponsive areas. Verify that the touchscreen registers touches accurately by navigating through different apps and menus. Test the front camera, screen brightness controls, and all standard display features to ensure complete functionality.

Warning: If you notice any issues during testing, do not panic. Carefully power down the device and recheck all cable connections. Sometimes a loose connection can cause intermittent problems. Most minor issues can be resolved by gently reseating the screen cables or ensuring the protective metal shield is correctly positioned. If problems persist, you may need professional assistance or a replacement screen. Your patience and careful approach will help ensure a successful phone screen repair.
Need Help Repairing Your Broken Phone Screen Quickly and Affordably
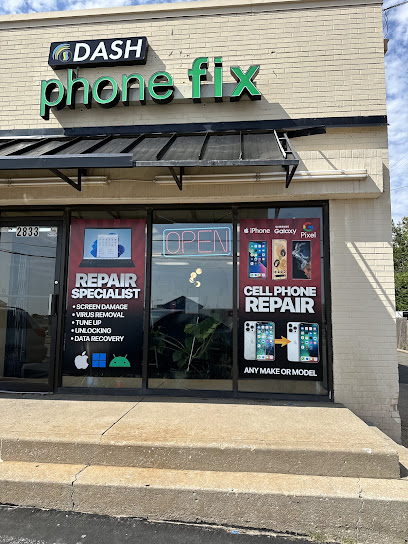
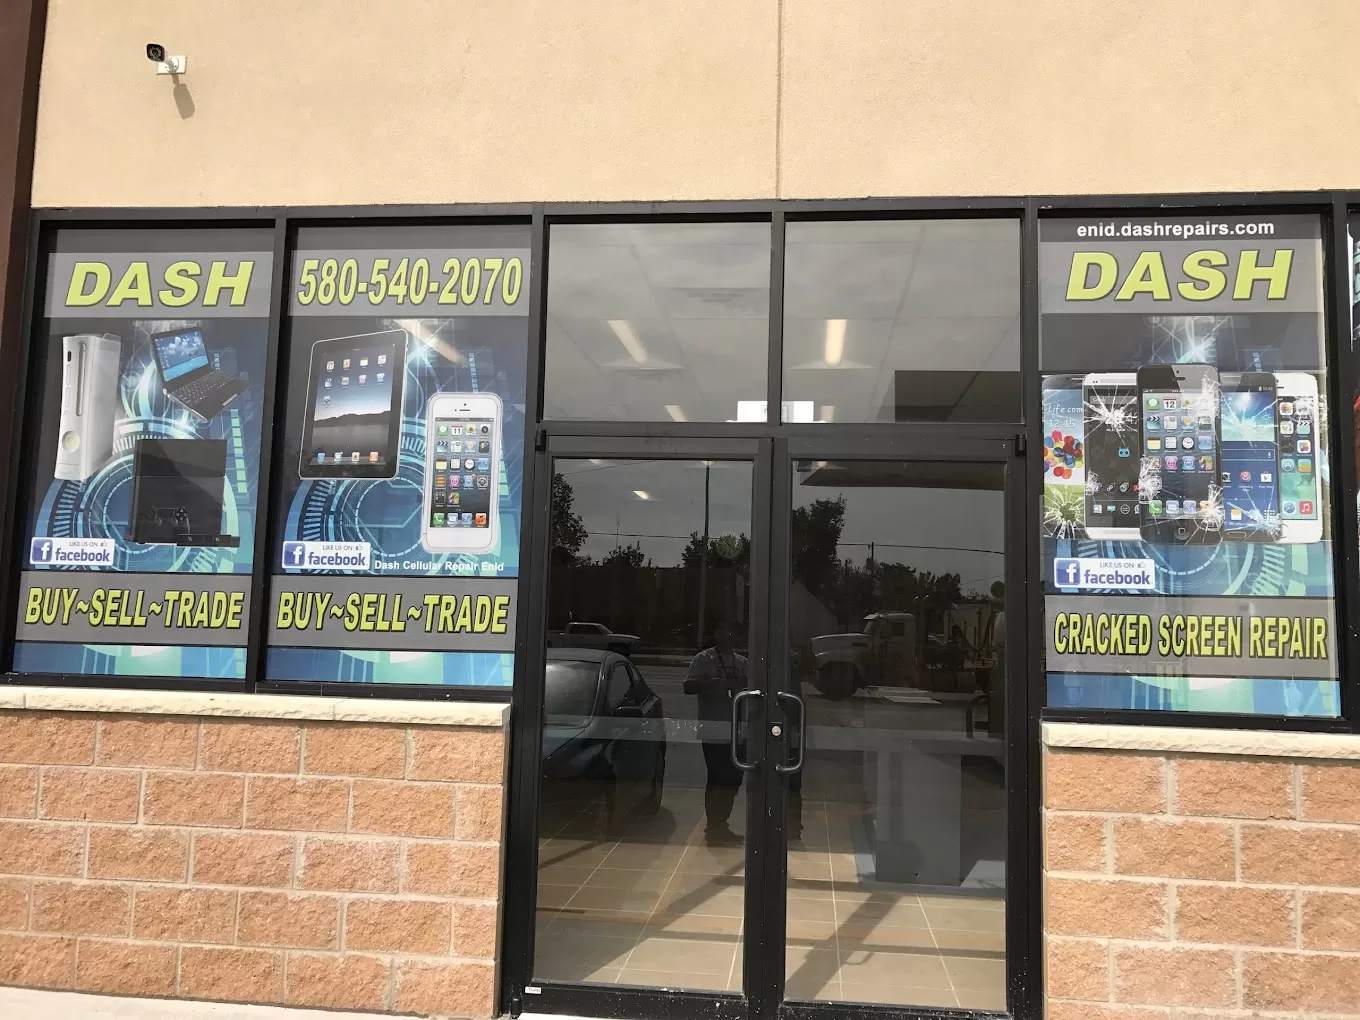
Fixing a broken phone screen at home can be tricky and stressful. From carefully removing the damaged screen to securely installing a new one without causing more damage, the process demands patience, precision, and the right tools. If you want to avoid the frustration of potential errors like torn ribbon cables or improper connections, consider trusting the experts at Dash Repairs. We specialize in professional Cell Phone Repair with fast turnaround times and reliable warranties that ease your worries.

Don’t wait and risk further damage when a local, affordable solution is just a click away. Visit Dash Repairs now to schedule your repair and get your device functioning like new. Discover how our team makes screen replacements simple and stress free. For insights on all our services, browse through our Uncategorized category and see why customers in Oklahoma trust us with their valuable devices.
Frequently Asked Questions
How do I gather the necessary tools to fix my broken phone screen at home?
To fix a broken phone screen at home, gather essential tools including precision screwdrivers, plastic pry tools, a heat gun or hairdryer, tweezers, and replacement screen adhesive. Create a clean workspace with good lighting to ensure efficient organization and ease during the repair process.
What is the first step I should take before repairing my phone screen?
Before starting the repair, power off your phone completely to prevent any electrical hazards. Hold down the power button until the shutdown menu appears, then select ‘Power Off’ to ensure your device is safe to work on.
How do I safely remove the damaged phone screen?
Carefully pry the damaged screen away using a suction cup and a plastic pry tool, removing screws as needed. Apply even pressure while separating the screen, and be cautious of any strong adhesive that may offer resistance during the process.
What should I do to install the new screen correctly?
Align the new screen’s connector cables with the corresponding ports on the motherboard before securing them. Make sure to press gently until you hear a click and replace any protective shields and screws properly to guarantee a solid installation.
How can I verify that the new screen is functioning properly after installation?
To verify that the new screen functions properly, power on your phone and check for display abnormalities, such as dead pixels or unresponsive areas. Test touchscreen responsiveness by navigating through different apps, ensuring everything operates normally.
What should I do if I experience issues after replacing my screen?
If you notice any issues after installation, power down the device and recheck all cable connections to ensure they are secure. If problems persist, you might need to reseat the screen cables or seek professional assistance for further troubleshooting.
Recommended
- How to Quickly and Easily Fix Your Broken Cell Phone | Dash Cellular Repair | Cell Phone, iPhone, Laptop Repair in Oklahoma
- Step-by-Step Guide to Fixing Cell Phone Screen Properly | Dash Cellular Repair | Cell Phone, iPhone, Laptop Repair in Oklahoma
- Choosing the Right Cell Phone Repair Shop | Dash Cellular Repair | Cell Phone, iPhone, Laptop Repair in Oklahoma
- How to Repair a Cracked Phone Screen Easily at Home | Dash Cellular Repair | Cell Phone, iPhone, Laptop Repair in Oklahoma
- Mirror Phone to Projector: Easy Ways for Malaysians 2025 – Projector Display