Nearly half of all American smartphone users have faced unexpected device issues in the past year. When your phone suddenly stops working or shows signs of damage, it can disrupt daily routines, access to contacts, and even work. Knowing how to properly assess problems, protect your personal data, and select trustworthy repair options empowers you to handle mobile device troubles with confidence and avoid costly mistakes.
Table of Contents
- 1. Assess Visible Damage And Symptoms
- 2. Backup Your Data Before Repair
- 3. Check Warranty And Service Options
- 4. Remove Sim And Memory Cards
- 5. Choose A Trusted Local Repair Shop
- 6. Inspect The Repair Quality Post-Service
- 7. Test Device Functions Before Leaving
Quick Summary
| Takeaway | Explanation |
|---|---|
| 1. Conduct a Thorough Visual Inspection | Examine your smartphone for visible damage, as it provides critical insights into potential internal issues needing repair. |
| 2. Secure Your Data with Backups | Always back up personal information before repairs, to protect against data loss during the repair process. |
| 3. Check Warranty Status Before Repair | Investigate warranty coverage to potentially save money on repair costs, as some damages might be covered. |
| 4. Remove SIM and Memory Cards | Extract these components before repairs to safeguard personal data and avoid loss or damage. |
| 5. Test Device Functions Post-Repair | Always conduct a detailed functionality test after repair to ensure all components work correctly and efficiently. |
1. Assess Visible Damage and Symptoms
Before diving into complex mobile repair procedures, you need a clear picture of what’s wrong with your device. Visual inspection is your first critical step in diagnosing potential issues and determining the right repair strategy.
Careful examination of your smartphone reveals important clues about its condition. Physical damage often tells a story beyond surface appearances. According to service and repair documentation, thorough visual assessment includes checking multiple device components for signs of wear, damage, or malfunction.
What to Inspect:
- Screen integrity (cracks, chips, discoloration)
- Exterior casing for dents or structural damage
- Charging port for debris or bent pins
- Buttons for responsiveness and physical condition
- Battery surface for swelling or corrosion
Pay special attention to subtle indicators that might suggest deeper problems. Water damage marks, unusual screen discoloration, or persistent software glitches can signal more significant internal issues. By methodically documenting each observed symptom, you create a comprehensive diagnostic roadmap for potential repairs.
Pro Tip: Take clear, well lit photographs of all damage during your initial assessment. These images will be invaluable when discussing repair options with a professional technician or tracking the extent of device deterioration.
2. Backup Your Data Before Repair
Before handing your smartphone over for repairs, protecting your personal data is absolutely critical. Your device contains a treasure trove of memories, important documents, contacts, and irreplaceable information that must be secured.
Data Backup Strategies:
- Cloud storage services (Google Drive, iCloud)
- External hard drives
- Computer file transfer
- Dedicated backup applications
The repair process potentially exposes your device to data loss or accidental deletion. Some repair scenarios might require complete device reset or component replacement that could permanently erase your stored information. By creating a comprehensive backup, you safeguard everything from personal photos and messages to work documents and application settings.
Recommended Backup Methods:
- Use built-in smartphone backup features
- Transfer files manually to a computer
- Upload critical documents to secure cloud platforms
- Export contact lists and important text message threads
Quick backup tips include enabling automatic cloud synchronization before repair, transferring large media files separately, and verifying your backup completeness. Remember that thorough preparation prevents potential heartache from unexpected data loss during smartphone repairs.
Pro Tip: Always encrypt your backups and use strong passwords to protect sensitive personal information from potential security breaches.
3. Check Warranty and Service Options
Before investing in repairs, understanding your smartphone’s warranty and available service options can potentially save you significant money and frustration. Different devices and manufacturers offer varying levels of coverage that might completely or partially offset your repair expenses.
Key Warranty Considerations:
- Original manufacturer warranty status
- Remaining coverage period
- Type of damage covered
- Repair or replacement eligibility
- Extended warranty options
Many smartphone manufacturers provide limited warranties that cover manufacturing defects but exclude accidental damage. Some credit card companies and device protection plans offer additional coverage you might have forgotten about. Always investigate these options before paying out of pocket for repairs.
Warranty Verification Steps:
- Locate original purchase documentation
- Check manufacturer warranty website
- Contact original seller or manufacturer support
- Review insurance or protection plan details
- Understand specific repair coverage conditions
Smart consumers recognize that warranty exploration can transform an expensive repair into a free or discounted service. Pay attention to warranty expiration dates and specific terms that might impact your repair strategy.
Pro Tip: Take photographs of your device and document all communication when discussing warranty claims to create a clear record of your repair request.
4. Remove SIM and Memory Cards
Protecting your personal data during mobile device repairs requires a critical preliminary step: removing your SIM and memory cards. These small components store significant personal information and can be easily lost or damaged during repair procedures.
Why Remove These Cards:
- Prevent potential data loss
- Protect personal contact information
- Safeguard financial and personal records
- Ensure card compatibility with future device use
SIM cards contain your cellular network profile and contact information, while memory cards store photos, videos, documents, and personal media. Extracting these before handing your device to a repair technician ensures your private information remains secure and accessible.
Removal Process:
- Power off your smartphone completely
- Locate the SIM card tray (typically on device side)
- Use the provided SIM removal tool or straightened paperclip
- Gently push the extraction button
- Carefully remove the SIM and memory cards
- Store cards in a clean, static free container
Pro Tip: Take a photograph of your card placement before removal to help you reinstall them correctly after repair. Always handle these delicate components with clean hands and store them in a safe location away from magnetic sources or extreme temperatures.
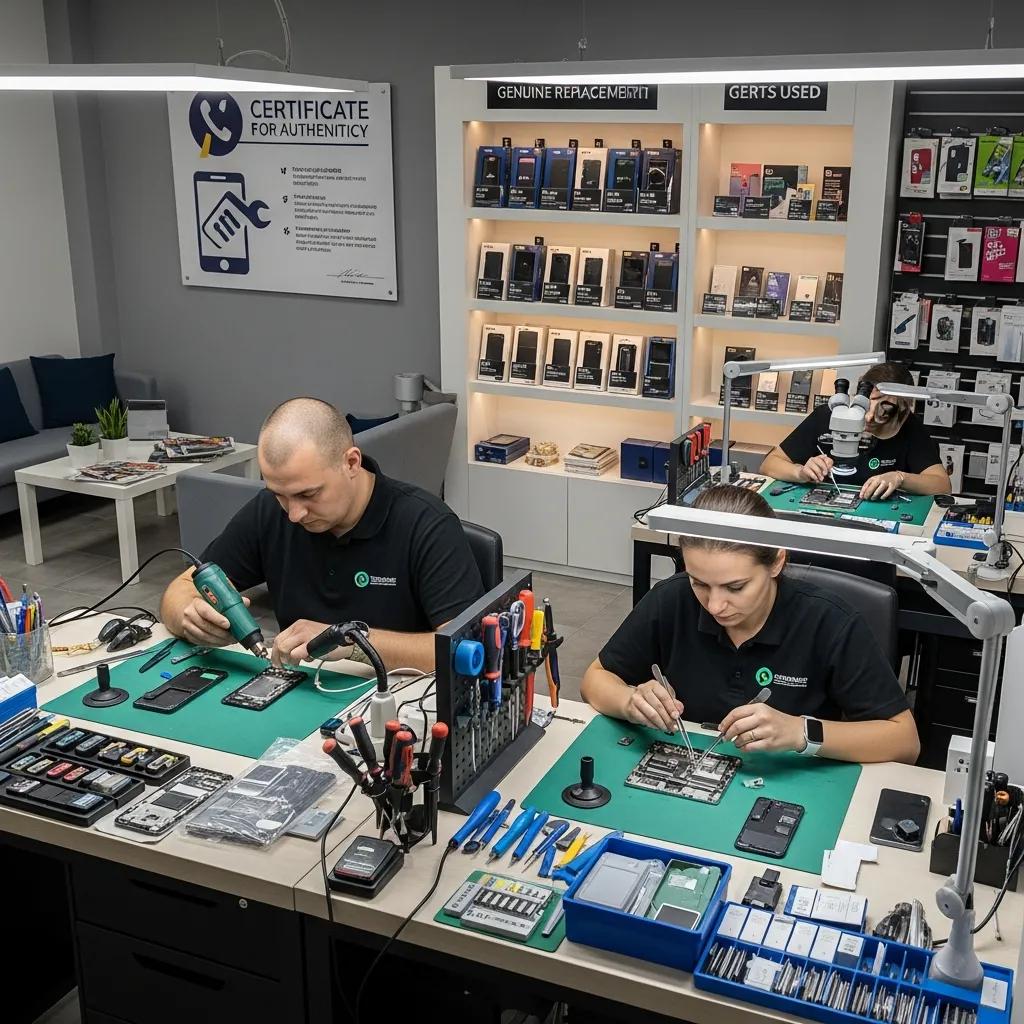
5. Choose a Trusted Local Repair Shop
Selecting the right repair shop can make the difference between a quick device restoration and a costly mistake. Not all repair centers offer the same quality of service or expertise needed to properly address your smartphone issues.
Key Selection Criteria:
- Certified technicians with proven experience
- Transparent pricing and repair estimates
- Positive customer reviews and reputation
- Warranty on repair work
- Specialized knowledge in your specific device model
Thoroughly researching local repair shops helps prevent potential complications. Certified repair labs are critical for ensuring quality service and avoiding additional expenses associated with uncertified or inexperienced technicians.
Evaluation Process:
- Check online reviews and ratings
- Verify technician certifications
- Request detailed repair quotes
- Ask about parts and labor warranties
- Confirm device brand specialization
Smart consumers understand that the cheapest option is not always the best. A reputable local repair shop guide can help you identify technicians who balance expertise with fair pricing.
Pro Tip: Request to see examples of previous repair work and ask about the specific techniques and tools used in smartphone restoration.
6. Inspect the Repair Quality Post-Service
After receiving your repaired smartphone, a thorough quality inspection is crucial to ensure the repair meets professional standards. Rushing this final step can mean missing critical issues that might compromise your device’s performance or functionality.
Comprehensive Inspection Checklist:
- Test all physical buttons and touchscreen responsiveness
- Check screen display for color accuracy and touch sensitivity
- Verify camera functionality
- Test charging port and data transfer capabilities
- Confirm battery performance and charging speed
- Validate sound and speaker quality
- Examine external casing for proper reassembly
A meticulous device repair checklist can help you systematically evaluate the repair work. Start by powering on your device and running through each core function methodically, noting any unexpected behavior or performance changes.
Test Performance Sequence:
- Power on and check system responsiveness
- Run diagnostic apps to confirm internal components
- Make test calls and send messages
- Check wireless connectivity
- Validate battery performance over several hours
Pro Tip: Document any issues immediately and contact the repair shop within their warranty period. Protecting your phone after repair involves not just physical care but also understanding your rights as a customer.
7. Test Device Functions Before Leaving
Before walking out of the repair shop, conducting a comprehensive device functionality test is your final line of defense against potential issues. This crucial step ensures that your smartphone operates exactly as expected and prevents future complications.
Essential Function Tests:
- Phone and video call quality
- Touchscreen responsiveness
- Camera and video recording
- Bluetooth and wireless connectivity
- Cellular data and wifi performance
- Speaker and microphone functionality
- Battery charging and power management
Testing your device on site provides immediate opportunity for addressing any unexpected problems. Understanding the iPhone repair process helps you recognize what normal post repair performance should look like.
Systematic Testing Approach:
- Make a test phone call
- Send a text message
- Open multiple applications
- Check camera settings
- Test audio input and output
- Verify location and GPS services
- Run a complete battery cycle test
Pro Tip: Request the repair technician demonstrate key functions with you present. Document any test results or concerns immediately to protect your repair warranty.
Below is a comprehensive table summarizing the main steps and strategies discussed for smartphone repair preparations and actions.
| Main Step | Key Points & Actions | Benefits/Outcomes |
|---|---|---|
| Assess Damage | Inspect screen, casing, ports, buttons; photo documentation | Accurate diagnosis, informed repair strategy |
| Backup Data | Use cloud, external drives, or apps for backup | Protects data from loss during repair |
| Check Warranty | Verify coverage, explore insurance options | Potential cost savings, informed repair choices |
| Remove Cards | Remove SIM and memory cards safely | Protects personal information, prevents data loss |
| Choose Repair Shop | Evaluate based on reviews, certifications, pricing | Ensures quality service and device safety |
| Post-Repair Inspection | Test buttons, screen, camera, battery, and connectivity | Confirms repair quality, identifies issues |
| Functionality Testing | Conduct tests for calls, apps, connectivity at shop | Immediate problem detection, secure repair satisfaction |
Take Control of Your Mobile Repair with Trusted Experts
Facing the uncertainty of mobile repair can be overwhelming, especially when you need a reliable solution for issues like cracked screens, battery replacements, or water damage. This Cell Phone Repair checklist highlights critical steps such as assessing damage, backing up data, and choosing trustworthy technicians. At Dash Repairs, we understand the stress of unexpected device problems and the importance of expert service that offers fast turnaround times and affordable pricing.

Choose Dash Repairs to protect your valuable device with professional care and warranty-backed solutions. Visit https://dashrepairs.com today to schedule your repair and experience why local customers trust us for their iPhone, Android, and tablet repairs. Don’t wait until small issues become major headaches. Act now and restore your device’s performance with confidence from our skilled team detailed in our iPhone repair services.
Frequently Asked Questions
What should I inspect on my smartphone before repairs?
Before repairs, conduct a thorough visual inspection of your smartphone. Check for screen cracks, exterior casing damage, charging port debris, button responsiveness, and battery swelling. Document any visible damage to create a comprehensive repair roadmap.
How can I back up my data effectively before a repair?
To protect your personal data, back up your smartphone using cloud storage services or external hard drives. Utilize your device’s built-in backup features or transfer files manually to a computer to ensure all your essential information is secure before handing over the device.
What warranty options should I consider before getting my phone repaired?
Evaluate your smartphone’s warranty status by checking for original manufacturer coverage, remaining time on the warranty, and what types of damage are covered. Contact the manufacturer or review your purchase documentation to understand available warranty options and how they might help with repair costs.
Why is it important to remove SIM and memory cards before repair?
Removing SIM and memory cards prevents potential data loss and protects your personal information during the repair process. Make this a priority by safely extracting these cards and placing them in a secure location before handing over your device to the technician.
How can I ensure the quality of repairs after service?
After receiving your repaired smartphone, perform a thorough inspection to verify all functions are working properly. Test physical buttons, display performance, camera functionality, and battery charging speed to ensure the repair meets professional standards.
What tests should I conduct on my device before leaving the repair shop?
Before leaving the repair shop, conduct essential tests including making a phone call, checking touchscreen responsiveness, and verifying camera and audio functions. Document any issues immediately to address them with the technician while still on site.
Recommended
- DIY Phone Repair Workflow: Step-by-Step Guide for Success | Dash Cellular Repair | Cell Phone, iPhone, Laptop Repair in Oklahoma
- DIY Mobile Repair Steps for Fast, Reliable Results | Dash Cellular Repair | Cell Phone, iPhone, Laptop Repair in Oklahoma
- Step by Step iPhone Repair Guide for Local Users | Dash Cellular Repair | Cell Phone, iPhone, Laptop Repair in Oklahoma
- Mobile Device Unlocking Process: Step-By-Step Guide | Dash Cellular Repair | Cell Phone, iPhone, Laptop Repair in Oklahoma
- Akkus reparieren Guide: So bringen Sie Ihre Akkus zurück ins Leben – accu.blog