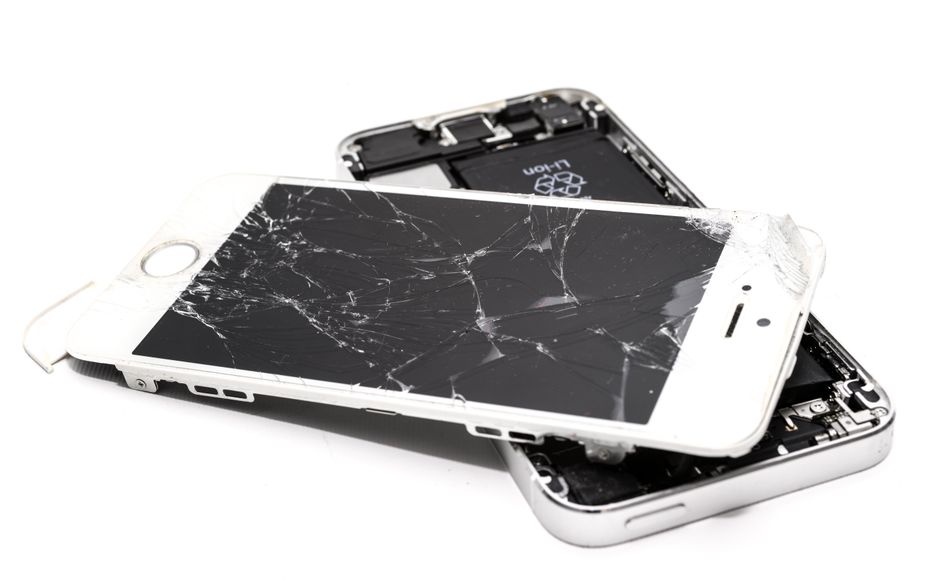
Over 50 million american phone screens crack each year and many people try to fix them at home. Facing a shattered screen is frustrating but learning how to repair it yourself can save you time and money. This practical guide breaks down each step so you can restore your device like a pro while avoiding common mistakes that lead to further damage.
Table of Contents
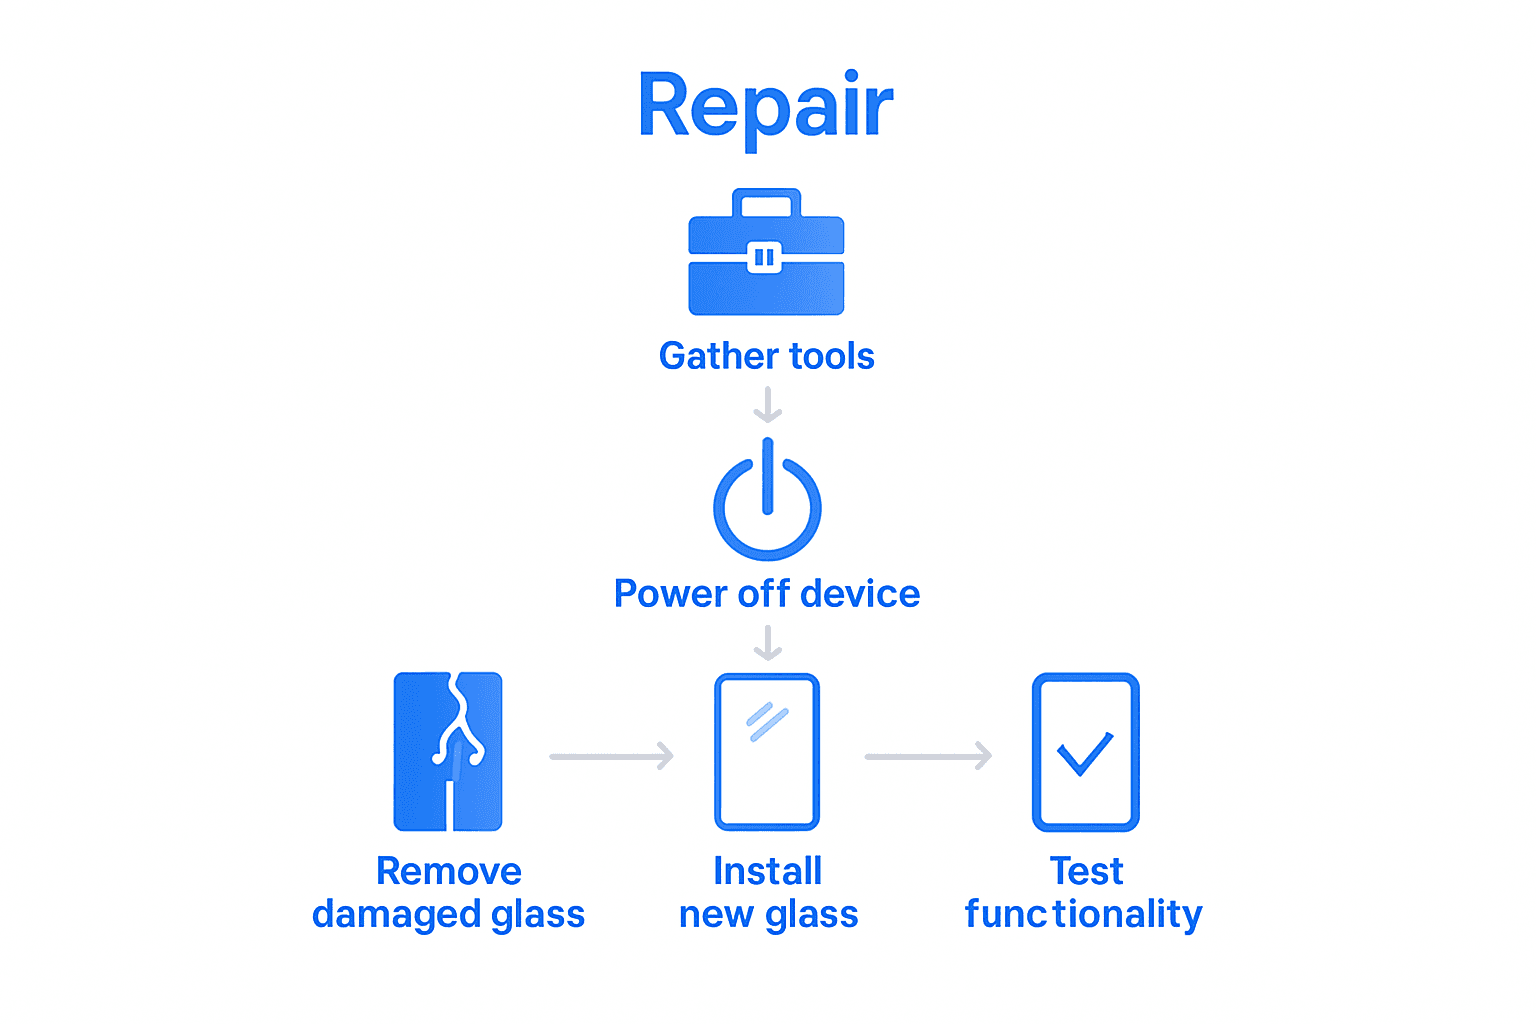
- Step 1: Gather Essential Tools And Safety Gear
- Step 2: Power Off And Secure Your Device
- Step 3: Remove Damaged Cell Phone Glass
- Step 4: Install New Glass Carefully
- Step 5: Test Device Functionality After Repair
Quick Summary
| Key Point | Explanation |
|---|---|
| 1. Gather essential tools | Assemble precision screwdrivers, suction cup, tweezers, and protective gear to safely perform the screen repair. |
| 2. Power off the device | Completely shut down your phone to prevent accidental damage and ensure electrical safety during the repair process. |
| 3. Remove damaged glass carefully | Use gentle heat and a plastic prying tool to safely detach the shattered screen without damaging the phone’s internals. |
| 4. Install new glass with precision | Clean the LCD thoroughly, align the new glass accurately, and apply gentle pressure to secure it without air bubbles. |
| 5. Test functionality post-repair | Power on the device and check all features to ensure proper functioning, addressing any issues immediately to avoid future complications. |
Step 1: Gather Essential Tools and Safety Gear
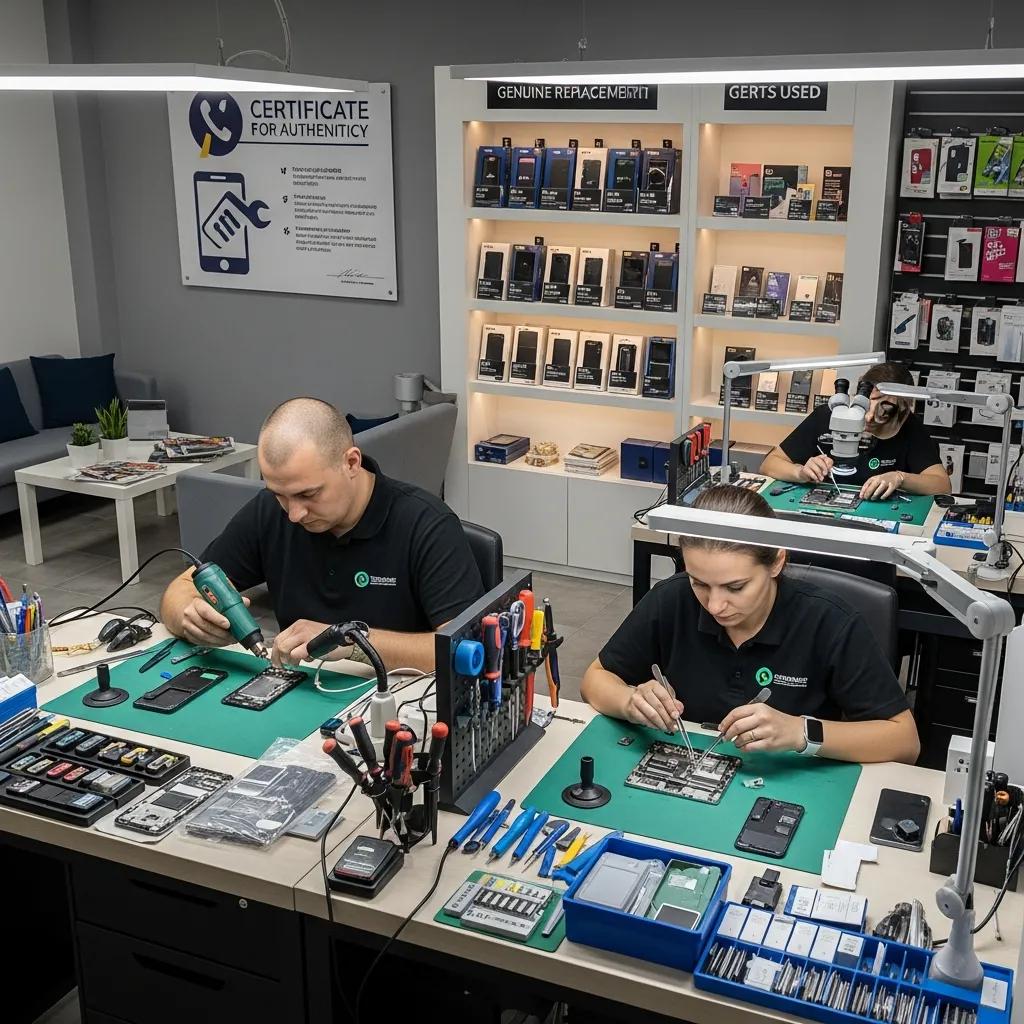
Before diving into your phone screen repair, you’ll need to assemble a professional repair kit that ensures precision and protects both you and your device. According to Common Good Ventures, there are several crucial tools you cannot skip.
Start by gathering your core equipment: a set of precision screwdrivers with multiple bit sizes, plastic prying tools, a quality suction cup for screen removal, tweezers, and an anti static wrist strap. Protective gear is equally important. Wear safety glasses to prevent tiny glass fragments from reaching your eyes and consider using thin rubber gloves to protect your hands from sharp edges. A workspace mat with gridlines can help you organize small components and track your repair progress.
Pro tip: Heat can be your ally during screen repairs. Common Good Ventures recommends having a hair dryer or heat gun nearby to gently warm adhesive areas, making screen removal smoother. Just be cautious and apply heat sparingly to avoid damaging internal components.
With your toolkit ready, you are now prepared to move forward with confidence in your screen repair mission.
Step 2: Power Off and Secure Your Device
Before attempting any phone screen repair, you need to completely power down your device and prepare a secure workspace. As Consumer Reports advises, turning off your phone is a critical first step to prevent accidental inputs and ensure electrical safety during the repair process.
To power off your device, press and hold the power button until the shutdown option appears on the screen. Select “Power Off” and wait for the device to completely shut down. If your phone is unresponsive, remove the battery if possible. Next, find a clean flat surface with good lighting and lay down a soft cloth or repair mat to protect your device from scratches. Gather a small container with a lid to store screws and tiny components you will remove during the repair.
Warning: Never attempt to repair a phone with the battery still connected, as this increases the risk of short circuits or electrical damage. Consumer Reports emphasizes the importance of completely disconnecting power sources before beginning any repair work. Having a methodical approach will help you stay organized and minimize the chance of losing small parts during the repair process.
With your device powered off and workspace prepared, you are now ready to move on to the next step of your screen repair journey.
Step 3: Remove Damaged Cell Phone Glass
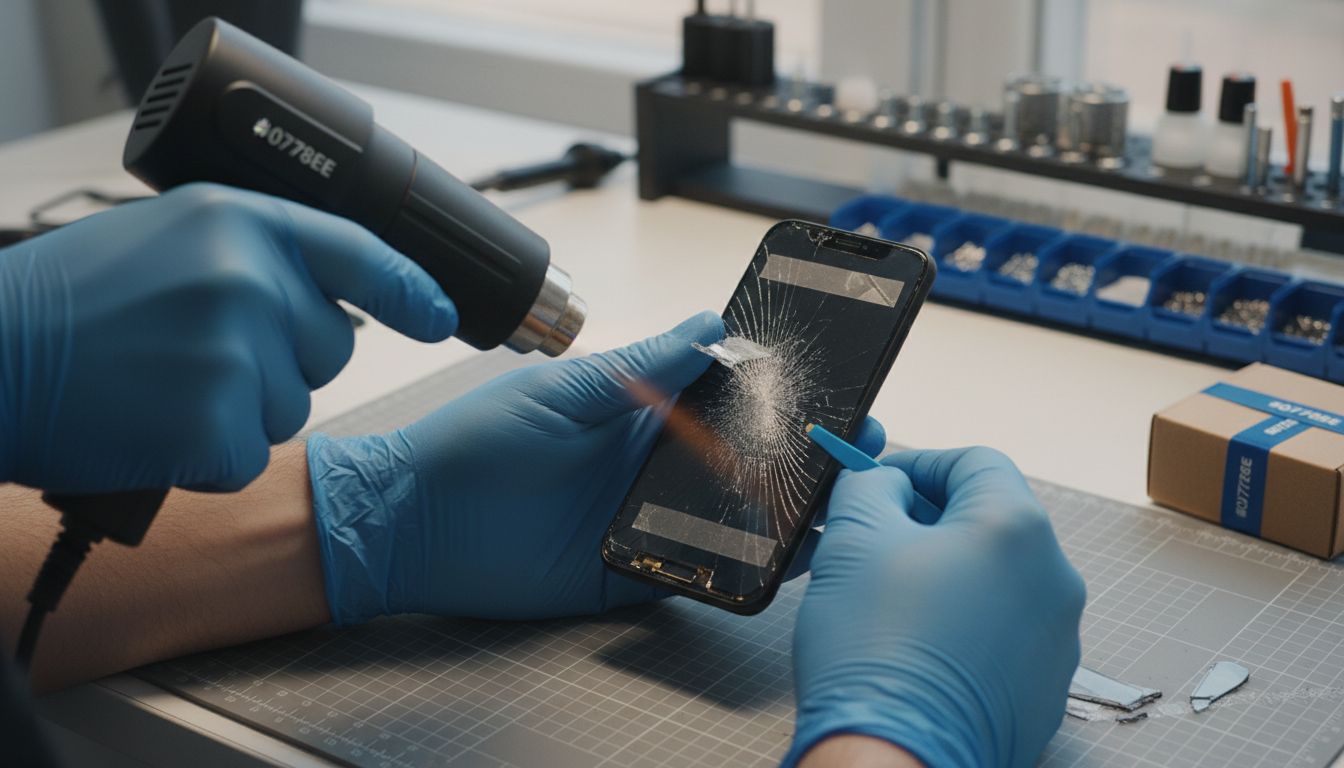
Removing a shattered phone screen requires precision and careful technique to prevent further damage to your device. Natural History suggests using heat as a strategic method to soften adhesive and facilitate smoother glass removal.
Start by applying gentle heat using a hair dryer or heat gun set to low temperature. Move the heat source slowly and evenly across the screen’s edges for about 30 seconds, which will help loosen the adhesive holding the damaged glass in place. Next, use a plastic prying tool to carefully create a small separation between the glass and the phone frame. Work slowly and methodically, applying minimal pressure to avoid damaging the underlying LCD screen.
Pro tip: Rising Tech recommends using clear tape as an additional tool to help lift stubborn glass fragments. Stick a piece of clear tape onto the cracked screen and gently pull, which can help remove loose glass pieces without risking further damage to your device. Always maintain a steady hand and patience during this delicate process.
Once you have successfully removed the damaged glass, prepare for the next step of cleaning and preparing the surface for a new screen installation.
Step 4: Install New Glass Carefully
With your damaged screen removed, it is time to install the new glass with precision and care. Natural History recommends a methodical approach to ensure a smooth and secure installation that protects your device’s delicate internal components.
Begin by thoroughly cleaning the phone’s LCD surface using a microfiber cloth and specialized electronics cleaning solution. Ensure no dust particles or debris remain that could compromise the new glass installation. Carefully align the new glass panel, starting from one edge and slowly lowering it onto the phone’s surface. Use gentle pressure with your fingertips to press along the edges, creating a uniform seal. Work slowly from the center outward to minimize the risk of air bubbles or misalignment.
Pro tip: Tehnoblog suggests using a credit card or plastic squeegee to help remove any potential air bubbles during installation. Apply light pressure and sweep from the center toward the edges, which helps ensure a smooth and perfectly adhered screen. Take your time and remain patient throughout this critical process to achieve a professional looking repair.
With the new glass securely in place, you are now ready to test your device and complete the final steps of your screen repair.
Step 5: Test Device Functionality After Repair
After successfully installing your new phone screen, a comprehensive functionality test is crucial to ensure everything works perfectly. Natural History emphasizes the importance of a thorough examination after any device repair.
Begin by powering on your phone and checking the display for uniform color, responsive touch sensitivity, and no visible artifacts or dead pixels. Test critical functions including cellular connectivity, WiFi, Bluetooth, camera operation, speaker volume, microphone performance, and all physical buttons. Verify that the touchscreen responds accurately across the entire surface and that no areas feel unresponsive or sticky. Consumer Reports recommends systematically checking each feature to catch any potential issues immediately after repair.
Pro tip: Make several test calls, send text messages, take photos, and use different applications to ensure comprehensive functionality. If you notice any irregularities such as screen responsiveness problems, connectivity issues, or unusual behavior, you may need to revisit your repair or seek professional assistance. Patience and careful testing can save you from potential future complications.
With a successful functionality test complete, you have successfully repaired your phone screen and restored your device to working condition.
Ready to Fix Your Cracked Cell Phone Screen with Expert Help
Fixing a shattered phone glass can be frustrating and delicate. If you want to avoid the hassle of gathering tools, risking further damage, or dealing with touch sensitivity issues after your repair, rely on professional technicians who understand every step from removing broken glass to installing new screens flawlessly. Whether you are trying to replace an iPhone or Android screen, the precision and care highlighted in the guide connect perfectly with the trusted services at Dash Repairs.
Explore expert Cell Phone Repair solutions that offer fast turnaround times, warranties, and affordable pricing. Take the stress out of screen repairs by choosing a local shop that values quality and convenience. Visit Dash Repairs today and restore your device to perfect working condition. Don’t wait until small cracks become larger problems. Get your phone fixed right now and stay connected without interruption.
Frequently Asked Questions
How do I gather the right tools for fixing cell phone glass?
Before starting your repair, gather essential tools like precision screwdrivers, plastic prying tools, a suction cup, tweezers, and an anti-static wrist strap. Ensure you also have safety gear such as safety glasses and rubber gloves to protect yourself and your device.
What should I do to prepare my device for screen replacement?
To prepare your device, power it off completely to prevent accidental inputs during the repair. Secure a clean, flat workspace with good lighting, and lay a soft cloth or repair mat down to protect your phone from scratches while you work.
How can I safely remove the damaged glass from my cell phone?
Use gentle heat from a hair dryer or heat gun to soften the adhesive on the glass. Carefully insert a plastic prying tool between the glass and the phone frame, and use slow, minimal pressure to avoid damaging the LCD underneath.
What steps should I follow to install the new glass?
Begin by cleaning the LCD surface thoroughly with a microfiber cloth to remove any dust or debris. Then, carefully align the new glass panel, lowering it slowly onto the surface, and press gently along the edges to ensure a proper seal.
How can I test my phone after fixing the screen?
To test your phone, turn it on and check for clear display colors and responsive touch sensitivity. Make sure to test all crucial functions, including calling, messaging, and camera features, to confirm everything works as expected.
What should I do if my phone isn’t functioning correctly after the repair?
If you notice any issues, such as unresponsive areas on the screen or connectivity problems, revisit your repair steps to check for any installation errors. Addressing these concerns promptly can help prevent future complications.
Recommended
- How to Quickly and Easily Fix Your Broken Cell Phone | Dash Cellular Repair | Cell Phone, iPhone, Laptop Repair in Oklahoma
- Choosing the Right Cell Phone Repair Shop | Dash Cellular Repair | Cell Phone, iPhone, Laptop Repair in Oklahoma
- iPhone Back Glass Repair Oklahoma City | Dash Cellular Repair
- Step by Step iPhone Repair Guide for Local Users | Dash Cellular Repair | Cell Phone, iPhone, Laptop Repair in Oklahoma