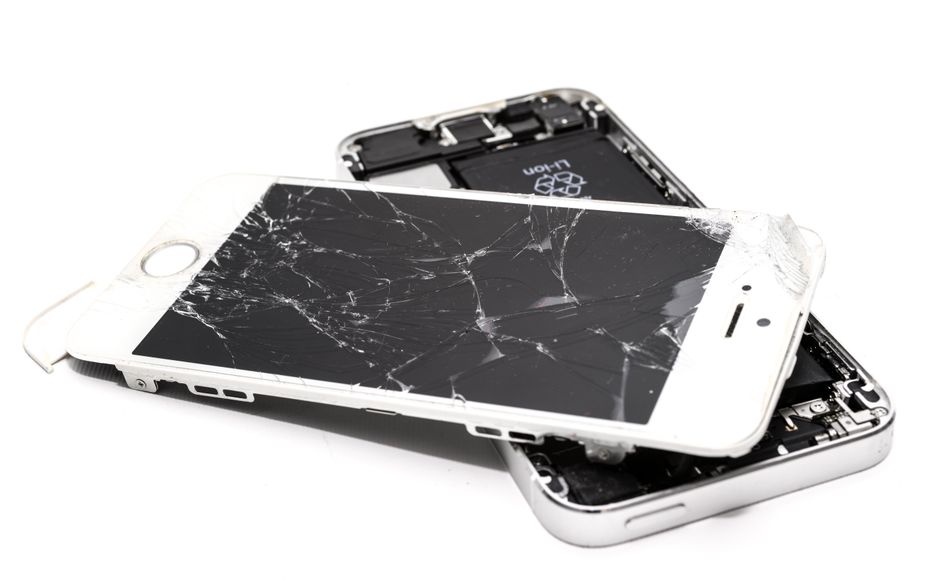
Cracked screens are one of the most common smartphone disasters. Almost half of all smartphone owners end up breaking their screen in the first two years. You might think fixing it is only for the pros or that one wrong move will finish off your device. But with the right steps and a careful approach, repairing a shattered screen at home is more possible than most people expect.
Table of Contents
- Step 1: Assess The Extent Of The Damage
- Step 2: Gather Necessary Tools And Materials
- Step 3: Power Off The Device And Remove Components
- Step 4: Replace The Cracked Screen Carefully
- Step 5: Reassemble The Device And Power It Back On
- Step 6: Test The Screen Functionality And Quality Check
Quick Summary
| Key Point | Explanation |
|---|---|
| 1. Assess the damage thoroughly | Conduct a visual and functional check to evaluate screen condition before attempting repairs. |
| 2. Prepare essential tools and materials | Gather needed screwdrivers, pry tools, and a compatible replacement screen to ensure an effective repair process. |
| 3. Power off and remove components safely | Always power down your device and remove external components to avoid further damage during repairs. |
| 4. Handle screen replacement with care | Disconnect old screens carefully and ensure precise alignment of the new screen for effective replacement. |
| 5. Test functionality after reassembly | Perform a comprehensive check on touch responsiveness, visual quality, and overall performance to confirm successful repairs. |
Step 1: Assess the extent of the damage
Before attempting any screen repair, understanding the precise nature and severity of your device’s damage is crucial. Screen damage isn’t uniform and can range from minor cosmetic scratches to deep cracks that compromise device functionality. Your initial assessment will determine whether you can perform a DIY repair or need professional intervention.
Visual Inspection Techniques
Carefully examine your device under good lighting. Start by turning off the screen and holding it at different angles to reveal the full extent of damage. Look for multiple types of damage such as spider web cracks, surface scratches, deep fractures, or complete screen shattering. Run your fingertip gently across the screen surface to feel for irregularities – uneven textures might indicate more significant underlying damage.
Functional Damage Assessment
Beyond visual inspection, test your device’s touchscreen responsiveness. Check if touch controls work consistently across all screen areas. Press different screen sections to determine whether touch sensitivity remains intact or if certain regions have become unresponsive. If touch functionality is severely compromised, this signals more extensive damage that might require complete screen replacement rather than a simple repair.
According to Statista Research, approximately 50% of smartphone users experience screen damage within the first two years of device ownership. This statistic underscores the importance of careful initial damage evaluation before pursuing any repair strategy.
Key verification criteria for damage assessment include:
- Extent of visible crack lines
- Touch sensitivity across screen zones
- Screen glass structural integrity
- Display color and pixel consistency
Your thorough initial assessment will guide subsequent repair steps, helping you determine whether a professional repair or DIY solution is most appropriate for your specific device damage scenario.
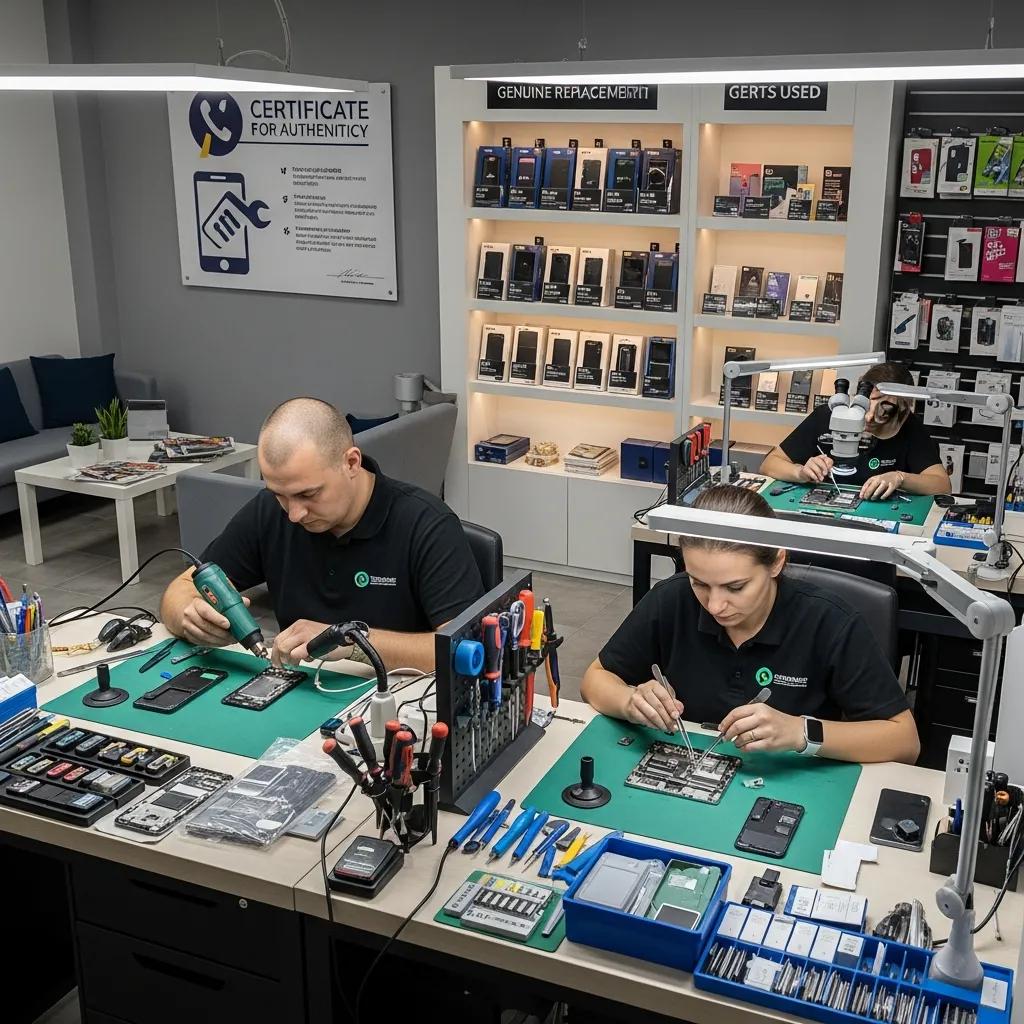
Step 2: Gather necessary tools and materials
Preparing the right tools and materials is a critical step in successfully repairing a cracked screen. The precision and quality of your repair depend heavily on having the appropriate equipment at your disposal. This preparation phase will help you minimize potential additional damage and increase the likelihood of a successful device restoration.
Essential Tool Collection
Your repair toolkit should be comprehensive yet thoughtfully curated. Start by gathering precision screwdrivers specifically designed for electronic devices – these typically include small Phillips head and pentalobe screwdrivers. You will need plastic pry tools with thin, flexible edges to help separate device components without scratching or causing additional damage. Invest in high quality tweezers with fine pointed tips to handle small electronic components with precision.
According to iFixit, a comprehensive repair toolkit should include specialized equipment beyond standard household tools. Recommended items include an anti static wrist strap to prevent electrical discharge, magnetic project mat for organizing tiny screws, and precision adhesive applicators for screen replacement.
Material Preparation
Beyond tools, gather replacement materials specific to your device model. This includes a compatible replacement screen, adhesive strips, and potentially screen protectors. Ensure you purchase materials matching your exact device model and screen specifications. Some repairs might require additional components like display connectors or mounting brackets.
Key verification checklist for tool and material preparation:
- Precision screwdriver set matching device type
- Plastic pry tools with non scratch edges
- Fine tipped electronic tweezers
- Replacement screen matching device specifications
- Protective workspace covering
By meticulously preparing your tools and materials beforehand, you set the stage for a methodical and potentially successful screen repair process. Your careful preparation will help minimize potential complications and increase the probability of restoring your device to working condition.
Below is a tools and materials checklist summarizing the essential items needed for a successful cracked screen repair, along with their specific purposes and requirements.
| Item | Purpose | Notes/Requirements |
|---|---|---|
| Precision screwdriver set | Disassemble device, remove screws | Must match device screw types (Phillips, pentalobe, etc.) |
| Plastic pry tools | Separate components, avoid damage | Thin, flexible, non-scratch edges |
| Fine-tipped tweezers | Handle small components | For delicate electronic parts |
| Anti-static wrist strap | Prevent static discharge | Recommended for device and user safety |
| Replacement screen | Actual screen replacement | Must match device model and screen specifications |
| Adhesive strips/applicators | Secure new screen in place | Should be suitable for electronic screen installation |
| Protective workspace covering | Protect device and workspace from damage | Use a clean mat or anti-static surface |
Step 3: Power off the device and remove components
Before diving into screen repair, preparing your device requires careful and methodical component removal. This critical step ensures your safety and protects your device’s internal electronics from potential damage during the repair process. Proper power management and component extraction are fundamental to a successful screen replacement.
Safe Device Shutdown Procedure
Begin by completely powering down your device. For most smartphones and tablets, press and hold the power button until the shutdown option appears, then select “Power Off” or “Shut Down.” Avoid using forced shutdown methods like holding power buttons for extended periods, as these can potentially corrupt system files. If your device has a removable battery, carefully extract it after powering down. For devices with sealed batteries, focus on disconnecting power sources through software shutdown.
According to Apple Support, removing external components like SIM cards and memory cards is crucial before beginning any repair process. Carefully locate the SIM card tray and use the provided extraction tool or a small paperclip to gently remove it. Similarly, if your device has an expandable memory slot, remove any inserted memory cards to prevent potential damage or data loss.
Component Protection and Preparation
Once powered down, create a clean and organized workspace. Use an anti static mat or clean, flat surface to prevent electrical discharge. Gather small containers or magnetic project mats to organize screws and tiny components you will remove during the repair. Take photographs or make detailed notes about component placement to ensure accurate reassembly after screen replacement.
Key verification checklist for device preparation:
- Device completely powered off
- External components like SIM cards removed
- Memory cards extracted
- Clean, organized workspace established
- Photographed or noted component locations
By methodically powering down and removing external components, you create a safe environment for screen repair. This careful preparation minimizes risks of electrical damage and helps ensure a smoother, more successful device restoration process.
Step 4: Replace the cracked screen carefully
Replacing a cracked screen demands precision, patience, and careful attention to minute details. This step transforms your device from damaged to fully functional, requiring a methodical approach that minimizes the risk of further damage. Successful screen replacement hinges on understanding the intricate connections and delicate components within your device.
Screen Disconnection and Removal
Begin by carefully disconnecting the damaged screen’s electronic connectors. Use plastic pry tools instead of metal implements to prevent short-circuiting sensitive electronic components. Gently lift the screen connections, paying close attention to their specific orientation. Some devices have multiple connection points that require careful sequential disconnection. Work slowly and deliberately, applying minimal pressure to avoid damaging underlying circuitry.
According to iFixit, using specialized plastic tools is crucial for preventing electrical damage during screen replacement. Carefully remove any adhesive securing the damaged screen, using a thin plastic separator to gradually lift the screen without causing additional stress to the device frame.
New Screen Installation Process
Position the new screen with extreme precision, aligning it exactly with the device’s mounting points. Learn more about screen replacement techniques before proceeding. Ensure all connection points are clean and free from dust or debris. Gently reconnect the screen connectors, applying even pressure to secure them without bending or misaligning the delicate components. Use the adhesive strips or mounting brackets included with your replacement screen to ensure a secure, flush installation.
Key verification checklist for screen replacement:
- Screen connectors fully and correctly attached
- No visible gaps between screen and device frame
- Adhesive applied evenly and smoothly
- No loose components or visible damage
- Connectors seated correctly without excessive force
By approaching the screen replacement with meticulous care and attention to detail, you significantly increase the chances of successfully restoring your device to its full functionality. Each careful movement brings you closer to a fully repaired smartphone or tablet.
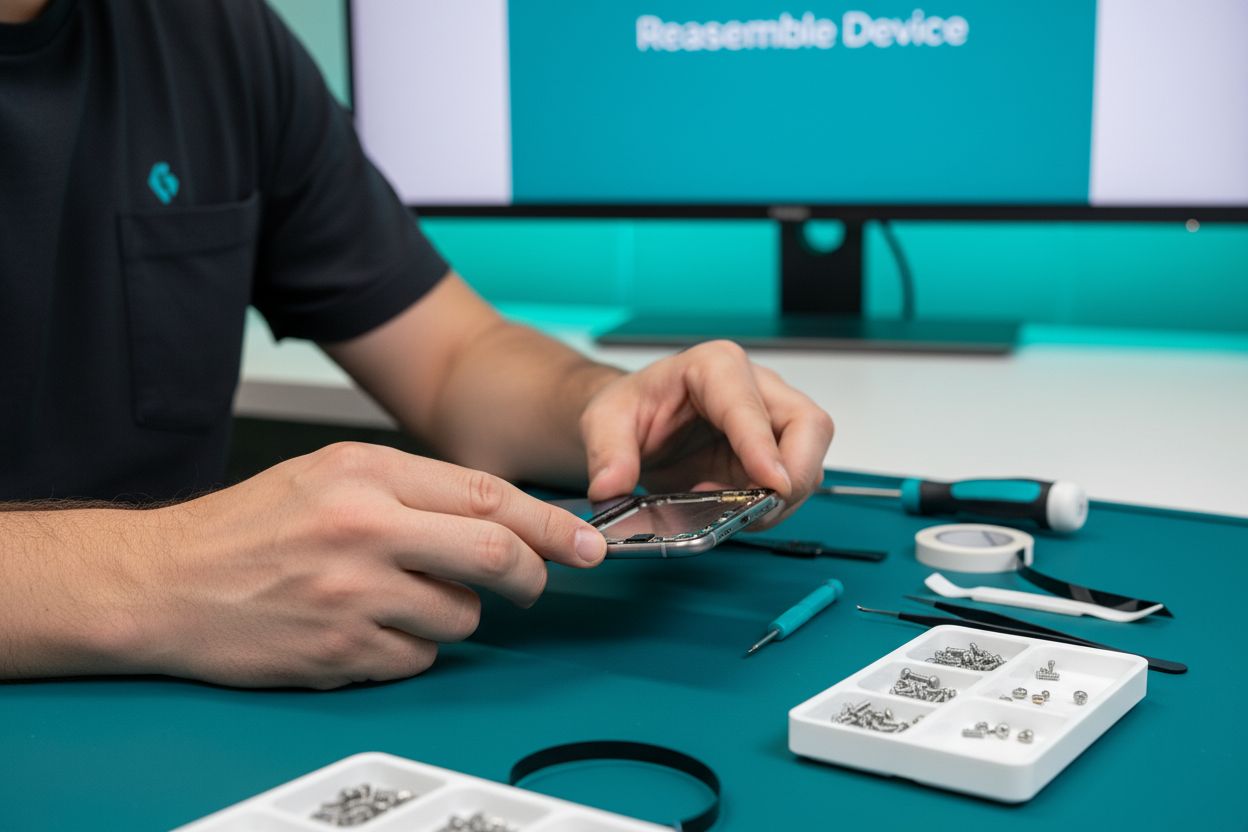
Step 5: Reassemble the device and power it back on
Reassembling your device marks the final critical stage of screen replacement, transforming your carefully repaired device from a collection of components back into a fully functional electronic companion. This step requires the same precision and patience you applied during disassembly, ensuring every component returns to its exact original position.
Systematic Reassembly Approach
Begin by carefully reviewing the photographs or notes you created during disassembly. Methodically replace each component in reverse order, starting with the smallest internal connections. Gently reconnect electronic cables, ensuring they are seated correctly without excessive force. Pay special attention to the screen connectors, aligning them precisely and pressing them into place with uniform, gentle pressure. If you used a magnetic project mat during disassembly, use it now to keep track of tiny screws and prevent them from rolling away or getting lost.
According to iFixit, reversing the disassembly steps is crucial for maintaining device integrity. Systematically secure each screw, making sure they are tightened to the correct tension – not too loose to cause instability, and not so tight that you risk damaging delicate electronic components.
Power On and Functional Verification
Once reassembly is complete, it is time to power on your device and verify its functionality. Insert the battery or reconnect power sources, then press the power button. Watch carefully as the device boots up, checking for any unusual behaviors. Test all primary functions including touchscreen responsiveness, display clarity, color accuracy, and tactile sensitivity. Explore our comprehensive guide on understanding screen replacement solutions to help you evaluate your repair’s success.
Key verification checklist for device reassembly and power-on:
- All screws replaced in original locations
- Electronic connections fully and correctly seated
- No loose components or visible gaps
- Device powers on without unexpected errors
- Touchscreen functioning across entire display
- No visual artifacts or display irregularities
Successful reassembly transforms your damaged device back into a reliable tool, restoring its functionality and extending its useful life through careful, precise repair.
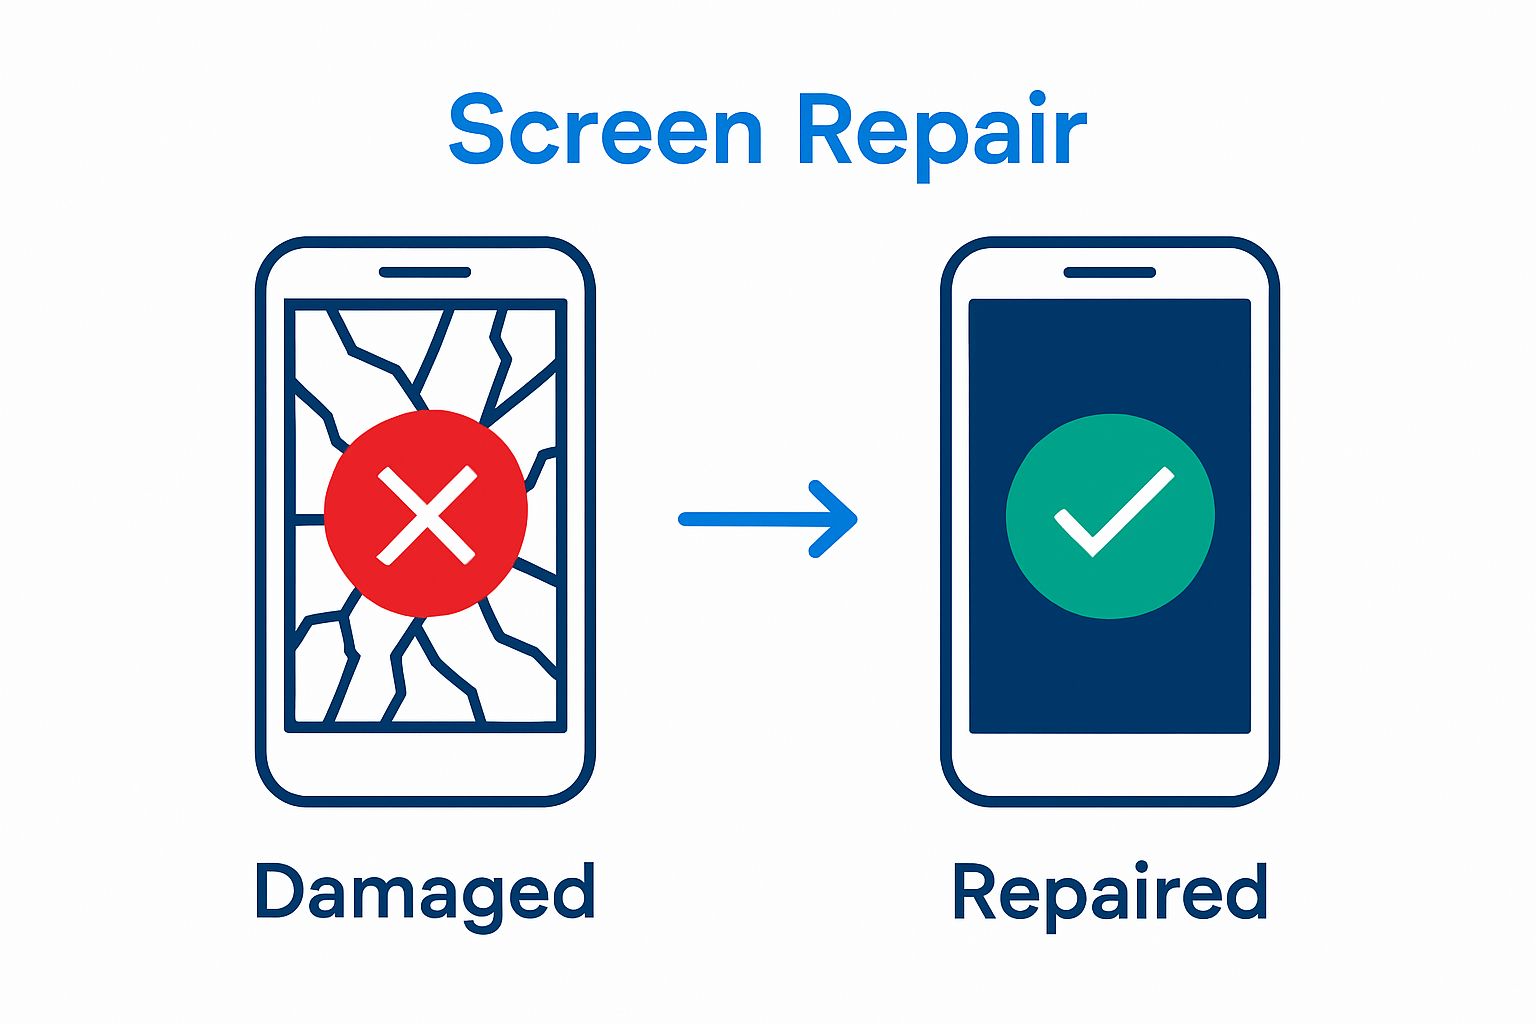
Step 6: Test the screen functionality and quality check
After carefully replacing your device’s screen, comprehensive testing becomes crucial to ensure the repair’s success. This final verification step determines whether your repair has fully restored the device’s functionality and visual performance. Thorough testing will reveal any potential issues that might have emerged during the screen replacement process.
Comprehensive Functionality Assessment
Touchscreen Responsiveness requires meticulous evaluation. Open multiple applications, swipe between screens, and test different areas of the display. Check for any dead zones or inconsistent touch sensitivity. Zoom in and out of images, type text in various applications, and perform complex multi touch gestures to confirm complete screen functionality. Pay special attention to screen edges and corners, which are often most vulnerable during screen replacement.
Visual Quality Verification
Carefully examine the screen’s visual characteristics under different lighting conditions. Display solid color backgrounds to check for pixel uniformity, color accuracy, and potential screen bleeding. Open high resolution images and videos to verify color reproduction and clarity. Brightness and contrast settings should be tested across different levels to ensure consistent performance. Check our blog for additional diagnostic insights if you notice any unusual display characteristics.
When conducting your quality assessment, systematic testing provides the most reliable results. Cycle through various applications, test screen rotation, and verify touch responsiveness across different interface elements. Some devices might require a brief calibration period after screen replacement, so do not be immediately concerned if initial performance seems slightly off.
Key verification checklist for screen functionality:
- Touch responsiveness across entire screen
- No dead zones or unresponsive areas
- Consistent color reproduction
- Proper brightness and contrast levels
- Successful multi touch gesture recognition
- No visible screen artifacts or distortions
Successful screen replacement culminates in a device that looks and performs exactly like its original version. Your careful testing ensures that the repair meets professional standards and restores your device to full operational capability.
To help you systematically verify each stage during your cracked screen repair, refer to this checklist table summarizing the critical completion criteria for every major repair step in the guide.
| Step | Key Verification Criteria |
|---|---|
| Damage Assessment | No missed cracks; all touchscreen zones tested |
| Tools & Materials Preparation | All required tools and replacement materials ready |
| Device Shutdown & Component Removal | Device off; SIM/memory cards removed; workspace prepared |
| Screen Disconnection & Replacement | Connectors attached; no gaps; adhesive applied evenly |
| Reassembly & Power On | All screws reinstalled; no loose parts; device boots up |
| Final Functionality & Quality Check | Full touch response; no dead zones or distortions |
Ready for a Worry-Free Screen Repair in 2025?
You have just learned the careful steps it takes to fix a cracked screen yourself. Many readers reach this point and realize that diagnosing functional damage, working with delicate connectors, and quality-checking a new screen can feel overwhelming—especially when you need your device working again today. If you are concerned about risking further damage, want professional results, or simply value your time, we are here to help. Our iPhone repair experts at Dash Repairs specialize in cracked screen fixes that restore your device’s performance and appearance, all backed by affordable pricing and quick turnaround times.
Why wait and risk a failed DIY repair, lost data, or an unreliable device? Experience reliable local service and get your smartphone or tablet back to perfect working order with our comprehensive solutions. Take the next step now by visiting Dash Repairs and enjoy the peace of mind that comes with expert service and a quality guarantee. Looking for more options? Check out our full cell phone and iPhone repair services and make your device as good as new again.
Frequently Asked Questions
How can I assess the extent of damage on my cracked screen?
To assess screen damage, visually inspect the screen under good lighting and turn it off to check for cracks and scratches. Test the touchscreen responsiveness by tapping different areas to see if any sections are unresponsive.
What tools do I need to replace a cracked screen?
Essential tools include precision screwdrivers, plastic pry tools, fine-tipped tweezers, and an anti-static wrist strap. Additionally, ensure to have a compatible replacement screen and adhesive strips for installation.
What is the correct process for powering down my device before a repair?
Power down your device by pressing and holding the power button and selecting the shutdown option. If applicable, remove the battery after shutting it down. Remove SIM and memory cards to avoid damage during the repair process.
How do I ensure my new screen is installed correctly?
Carefully connect the new screen’s electronic connectors, ensuring they are aligned and seated properly without excessive force. Apply adhesive evenly and check for any gaps between the screen and device frame before reassembling the device.
Recommended
- blog | Dash Cellular Repair | Cell Phone, iPhone, Laptop Repair in Oklahoma
- Uncategorized | Dash Cellular Repair | Cell Phone, iPhone, Laptop Repair in Oklahoma
- Understanding Why Fix Cracked Screens Matters | Dash Cellular Repair | Cell Phone, iPhone, Laptop Repair in Oklahoma
- Understanding Cracked Screen Solutions for Your Device | Dash Cellular Repair | Cell Phone, iPhone, Laptop Repair in Oklahoma
- Step by Step Phone Screen Protection: Keep Your Device Safe – StudioShake