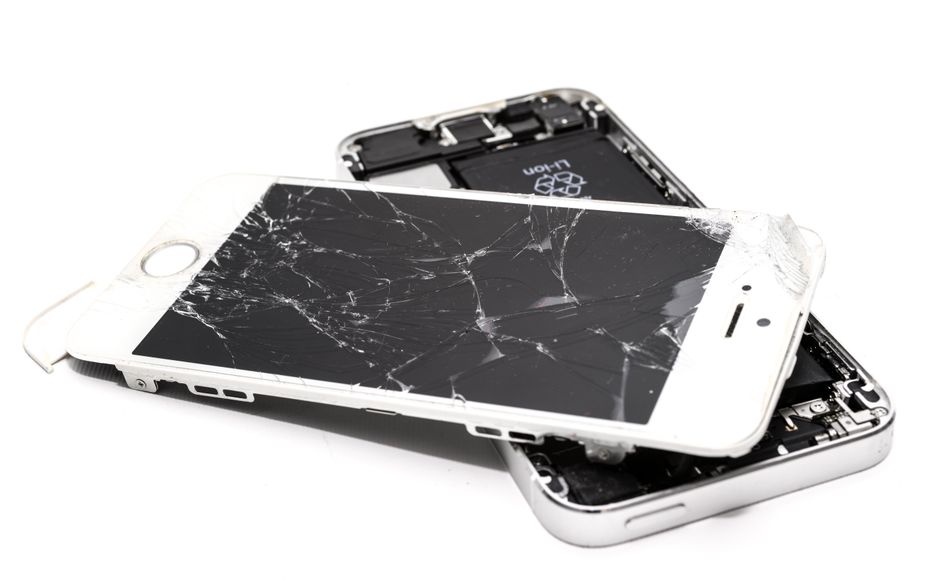
Over 50 million American smartphone owners crack their screens every year, often turning simple accidents into costly headaches. With smartphones playing such a vital role in daily life, knowing how to repair a broken screen can save time and money while reducing e-waste. This helpful guide outlines each essential step for safe and effective repair, giving you the confidence and tools to tackle a damaged screen on your own terms.
Table of Contents
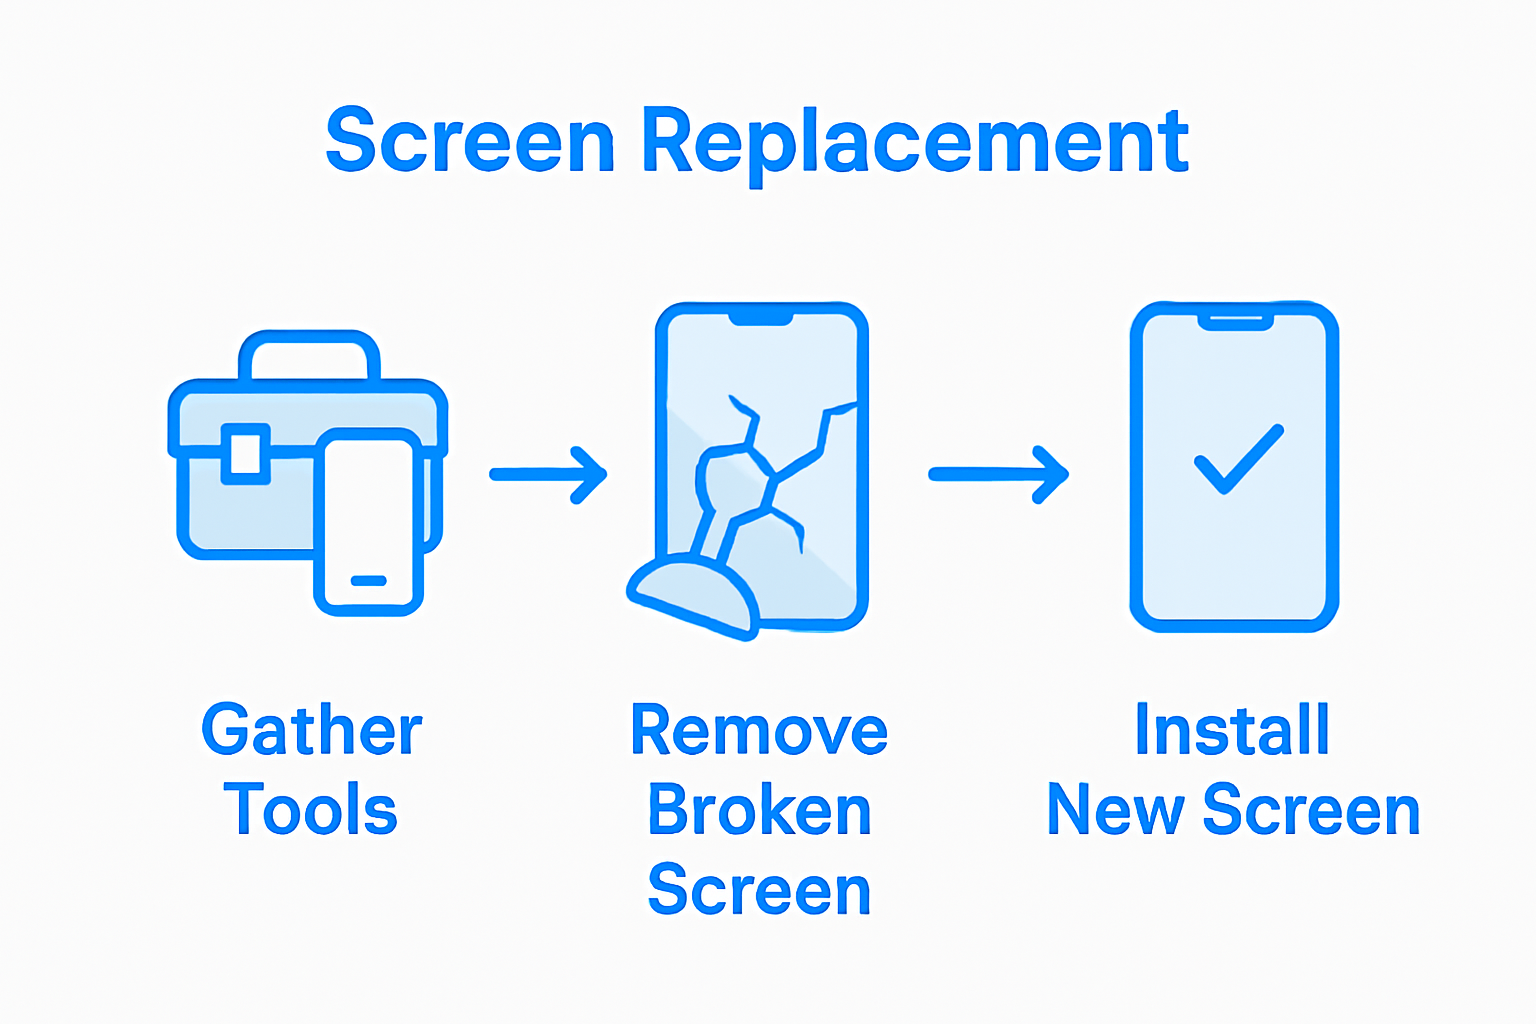
- Step 1: Gather Necessary Tools and Materials
- Step 2: Power Down and Prepare Your Phone
- Step 3: Remove the Broken Screen Carefully
- Step 4: Install the New Screen Securely
- Step 5: Test and Verify Screen Functionality
Quick Summary
| Key Point | Explanation |
|---|---|
| 1. Assemble a professional toolkit | Gather essential tools including a driver kit, plastic opening tools, and tweezers to facilitate a successful phone screen repair. |
| 2. Power down and prepare the phone | Ensure your device is completely off, and remove accessories to prevent electrical damage during the repair process. |
| 3. Remove the broken screen carefully | Use precise techniques and correct tools to detach the damaged screen without harming the internal components. |
| 4. Install the new screen securely | Align and connect the screen properly, applying adhesive and ensuring even pressure to avoid air bubbles. |
| 5. Test screen functionality effectively | Conduct thorough checks on brightness, touch responsiveness, and color accuracy to confirm a successful repair. |
Step 1: Gather Necessary Tools and Materials
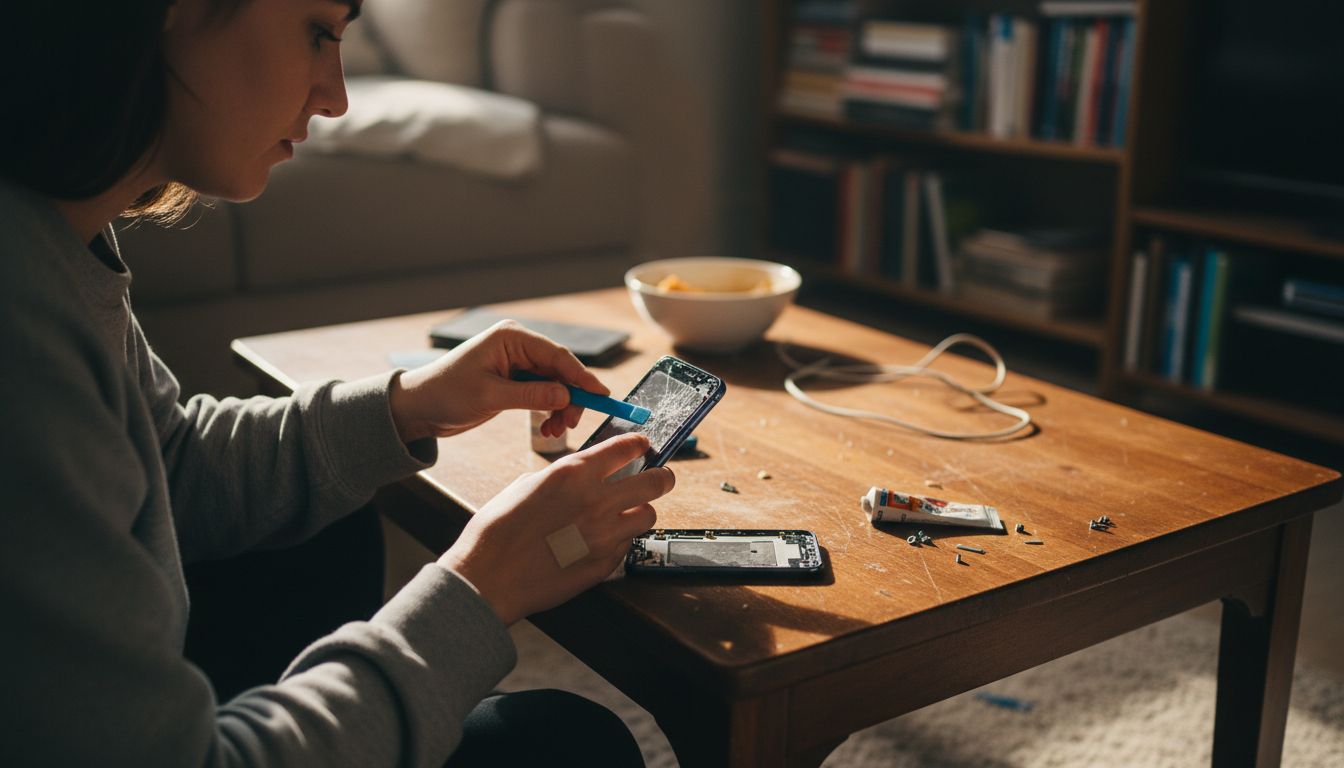
Repairing a cracked phone screen requires precision and the right equipment. You’ll need to assemble a comprehensive smartphone repair toolkit that ensures safe and effective screen replacement. A well-prepared workspace with the correct tools can make the difference between a successful repair and potentially damaging your device.
To get started, you’ll want to collect a set of professional repair tools that professionals recommend. The Maker Hub at Elon University suggests a comprehensive 54-bit driver kit, which provides versatile screwdriver options for different phone models. Alongside this, gather plastic opening tools that help carefully separate your phone’s components without causing additional scratches or damage. Other critical tools include precision tweezers for handling small components, a tech knife for careful cutting, and an anti-static wrist strap to protect sensitive electronic circuits.
Additionally, the National Skill Development Corporation recommends including a few extra specialized tools like a suction cup to help lift the screen, spudgers for gentle prying, and a multimeter to check electrical connections. A heat gun can also be useful for softening adhesives, making screen removal smoother. Pro tip: Work in a clean, well-lit area with a white or light-colored surface to help you keep track of tiny screws and components.
With your toolkit assembled, you’re now ready to move on to the next critical step of preparing your workspace for the screen repair process.
Step 2: Power Down and Prepare Your Phone
Before diving into your phone screen repair, you need to safely power down and prepare your device to prevent potential electrical damage. This crucial first step ensures your safety and protects your phone’s internal components during the repair process.
Consumer Reports advises taking specific precautions when preparing for phone repairs. Start by completely powering off your device to eliminate any risk of electrical current. Remove your phone case, screen protector, and any external accessories like charging cables or headphones. If your phone has a removable battery, take it out carefully. For phones with non removable batteries, ensure the device is completely shut down before proceeding.
Work in a clean, static free environment with good lighting. Place a white or light colored cloth on your workspace to help you track small components like screws. Keep a small container nearby to organize and store these tiny parts during the repair. Pro tip: Use an anti static wrist strap if possible to ground yourself and prevent potential static electricity damage to your phone’s sensitive electronic components.
With your phone powered down and workspace prepared, you are now ready to begin the careful process of opening your device and accessing the damaged screen.
Step 3: Remove the Broken Screen Carefully
Removing a cracked phone screen requires precision and patience to avoid further damaging your device. This critical step demands careful technique and the right approach to separate the damaged screen from your phone’s internal components.
Consumer Reports demonstrates that the screen removal process is delicate and requires methodical handling. Begin by using a plastic opening tool to gently create a small gap between the screen and the phone frame. Work slowly around the edges, applying consistent but minimal pressure to prevent additional cracking or internal damage. Start at a corner where the screen seems slightly lifted and use your plastic tool to gradually separate the screen adhesive.
As you continue removing the screen, be mindful of connected cables and ribbon connectors linking the display to the phone’s main logic board. These connectors are extremely fragile and can tear easily if you pull too quickly or at an incorrect angle. Use your precision tweezers to carefully disconnect these connectors before fully removing the screen. Pro tip: Take a photo of the internal connections before disconnecting anything so you have a reference for reassembly.
With the broken screen now carefully removed, you are prepared to clean the phone’s frame and prepare for installing the new screen replacement.
Step 4: Install the New Screen Securely
Installing a new phone screen is a precision task that requires careful attention to detail and systematic placement. Your goal is to seamlessly integrate the replacement screen while ensuring all connections and alignments are perfect.
Consumer Reports advises ensuring that all connectors are precisely aligned during screen installation. Begin by carefully positioning the ribbon connectors exactly as they were in the original configuration. Use your precision tweezers to gently guide each connector into its corresponding socket, applying minimal pressure to prevent bending or damaging the delicate pins. Check that each connection sits flush and secure before proceeding further.
Apply a thin layer of adhesive around the phone’s frame to help the new screen stay in place. Press the screen down gently and evenly from the center outwards, using a soft cloth to prevent fingerprints. Work slowly and methodically, ensuring no air bubbles form between the screen and the phone frame. Pro tip: Use a credit card wrapped in a soft cloth to help distribute pressure evenly during installation.
With the new screen now carefully installed, you are ready to test your repair and ensure everything functions correctly.
Step 5: Test and Verify Screen Functionality
After carefully replacing your phone screen, comprehensive testing is crucial to ensure the repair was successful. This final verification step will help you confirm that all screen features are working perfectly and no additional issues have emerged during the repair process.
Consumer Reports recommends thoroughly testing multiple aspects of screen functionality. Start by powering on your device and checking the display brightness, color accuracy, and touch responsiveness. Navigate through different apps, test multiple touch points simultaneously, and verify that the screen registers all gestures correctly. Pay special attention to the edges and corners of the screen where connection issues are most likely to occur.
Check each critical function systematically. Test text messaging, web browsing, video playback, and gaming to ensure complete screen performance. Verify that automatic brightness adjustment works correctly, and check for any dead pixels or unusual color variations. Pro tip: Use a bright white background and a dark room to help identify any subtle screen imperfections that might not be immediately visible during normal use.
If you notice any irregularities during testing, you may need to repeat the screen installation process or seek professional assistance from a certified repair technician.
Need Professional Help to Fix Your Cracked Phone Screen?
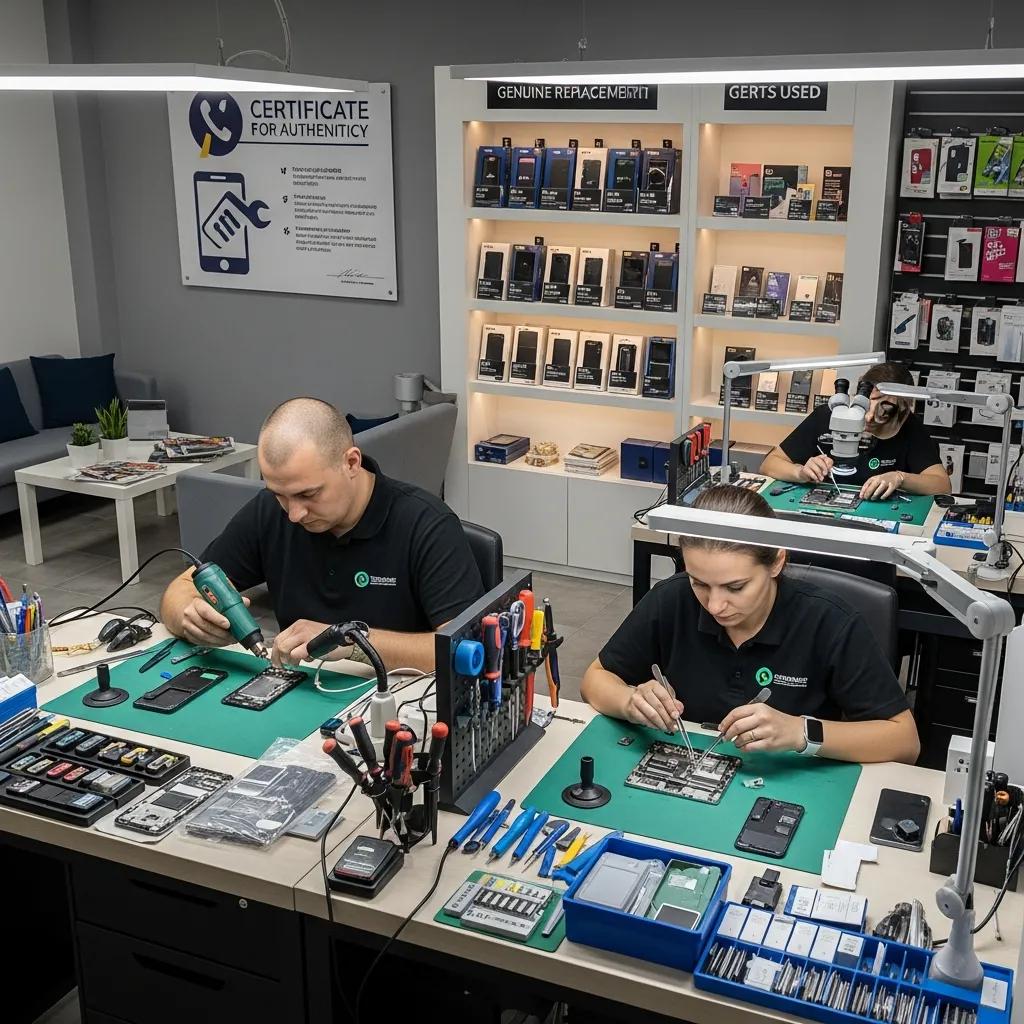
Repairing a cracked phone screen at home can be challenging and requires specialized tools, steady hands, and patience to avoid further damage. If you want to save time, avoid the risk of damaging delicate internal components, or simply want the assurance of expert repair, Dash Repairs is here to help. Our skilled technicians specialize in fast and affordable screen replacements for a wide range of phones including iPhones and Android devices.

Take the stress out of your repair and trust our local experts who provide quality service with warranties to protect your investment. Don’t let a broken screen slow you down. Visit our Cell Phone Repair page to learn more or head directly to https://dashrepairs.com to schedule your repair today. For other device repairs or tech tips, check out our Uncategorized posts to stay informed.
Frequently Asked Questions
How do I gather the necessary tools for repairing a cracked phone screen?
To repair a cracked phone screen, you need specific tools like a 54-bit driver kit, plastic opening tools, and precision tweezers. Gather your toolkit in advance to ensure a smooth repair process and avoid any delays.
What steps should I take to prepare my phone for screen repair?
Before starting the screen repair, power down your device, remove the phone case and any external accessories, and, if possible, take out the battery. This preparation will help to prevent electrical damage and ensure a safe working environment.
How do I safely remove the broken screen from my phone?
To remove the broken screen, use a plastic opening tool to gently pry at the edges, starting from a corner. Work slowly to avoid damaging internal components and disconnect any fragile cables attached to the screen.
What is the proper technique for installing a new phone screen?
Position the new screen carefully to align the ribbon connectors exactly as they were. Press the screen evenly from the center outwards, and ensure all connections are secure to avoid future issues.
How can I test if my new phone screen is functioning correctly?
After installing the new screen, power on your device and test the display brightness, touch responsiveness, and interaction with various apps. Verify that there are no dead pixels or color issues to ensure everything is working properly.
What should I do if my phone screen doesn’t work after the repair?
If the screen is not functioning correctly, carefully review your installation to ensure all connections are secure. You may need to repeat the screen installation or consider seeking professional help if issues persist.
Recommended
- Understanding What is a Cracked Screen and Its Implications | Dash Cellular Repair | Cell Phone, iPhone, Laptop Repair in Oklahoma
- Why Do Screens Crack? Complete Guide for Device Owners | Dash Cellular Repair | Cell Phone, iPhone, Laptop Repair in Oklahoma
- Understanding Why Fix Cracked Screens Matters | Dash Cellular Repair | Cell Phone, iPhone, Laptop Repair in Oklahoma
- How to Fix Cracked Screen: Step-by-Step Guide for 2025 | Dash Cellular Repair | Cell Phone, iPhone, Laptop Repair in Oklahoma
- Akkus reparieren Guide: So bringen Sie Ihre Akkus zurück ins Leben – accu.blog