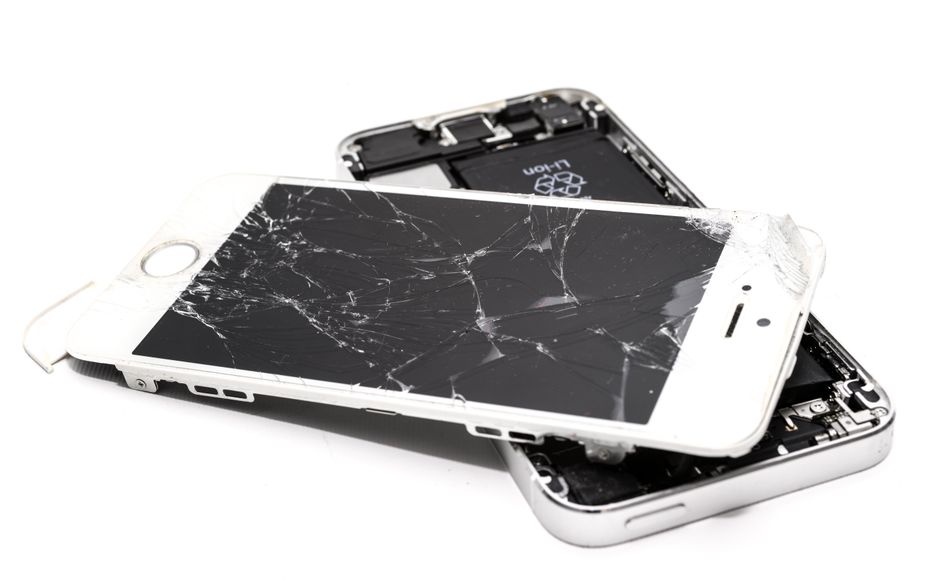
Over 50 million American smartphones suffer screen damage each year, leaving users frustrated and searching for reliable repair solutions. A cracked or unresponsive screen disrupts daily routines and impacts your connection to work, family, and everything in between. By learning simple yet effective repair steps, you can protect your investment and restore your device’s full function with confidence.
Table of Contents
- Step 1: Gather Tools and Power Down Device
- Step 2: Remove Damaged Screen Carefully
- Step 3: Install New Screen With Precision
- Step 4: Reconnect Components and Secure Device
- Step 5: Test Screen Functionality Before Using
Quick Summary
| Main Insight | Explanation |
|---|---|
| 1. Gather Essential Tools | Assemble precision screwdrivers, spudgers, tweezers, and cleaning materials before starting repairs. |
| 2. Power Down Device Safely | Always turn off and ideally remove the battery to avoid electrical shocks during the repair. |
| 3. Remove Screen With Care | Use a spudger to detach the screen slowly, preventing damage to internal components. |
| 4. Install New Screen Precisely | Clean the mounting area and ensure correct alignment before securing the new screen. |
| 5. Test Functionality Thoroughly | Check for dead pixels and touch responsiveness after reassembly to confirm successful repair. |
Step 1: Gather Tools and Power Down Device
Before diving into your smartphone screen repair, you need a carefully curated toolkit and a safely powered down device. Gathering the right tools ensures a smooth repair process and minimizes potential damage to your precious device.
Start by assembling your repair arsenal. You will want to collect several key items: precision screwdrivers in various sizes, a plastic spudger for carefully prying components, fine-tipped tweezers, clean microfiber cloths, and isopropyl alcohol for cleaning. A replacement screen from an authorized manufacturer or certified third party is crucial if you are replacing the entire screen. Pro tip: Masking tape can help you organize tiny screws and prevent them from rolling away during the repair.
Before touching anything, power down your smartphone completely. If possible, remove the battery to eliminate any risk of electrical shock or short circuiting. Your safety and your device’s integrity are the top priorities in this delicate repair process. This careful preparation sets the stage for a successful screen repair, giving you confidence as you move into the more intricate steps ahead.
Step 2: Remove Damaged Screen Carefully
Removing a damaged smartphone screen requires precision and patience. Carefully detaching the broken screen involves methodical steps that prevent further damage to your device’s internal components.
Start by using a plastic spudger and fine tipped tweezers to gently separate the damaged screen from the phone’s frame. Work slowly and systematically, applying minimal pressure to avoid cracking additional sections of the screen or damaging sensitive internal electronics. As you remove screws, place them in a magnetic screw tray or use masking tape to keep them organized and prevent losing these tiny components.
Warning: Some smartphones have adhesive holding the screen in place, which requires careful heating and precise prying techniques. If you feel resistance or sense that you might damage internal components, stop immediately and consider professional repair. The goal is a clean removal that preserves your device’s internal circuitry and prepares you for the next step of screen replacement. By maintaining a steady hand and working methodically, you increase your chances of a successful repair.
Step 3: Install New Screen With Precision
Installing a new smartphone screen is a critical moment that demands careful attention and precision. Ensuring a perfect screen fit requires methodical placement and gentle handling to prevent potential damage to your device’s delicate internal components.
Begin by thoroughly cleaning the phone’s frame with isopropyl alcohol and a microfiber cloth to remove any dust, debris, or adhesive residue. Carefully align the new screen with the device’s frame, making sure all connectors and mounting points match perfectly. Gently lower the screen into place, applying even pressure across the edges to ensure a secure but not forceful connection. Use the original screws you carefully preserved earlier, replacing them in their exact original positions to maintain the device’s structural integrity.

Warning: Avoid pressing too hard or using excessive force during installation. If the screen does not seem to fit smoothly, stop and double check your alignment. Slight misalignment can cause permanent damage to your smartphone’s internal circuitry. Take your time, remain patient, and remember that precision trumps speed in this delicate repair process. With careful attention, you are setting the stage for a successful screen replacement that could save you hundreds of dollars in replacement costs.
Step 4: Reconnect Components and Secure Device
Reconnecting your smartphone’s components is the final critical stage of screen replacement that determines your device’s overall functionality. Carefully reattaching each internal connection ensures that your new screen will work seamlessly with your phone’s intricate electronic system.
Start by methodically reconnecting each component you previously removed, including the home button, front facing camera, proximity sensors, and internal ribbon cables. Align these connections precisely to their original mounting points, applying gentle but firm pressure to secure them in place. Use tweezers for delicate connections and ensure no excess adhesive or dust interferes with the connection points. Double check that each component sits flush and is fully seated before moving to the next one.
Warning: One misaligned connection can render your entire repair useless. Take your time and verify each connection visually and physically before proceeding. If you feel uncertain about any step, pause and review your original device photos or consult professional repair guides. Your patience now can save you from potentially costly mistakes and ensure your smartphone returns to full operational status.
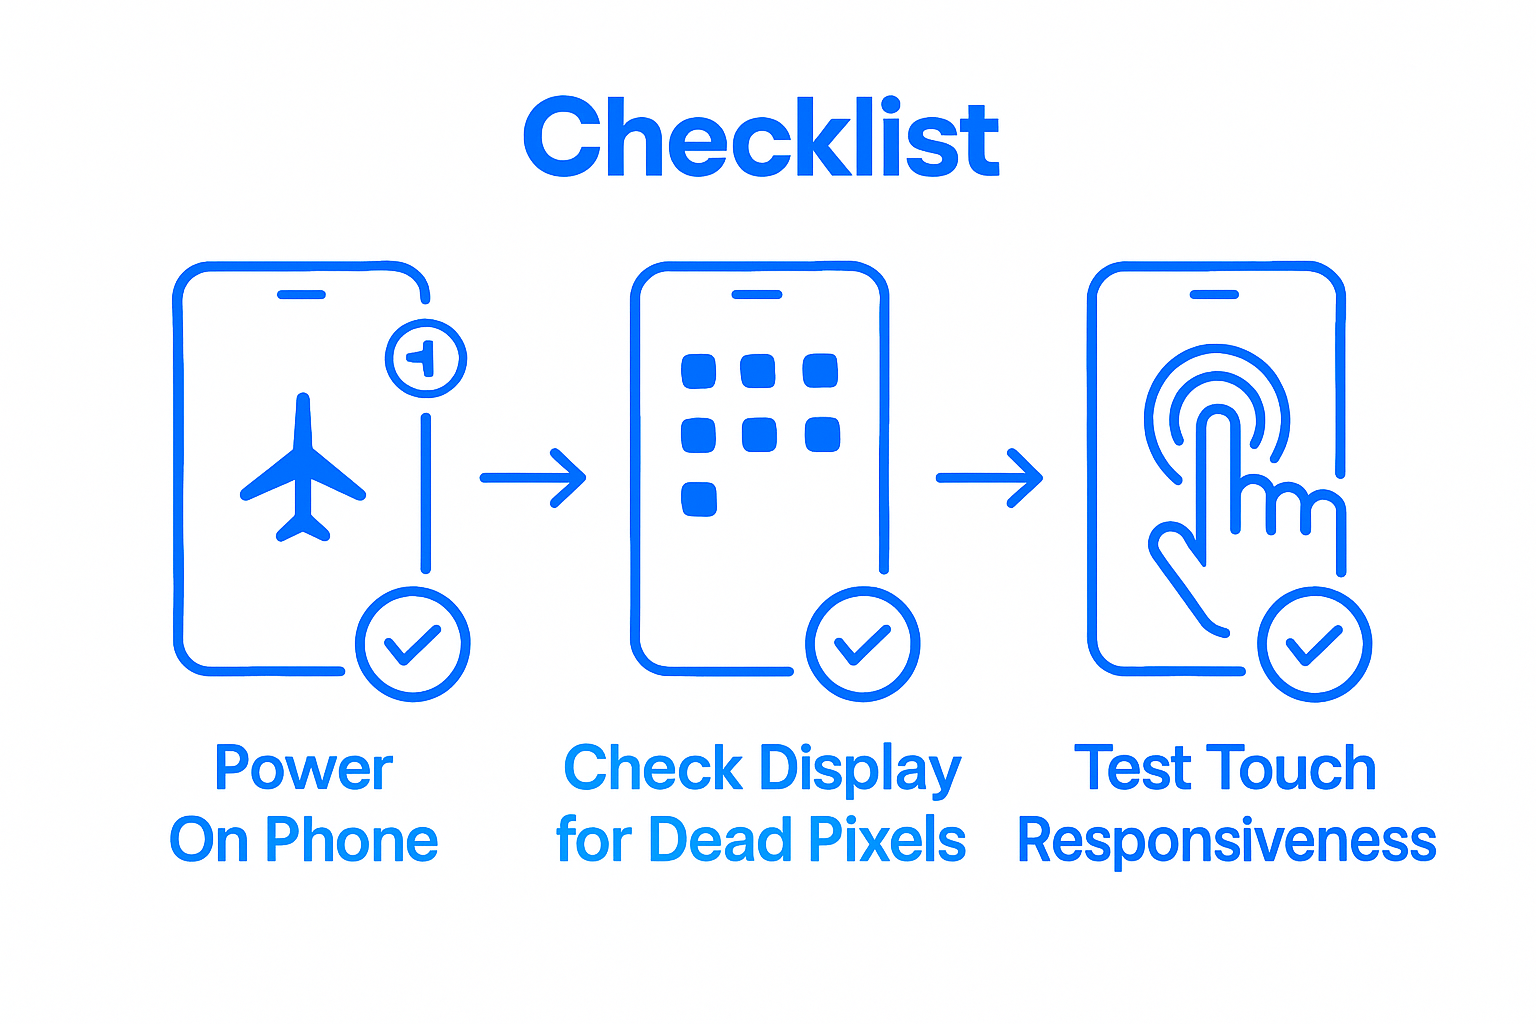
Step 5: Test Screen Functionality Before Using
With your smartphone reassembled, the moment of truth arrives as you prepare to verify the success of your screen replacement. Thoroughly testing the screen’s functionality is crucial to ensuring your repair meets professional standards and your device operates smoothly.
Begin by powering on your smartphone and carefully examining the display for any potential issues. Check for dead pixels by displaying solid color backgrounds in white, black, red, green, and blue to identify any potential screen defects. Test touch responsiveness by navigating through multiple applications, performing various gestures like pinching, zooming, scrolling, and tapping different screen areas. Verify that all sensors function correctly, including proximity sensors, accelerometer, and front facing camera.
Warning: If you notice any irregularities during testing such as unresponsive areas, color distortions, or unusual screen behavior, do not continue using the device. These symptoms could indicate an improper connection or damaged component that requires professional assessment. Your careful testing now can prevent potential long term damage and ensure your smartphone returns to full operational capacity.
Restore Your Smartphone with Expert Screen Repair Today
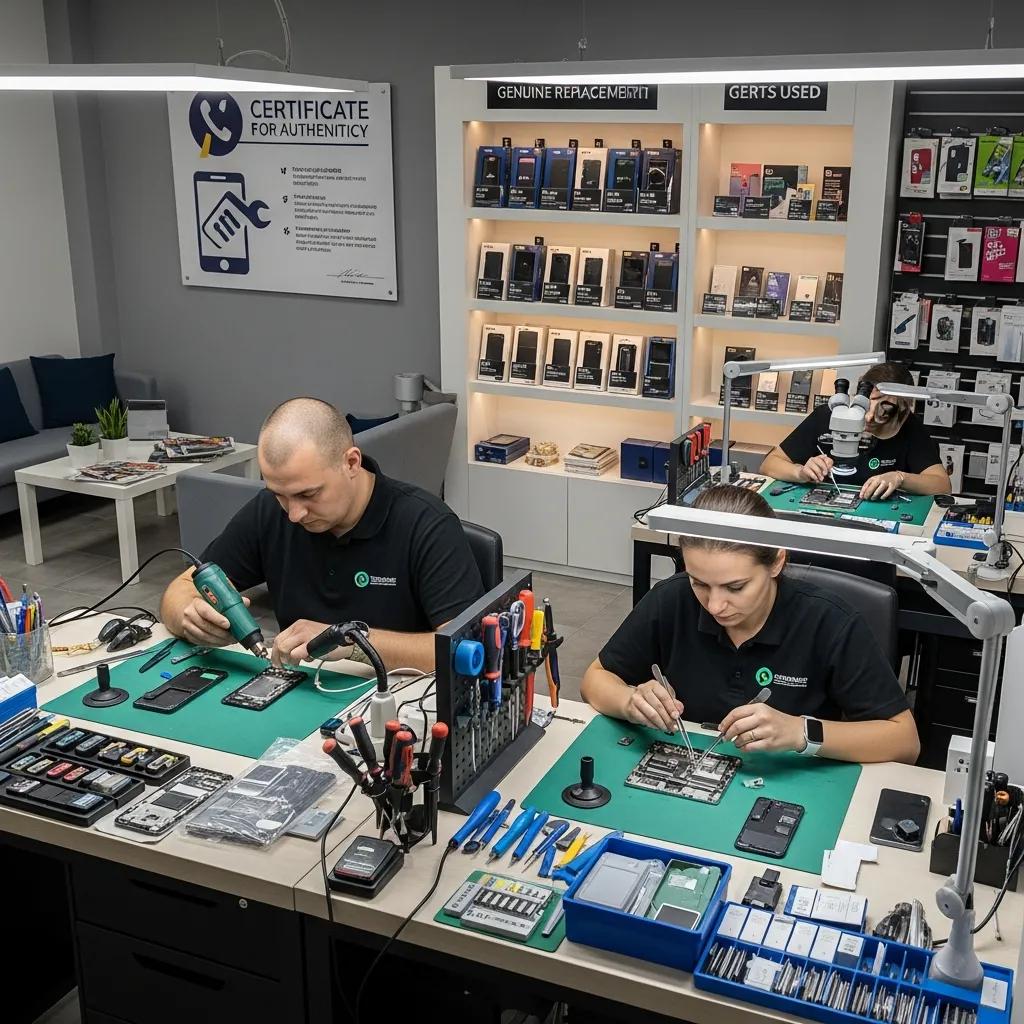
Cracked or malfunctioning screens can disrupt your daily routine and create unnecessary stress. This detailed guide showed how delicate and precise fixing a cell phone screen requires patience and the right tools. If you want a fast and reliable solution without the frustration of DIY risks, our Cell Phone Repair services at Dash Repairs provide affordable, professional screen replacements. Avoid potential mistakes like misaligned connections or damaged components by trusting experts who handle every step with care.
Don’t let a damaged screen slow you down. Visit Dash Repairs now to schedule your appointment or explore our full range of repair solutions. Protect your investment with quick turnaround times and warranty-backed repairs designed to get your device working perfectly again.
Frequently Asked Questions
What tools do I need to fix my cell phone screen properly?
To fix your cell phone screen properly, you will need precision screwdrivers, a plastic spudger, fine-tipped tweezers, clean microfiber cloths, and isopropyl alcohol. Gather these items before starting your repair to ensure a smooth process.
How can I disconnect the battery safely before repairing my phone screen?
To disconnect the battery safely, first power down your device completely. If your smartphone allows, remove the battery to eliminate any risk of electrical shock or short-circuiting during the repair.
What steps should I follow to remove the damaged screen carefully?
Begin by using a plastic spudger and tweezers to gently separate the screen from the frame. Work slowly and methodically, ensuring to avoid applying excessive pressure that could damage other components.
How do I install the new screen with precision?
Clean the phone’s frame with isopropyl alcohol and align the new screen carefully with its mounting points. Gently lower the screen into place while applying even pressure, and use the original screws to secure it properly.
How do I test the new screen functionality after installation?
After reassembling your phone, power it on and check the screen for dead pixels by displaying solid colors. Test touch responsiveness and ensure all functions, like sensors and the camera, are operating correctly.
What should I do if the new screen shows issues during testing?
If you notice any screen irregularities, such as unresponsive areas or color distortions, stop using the device immediately. Investigate the connections and components inside; misalignments may require adjustment or professional help.
Recommended
- How to Fix Cell Phone Glass: Step-by-Step Guide | Dash Cellular Repair | Cell Phone, iPhone, Laptop Repair in Oklahoma
- Choosing the Right Cell Phone Repair Shop | Dash Cellular Repair | Cell Phone, iPhone, Laptop Repair in Oklahoma
- How to Quickly and Easily Fix Your Broken Cell Phone | Dash Cellular Repair | Cell Phone, iPhone, Laptop Repair in Oklahoma
- Step by Step iPhone Repair Guide for Local Users | Dash Cellular Repair | Cell Phone, iPhone, Laptop Repair in Oklahoma
- Akkus reparieren Guide: So bringen Sie Ihre Akkus zurück ins Leben – accu.blog