Replacing your own phone battery might sound intimidating, yet more than 60 percent of users consider DIY repairs to save money and extend device life. Choosing to swap out your battery at home can avoid a costly trip to the repair shop or the stress of dealing with sudden power loss. With the right tools and clear steps, you can restore your phone’s performance and avoid unnecessary hassle. Here’s a practical guide designed to help you complete a safe and successful battery replacement.
Table of Contents
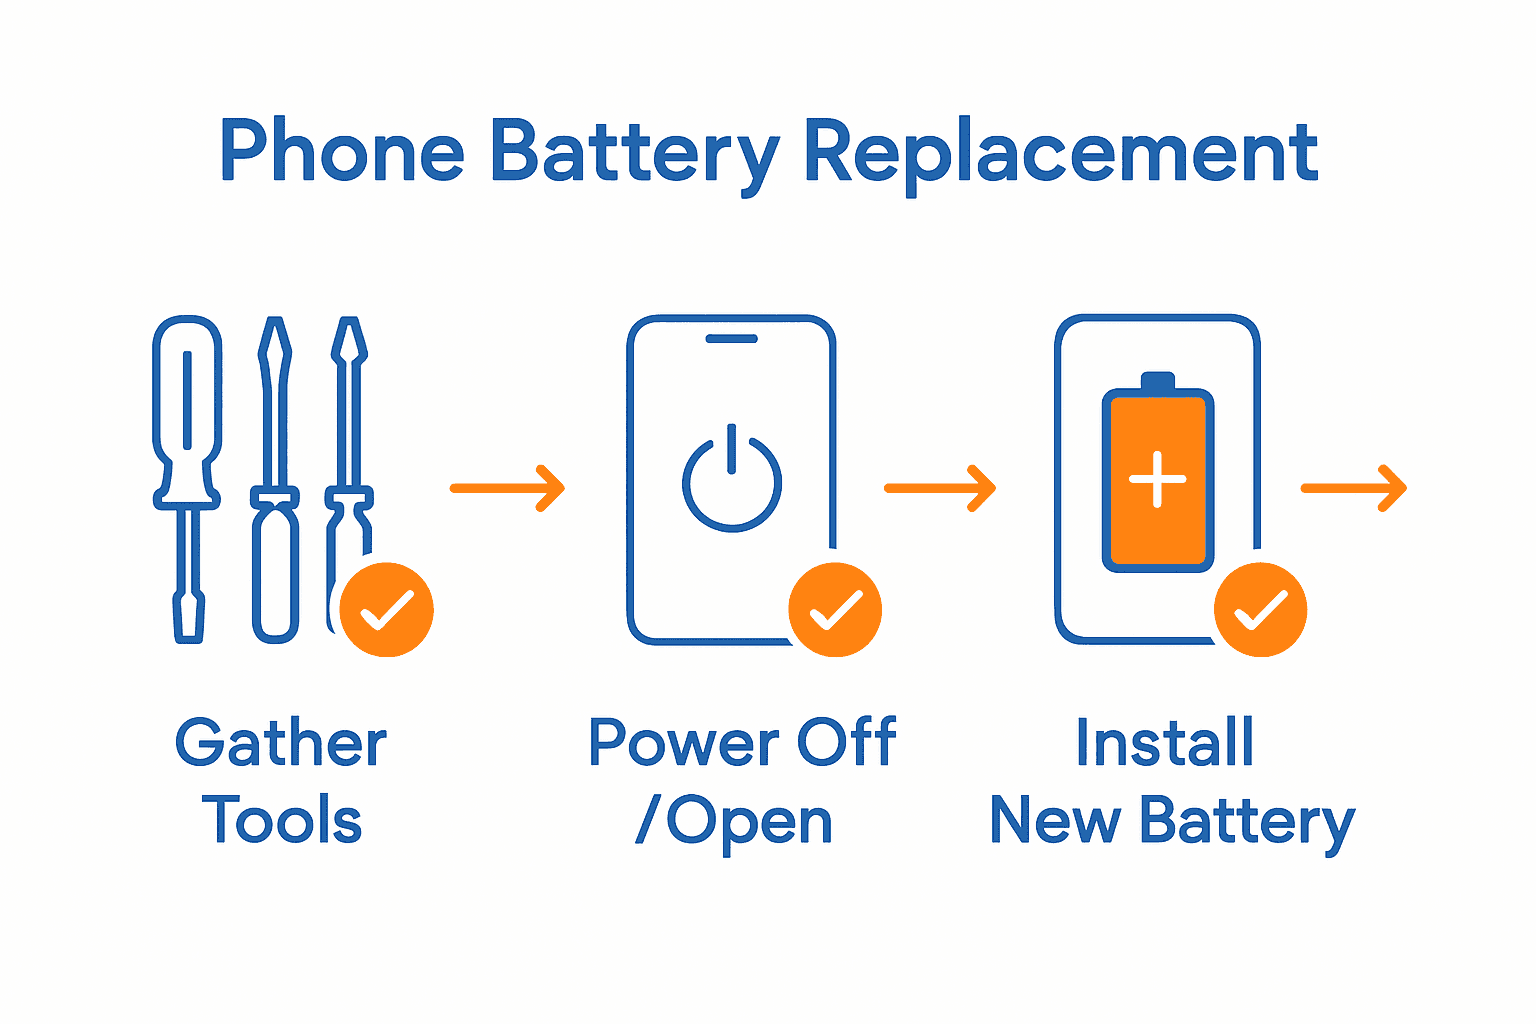
- Step 1: Gather Required Tools And Materials
- Step 2: Power Down And Open The Phone Safely
- Step 3: Disconnect And Remove The Old Battery
- Step 4: Install And Secure The New Battery
- Step 5: Test The Replacement And Reassemble Phone
Quick Summary
| Key Point | Explanation |
|---|---|
| 1. Gather essential repair tools | Collect all necessary tools like screwdrivers, prying tools, and gloves to ensure a smooth battery replacement. |
| 2. Power down the device before repairs | Completely shut down the phone to minimize electrical risks during the disassembly process. |
| 3. Disconnect the old battery carefully | Locate and gently disconnect the battery connector to avoid damaging internal components. |
| 4. Install the new battery securely | Align and connect the new battery properly, using adhesive if necessary to ensure stability. |
| 5. Test and reassemble the smartphone | Power on the device to confirm functionality before securely resealing it for regular use. |
Step 1: Gather Required Tools and Materials
Before diving into your phone battery replacement journey, you will need to collect a specific set of tools that will make your repair process smooth and professional. According to cursa, the essential toolkit for smartphone battery replacement includes several precision instruments designed to help you work safely and effectively.
Your repair toolkit should include some key items: Phillips head screwdrivers in small sizes, plastic prying tools or spatulas, fine point tweezers, a suction cup, and potentially a heating device like a hair dryer or specialized iOpener. Additionally, diyfixtool recommends adding anti static gloves and a magnifying lamp or microscope to help you work with tiny components and prevent potential electrostatic damage.
Before starting your repair, spread out all your tools on a clean, flat surface with good lighting. Pro tip make sure your workspace is dry and static free to protect your device during the battery replacement process. With your tools assembled, you are now ready to move on to the next step of carefully opening your smartphone.
Quick warning these delicate repairs require patience and precision. If at any point you feel uncomfortable or unsure take your device to a professional repair technician.
Step 2: Power Down and Open the Phone Safely
Before starting your phone battery replacement, you need to safely power down and prepare your device for disassembly. According to ifixit, the first critical step is completely powering off the phone and ideally draining the battery to minimize potential electrical risks during the repair process.
Begin by completely shutting down your smartphone through the standard power off procedure. Cursa recommends creating a clean and well-lit workspace where you can carefully work on your device. Ensure you have a soft clean surface like a white towel or anti static mat to protect your phone during disassembly. You will want to use a small precision screwdriver and a plastic spatula to gently separate the phone casing without causing damage.
Warning some smartphones use strong adhesive around their displays which can make opening tricky. If you encounter significant resistance while trying to separate components take your time and apply gentle even pressure. If you feel uncomfortable or unsure at any moment stop and consider seeking professional assistance. For those who want additional guidance on handling delicate device repairs, check out our guide on phone troubleshooting.
With your phone powered down and workspace prepared you are now ready to begin carefully removing the device cover and accessing the battery compartment.
Step 3: Disconnect and Remove the Old Battery
Removing the old battery requires precision and careful attention to avoid damaging your smartphone’s internal components. According to ifixit, the first critical step is disconnecting the battery connector before attempting to remove the battery itself.
Carefully examine the battery compartment and locate the battery connector. Use your plastic prying tool to gently disconnect the connector from the phone’s motherboard. Cursa recommends using steady hands and minimal force to prevent accidental damage to sensitive electronic connections. Most smartphones use adhesive to secure the battery in place so you will need to apply gentle even pressure to loosen it without causing any tears or structural damage.
Warning battery removal can be tricky and requires patience. If the battery seems firmly stuck do not force it. Applying too much pressure could puncture the battery or damage your phone’s internal circuits. If you encounter significant resistance stop and consider seeking professional assistance. For additional troubleshooting advice about delicate device repairs, check out our guide on phone troubleshooting.
Once you have successfully disconnected and removed the old battery you are now prepared to clean the battery compartment and prepare for installing the new battery.
Step 4: Install and Secure the New Battery
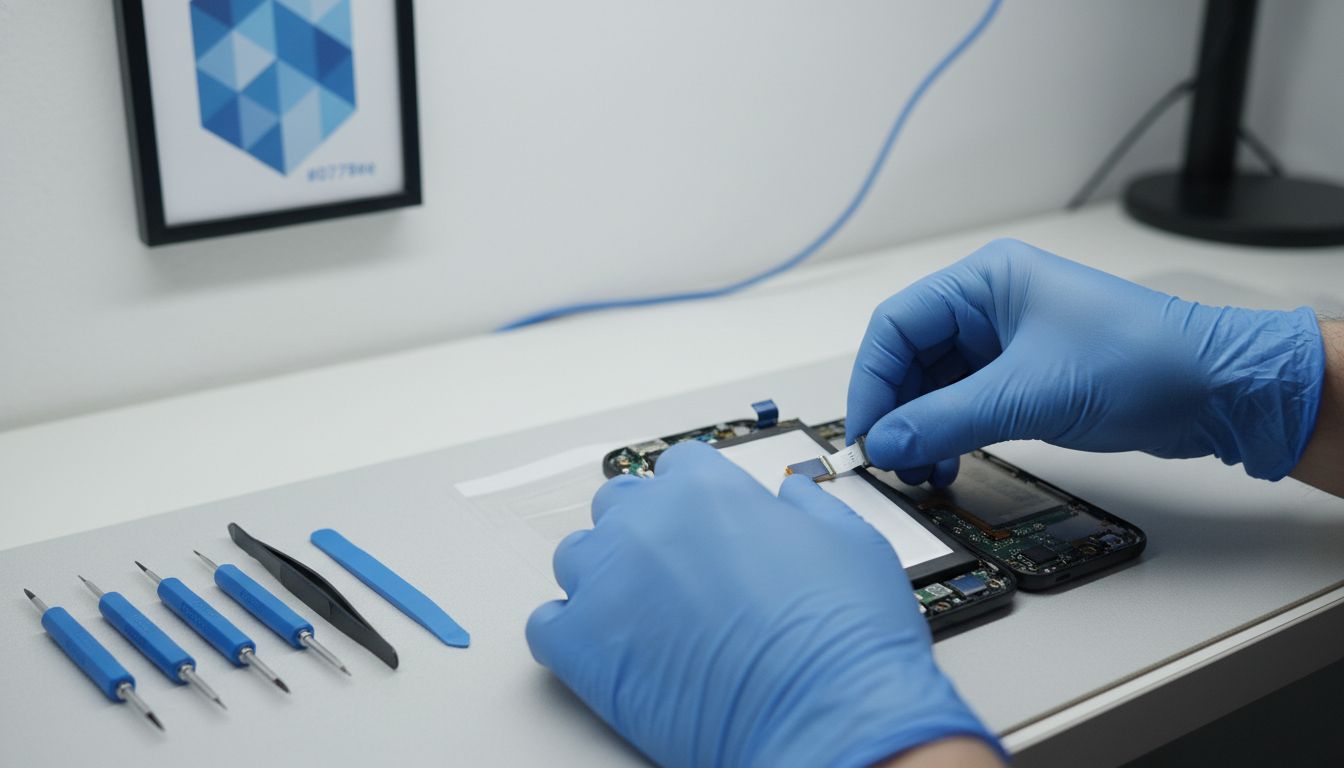
With the old battery removed, you are now ready to carefully install the new battery into your smartphone. ifixit emphasizes the importance of precise alignment and careful handling during this critical step of battery replacement.
Begin by examining the new battery and ensuring it matches the exact specifications of your original battery. Gently position the battery into the phone compartment making sure it fits perfectly without any unnecessary force. Cursa recommends using the original adhesive strips or applying new adhesive to secure the battery in place. Carefully align the battery connector and press it firmly into the motherboard connection point ensuring a secure and proper fit.
Warning batteries are sensitive electronic components. Avoid touching the battery contacts directly and use clean antistatic tools during installation. If you notice any damage or irregularities in the new battery stop immediately and consult a professional. For additional guidance on handling delicate device repairs, check out our guide on phone troubleshooting.
Once the battery is securely installed you are now ready to reassemble your smartphone and test its functionality.
Step 5: Test the Replacement and Reassemble Phone
With the new battery installed, you will now carefully test and reassemble your smartphone. ifixit recommends performing initial functionality tests before completely sealing the device to ensure everything works correctly.
Plug in your phone and power it on to verify the new battery is functioning properly. Cursa suggests checking for proper charging performance and monitoring the battery percentage and overall device stability. If the phone powers on successfully and maintains a charge, begin systematically replacing the internal components and securing the phone casing. Use your original screws and carefully align each component to ensure a perfect fit.
Warning some smartphones have intricate internal layouts. Take your time during reassembly and double check that all connections are secure. If you experience any unusual behavior like overheating or rapid battery drain after replacement stop using the device and consider consulting a professional. For more detailed guidance on mobile device repairs, check out our DIY mobile repair steps.
Once fully reassembled your smartphone should now be ready for regular use with its brand new battery.
Restore Your Phone’s Power with Expert Battery Replacement
Facing a drained or failing phone battery can be frustrating when you depend on your device every day. This guide highlights the patience, precision, and the right tools needed to replace your battery safely and effectively. If you want to avoid the risks of DIY repair or simply want a fast and reliable fix, we understand that your goal is clear: get your phone working like new without delay.
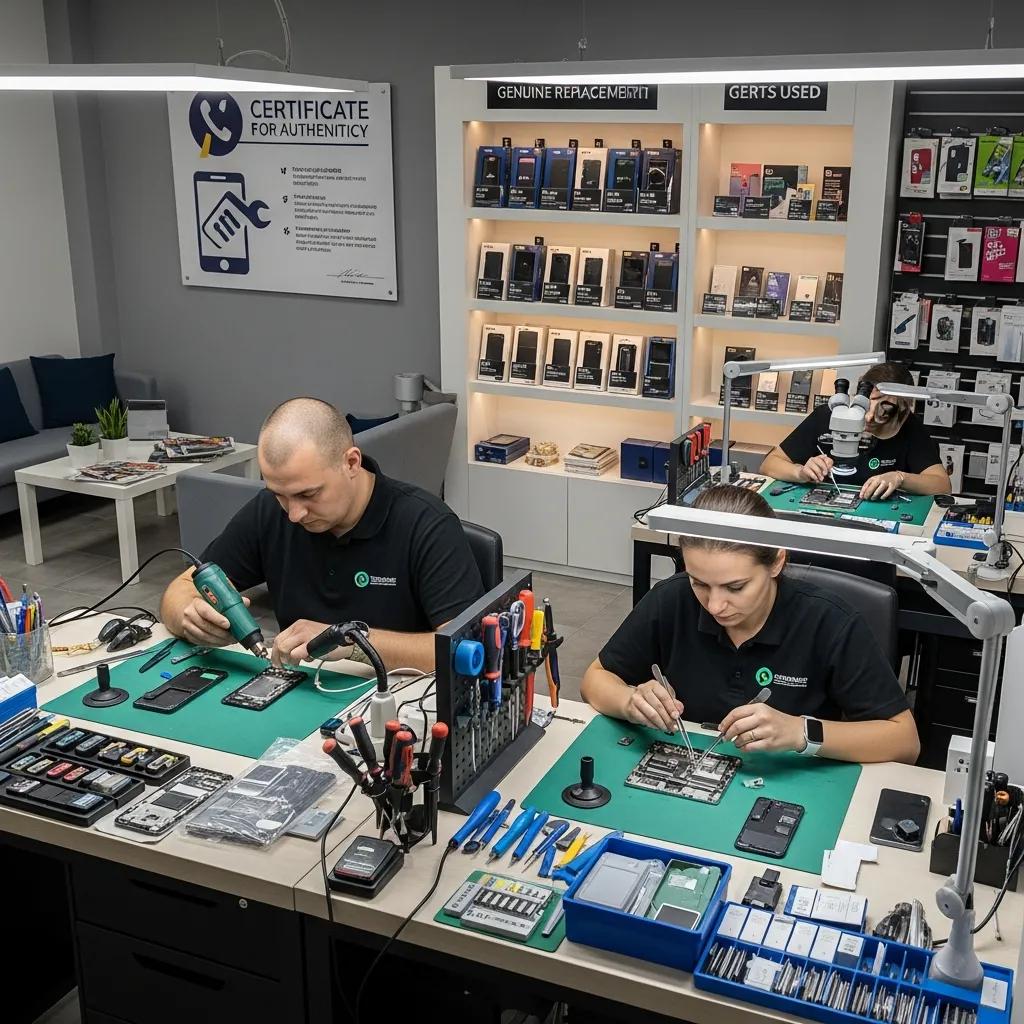
At Dash Repairs, our expert technicians specialize in professional battery replacements for all phone models. We focus on quick turnaround times and quality service to get you back online with confidence. Whether you own an iPhone or an Android, our Cell Phone Repair services ensure your device receives the proper care and genuine parts needed for lasting performance.

Don’t let battery troubles slow you down. Visit our iPhone Repair page or explore our full range of services to find affordable, expert solutions near you. Take control of your device’s health today with Dash Repairs where affordability meets trusted professional repair.
Frequently Asked Questions
What tools do I need for a phone battery replacement?
To replace a phone battery, gather essential tools like small Phillips head screwdrivers, plastic prying tools, fine point tweezers, a suction cup, and possibly a heating device. Organize these tools on a clean surface to facilitate a smooth replacement process.
How do I safely power down and open my smartphone?
To safely open your smartphone, completely power it off and, if possible, drain the battery. Use a small precision screwdriver to gently separate the device casing without causing damage.
What steps should I follow to disconnect and remove the old battery?
First, disconnect the battery connector from the phone’s motherboard using a plastic prying tool. Then, apply gentle pressure to loosen the battery and carefully remove it from the compartment without forcing it.
How do I install the new battery correctly?
When installing a new battery, ensure it matches the specifications of the old one, then gently position it in the compartment. Align the connector carefully with the motherboard and secure the battery using adhesive strips if necessary.
What should I do to test the new battery after installation?
After installing the new battery, plug in your phone and power it on to verify its functionality. Monitor the charging performance and battery percentage to ensure the device operates correctly before reassembling it.
How can I reassemble my smartphone after replacing the battery?
To reassemble your smartphone, systematically replace internal components and secure the casing using the original screws. Double-check that all connections are secure and confirm that everything is aligned properly before fully sealing the device.
Recommended
- Step by Step iPhone Repair Guide for Local Users | Dash Cellular Repair | Cell Phone, iPhone, Laptop Repair in Oklahoma
- 8 Practical Examples of Device Repairs You Can Do | Dash Cellular Repair | Cell Phone, iPhone, Laptop Repair in Oklahoma
- DIY Mobile Repair Steps for Fast, Reliable Results | Dash Cellular Repair | Cell Phone, iPhone, Laptop Repair in Oklahoma
- 7 Key Types of Android Repairs Every User Should Know | Dash Cellular Repair | Cell Phone, iPhone, Laptop Repair in Oklahoma
- Haushaltsbatterien wechseln: Schritt-für-Schritt Anleitung – accu.blog