Did you know that more than 50 percent of tablet users have experienced accidental screen damage at least once? Tablets are part of daily routines, making their screens vulnerable to cracks and glitches. Quick, careful repairs not only protect your investment but also restore your device’s full function. Knowing how to approach screen damage and collect the right tools saves you time and can spare you a costly trip to the repair shop.
Table of Contents
- Step 1: Assess Tablet Screen Damage And Gather Tools
- Step 2: Power Down Device And Remove Broken Screen
- Step 3: Install New Tablet Screen Carefully
- Step 4: Reconnect Components And Secure Assembly
- Step 5: Test Screen Functionality And Inspect Quality
Quick Summary
| Key Point | Explanation |
|---|---|
| 1. Power off your tablet first | Always turn off the device to prevent electrical shorts before starting the repair process. |
| 2. Identify damage types accurately | Classifying screen issues helps determine the necessary repair actions for effective solutions. |
| 3. Use the appropriate tools | Having the right tools, such as precision screwdrivers and adhesive strips, ensures a smooth repair process. |
| 4. Test new screen before final assembly | Conduct functionality tests pre-assembly to confirm the new screen is working correctly and avoid rework. |
| 5. Recheck connections thoroughly | Double-check all internal connections to prevent misalignment or damage before reassembling the device. |
Step 1: Assess Tablet Screen Damage and Gather Tools
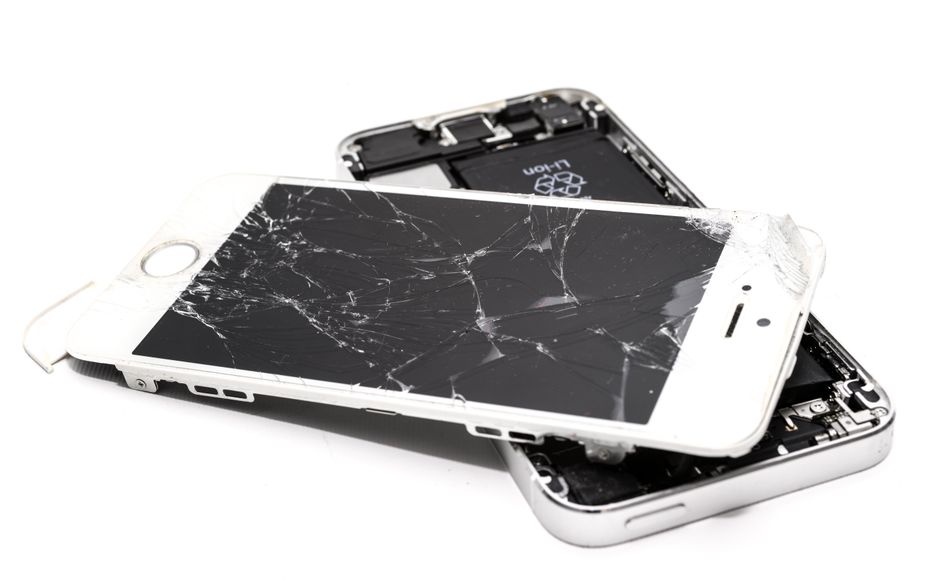
Repairing a damaged tablet screen starts with a careful assessment and strategic preparation. In this step, you will systematically evaluate the extent of screen damage and collect the precise tools needed to restore your device to working condition.
First, power off your tablet completely and place it on a clean, static-free workspace. According to research from repair experts, wearing an electrostatic discharge (ESD) wrist strap is critical to prevent potential static electricity damage during the repair process.
Carefully examine your tablet screen to categorize the damage. Look for different types of screen issues such as:
Here’s a summary of common tablet screen damage types and recommended repair approaches:
| Damage Type | Visual Signs | Typical Repair Action |
|---|---|---|
| Hairline Crack | Thin line across screen | Screen replacement |
| Deep Fracture | Multiple, deep breaks | Screen & digitizer replace |
| Spider Web Cracking | Radiating crack pattern | Full screen assembly swap |
| Dead Pixels/Discoloration | Black/colored spots | Screen or display module |
| Touch Sensitivity Problem | Unresponsive areas | Connections check Screen replace |
- Hairline cracks that spread across the surface
- Deep fractures with multiple impact points
- Spider web cracking patterns
- Dead pixels or discoloration zones
- Touch sensitivity problems
For a comprehensive repair, you will need specific tools. Research indicates the essential toolkit includes:
- Phillips #000 precision screwdriver
- Tri-point Y00 specialized screwdriver
- Plastic opening tools or spudgers
- Fine-tipped tweezers
- Heat gun or hair dryer
- Isopropyl alcohol for cleaning
- Adhesive strips or specialized repair glue
Pro Tip: Always verify the exact replacement screen matches your specific tablet model to ensure proper fit and functionality.
With your tools gathered and screen damage assessed, you are now prepared to move forward with the screen replacement process. Understanding the tablet screen repair process can provide additional insights into the upcoming steps.
Step 2: Power Down Device and Remove Broken Screen
With your tools prepared and damage assessed, you are now ready to carefully remove the damaged tablet screen. This critical stage requires precision and patience to prevent additional damage to your device.
Begin by completely powering down your tablet and removing the SIM card tray. According to repair experts, this initial step prevents potential electrical shorts and provides better access to the screen mechanism.
Prepare for screen removal by applying gentle heat to the screen edges. Research from device repair sources indicates using a heat gun or hair dryer can effectively soften the adhesive holding the screen in place. Warm the edges for approximately 30 to 45 seconds, maintaining a consistent distance to avoid overheating.
Attach a suction cup near the home button or a strategic edge of the screen. Carefully lift the screen while simultaneously inserting a plastic opening tool between the screen and device frame. Slowly work the opening tool around the edges to separate the adhesive and begin lifting the broken screen.
Warning: Move slowly and apply consistent but gentle pressure. Rushing this process can cause additional internal damage to your tablet.
Work methodically around all edges, using the opening tool to gradually separate the damaged screen.
 Keep your movements controlled and deliberate, ensuring you do not bend or stress the internal connectors.
Once you have fully detached the broken screen, set it aside carefully. Your device is now prepared for the next stage of the repair process. How to replace iPad screen can provide additional guidance for the upcoming steps.
Step 3: Install New Tablet Screen Carefully
With the broken screen removed, you are now ready to install the new tablet screen. This delicate process requires precision and careful attention to ensure proper connection and alignment of the new display.
Begin by examining the new screen assembly and identifying the ribbon cable connectors. According to repair experts, these delicate connections are critical for proper screen functionality. Carefully align the ribbon cables with the corresponding ZIF connectors on the device’s logic board.
Gently insert the ribbon cables into their respective connectors, making sure they are fully seated. Research from device repair sources emphasizes the importance of ensuring the retaining flaps are securely closed to prevent loose connections that could compromise screen performance.
Apply a thin layer of adhesive around the display edges. Work methodically to create an even seal that will hold the new screen securely in place. Carefully lower the screen into position, using gentle and consistent pressure to ensure proper alignment.
Pro Tip: Take your time during this step. Rushing can lead to misalignment or damage to the delicate internal components.
Before fully securing the screen, perform a preliminary test. Connect the device to power and briefly turn it on to verify the new screen functions correctly. Check for dead pixels, touch responsiveness, and overall display quality.
Once you have confirmed the screen is working properly, complete the final securing process.
Press firmly but carefully around the edges to ensure a complete and secure fit. Screen repair process guide can provide additional insights for final adjustments and troubleshooting.
Step 4: Reconnect Components and Secure Assembly
With the new screen successfully installed, you are now entering the final stage of your tablet repair process. This crucial step involves carefully reassembling your device and ensuring all components are properly reconnected and secured.
Begin by applying pre-cut adhesive strips to the tablet frame. According to repair experts, these specialized strips provide a precise and consistent bonding surface for your new screen. Carefully align the adhesive strips around the entire perimeter of the device frame, ensuring even coverage and no air bubbles.
Gently position the new screen assembly onto the frame, applying consistent and gentle pressure. Research from device repair sources indicates the importance of methodical alignment to prevent potential misalignment or future structural issues. Press firmly around the edges to create a strong, secure bond between the screen and device frame.
Carefully reconnect all internal components in the reverse order of your initial disassembly. This includes reattaching any bracket connections, securing ribbon cables, and ensuring each component sits in its original position. Pay close attention to the orientation and connection points of each part.
Warning: Take extra care when reconnecting delicate ribbon cables and connectors. Applying too much force can damage sensitive electronic components.
Double check all connections before fully closing the device. Verify that no cables are pinched or misaligned and that all components sit flush within their designated spaces. A careful final inspection can prevent potential issues during device reassembly.
Once you are confident all components are correctly positioned and secured, prepare to power on your device. Complete guide to common tablet repairs can provide additional insights if you encounter any challenges during this final stage.
Step 5: Test Screen Functionality and Inspect Quality
You have completed the intricate process of replacing your tablet screen. Now comes the critical moment of verifying your repair work through comprehensive functionality testing. This final stage will confirm whether your repair was successful and the new screen meets performance expectations.
Begin by connecting your tablet to a power source and initiating the startup sequence. According to repair experts, the initial boot process provides the first indication of successful screen installation. Watch carefully for any unusual behavior during startup such as flickering, distorted images, or unresponsive areas.
Conduct a thorough touchscreen responsiveness test. Research from device repair sources recommends systematically checking all areas of the screen. Open multiple applications, swipe between screens, and test different touch gestures to ensure complete functionality. Pay special attention to screen edges and corners where connection issues are most likely to occur.
Examine the display quality meticulously. Look for consistent brightness, color accuracy, and pixel integrity. Check for any dead pixels by displaying solid color backgrounds in white, black, red, green, and blue. Verify that the screen responds accurately to touch input across its entire surface.
Pro Tip: Use a bright light and view the screen from multiple angles to detect any subtle imperfections in the display or installation.
Perform a comprehensive diagnostic by testing different screen brightness levels, running graphics intensive applications, and checking color reproduction. Ensure that the screen maintains consistent performance under various usage conditions.
If any issues emerge during testing, do not panic. Types of tablet repairs guide can provide additional troubleshooting strategies if you encounter unexpected challenges with your newly installed screen.
Fast and Reliable Tablet Screen Repairs Near You
Facing a cracked or unresponsive tablet screen can disrupt your daily routine and cause serious frustration. The step-by-step repair process outlined here highlights how delicate and precise tablet screen fixes must be to restore touch sensitivity and display clarity without risking further damage. Whether dealing with hairline cracks, dead pixels, or touch issues, finding expert help that offers quick, affordable, and guaranteed repairs is crucial to get back to full device functionality.
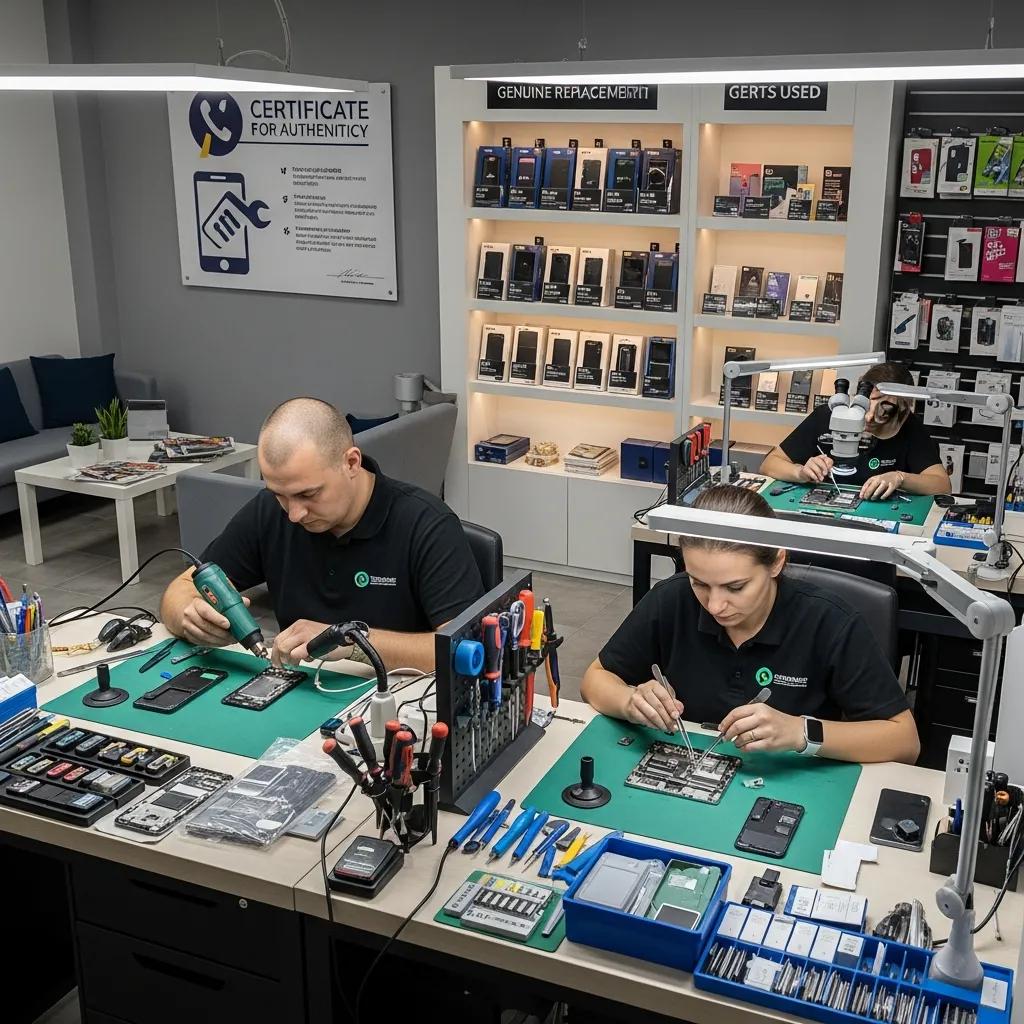
At Dash Repairs, we understand how stressful it can be to have a damaged tablet screen and the importance of trustworthy service you can count on. Our team specializes in professional tablet and mobile device repairs with fast turnaround times and clear warranties to ensure peace of mind. Discover comprehensive repair solutions tailored to your needs at our Cell Phone Repair center. Ready to fix your device today? Visit us at Dash Repairs and get your tablet screen looking and working like new again. Need more information on repair types and processes? Explore our Uncategorized section for helpful insights and tips.
Frequently Asked Questions
How do I assess the damage on my tablet screen before repairs?
To assess the damage on your tablet screen, carefully examine it for cracks, fractures, or dead pixels. Categorize the damage type, such as hairline cracks or touch sensitivity problems, to determine the appropriate repair actions needed.
What tools do I need to fix a damaged tablet screen?
You will need a Phillips #000 screwdriver, a tri-point Y00 screwdriver, and plastic opening tools, among others. Gather all necessary tools before starting to ensure you can complete the repair without interruption.
What precautions should I take before removing the broken tablet screen?
Always power down your tablet completely before beginning any repairs to prevent electrical shorts. Additionally, wear an electrostatic discharge (ESD) wrist strap to protect the internal components from static electricity damage.
How can I ensure my new tablet screen is installed correctly?
To ensure correct installation, align the ribbon cables properly with the connectors and apply even pressure while securing the screen. Test the new screen’s functionality before fully securing it to confirm there are no issues.
What should I do if the new tablet screen doesn’t function properly after installation?
If the new tablet screen shows issues like flickering or unresponsiveness, double-check all internal connections to ensure they are secure. Revisit the installation steps to adjust misalignments or loose connections if needed.
How long does the entire tablet screen repair process take?
The repair process can generally be completed within 1 to 3 hours, depending on your experience and the extent of the damage. Take your time to ensure each step is done carefully to avoid further complications.
Recommended
- Understanding the Tablet Screen Repair Process | Dash Cellular Repair | Cell Phone, iPhone, Laptop Repair in Oklahoma
- Types of Tablet Repairs: Complete Guide for 2024 | Dash Cellular Repair | Cell Phone, iPhone, Laptop Repair in Oklahoma
- Screen Repair Process Guide: Steps, Costs, and Tips | Dash Cellular Repair | Cell Phone, iPhone, Laptop Repair in Oklahoma
- Complete Guide to Common Tablet Repairs | Dash Cellular Repair | Cell Phone, iPhone, Laptop Repair in Oklahoma